
The King of Waterfowl
The lordly Canvasback has never been a common species on Great South Bay. There have long been spots where I could go to “visit” with them – typically freshwater ponds where they would spend the winter dining on aquatic vegetation. When I was first married – in the mid-1970s – I could reliably watch a thousand or so where the Ausable River empties into Lake Champlain. I worked in NYSDEC’s Buffalo office in the early 80s and counted Canvasbacks on the Niagara River from an airplane, and – as the season was closed the years I was there – I could watch the powerful flocks flying figure-8s over our decoys. Nevertheless – like most gunners – the bird holds for me an undeniable allure. My Dad had 6 Herter’s Model 72s from the 1950s in his Broadbill rig. I re-painted them a few years ago.
I always admired the head shape on the Model 72s.

A couple of years ago, I helped a friend carve a few Cans – blue “dock foam” for bodies and Sugar Pine heads.

Here is a “mantel piece” version: hollow White Pine finished with oils.

I like to exaggerate the famed “Roman nose” just a bit….
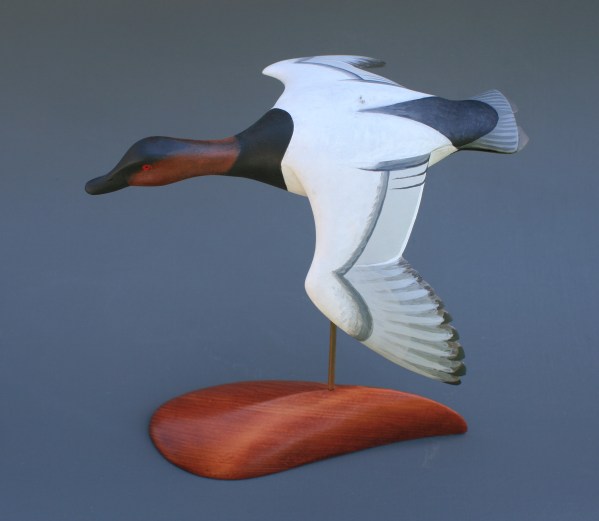
This “half-size flyer” greeted guests in our mud room for awhile – but found its way to a customer down south.
Preparation
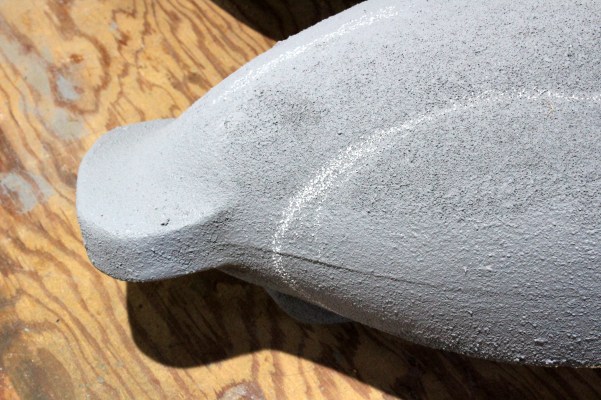
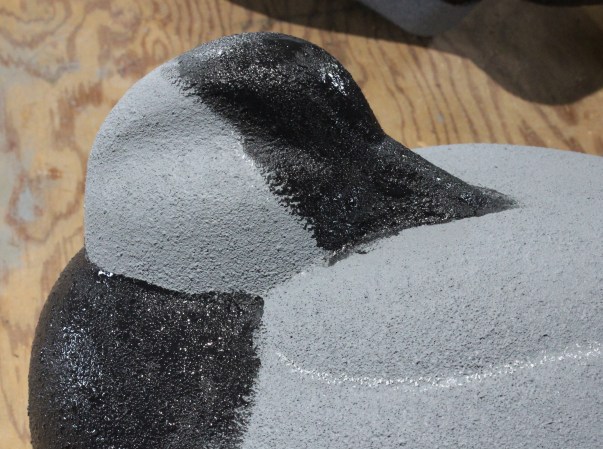
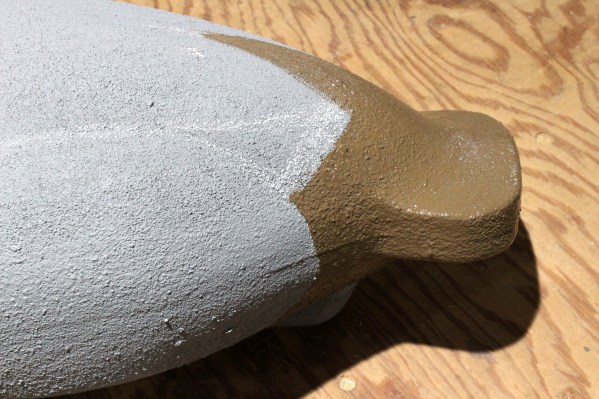
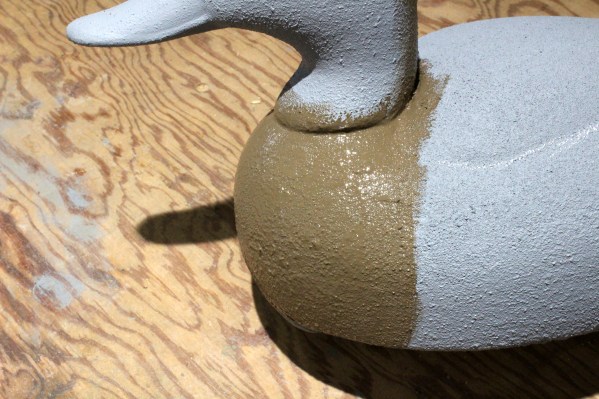
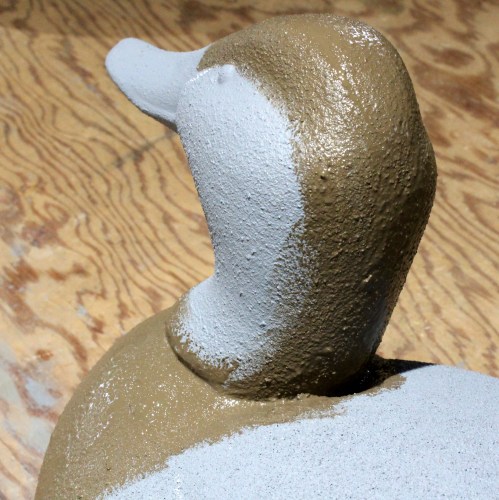
As with my Herter’s and E. Allen foam birds, I like to add some protection with a coat of epoxy + fine sawdust to Homer decoys. The rough surface also prevents glare, but – it cannot also trap fine mud.
I sand the heads with 80-grit and then wipe with lacquer thinner before the epoxy coating. Once the epoxy cures, the entire bird gets a heavy coat of Grey Latex Primer.
Proportions
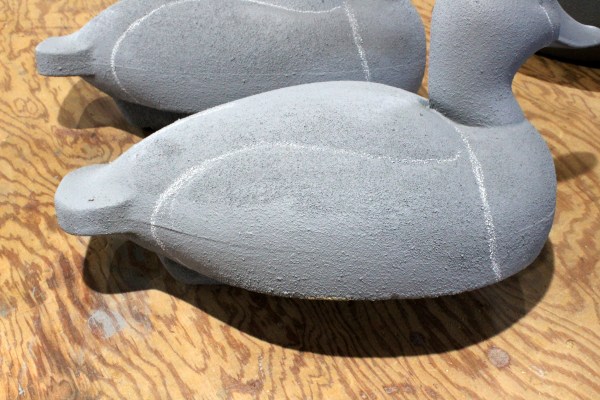
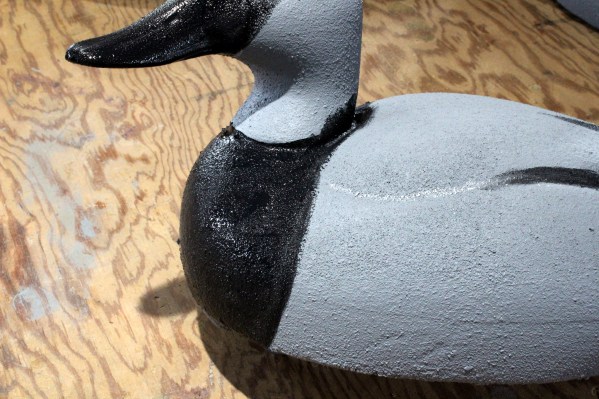
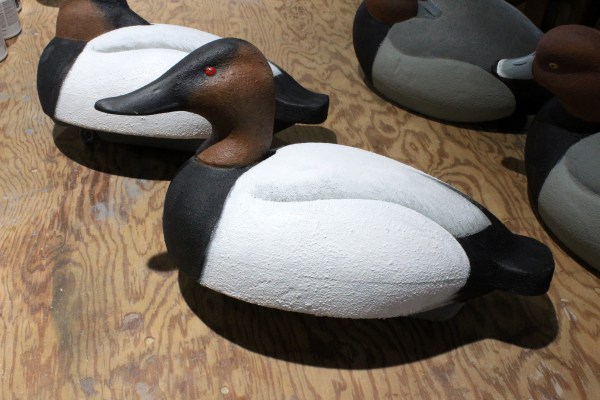
An important thing to remember about the Canvasback is that its mid-section is longer than in its cousins. The Can is one of five North American “pochards” – diving ducks in the genus Aythya. Others are the Redhead, the Ringneck and the Greater and Lesser Scaups. Compared with these birds, the dark chest and tail section are smaller and the mid-body is longer. So, when you lay out the paint pattern, the break between the chest and the sides is farther forward and the break between the sides and the tail section is further aft. This is true of both the Drakes and the Hens.
Painting the Drakes
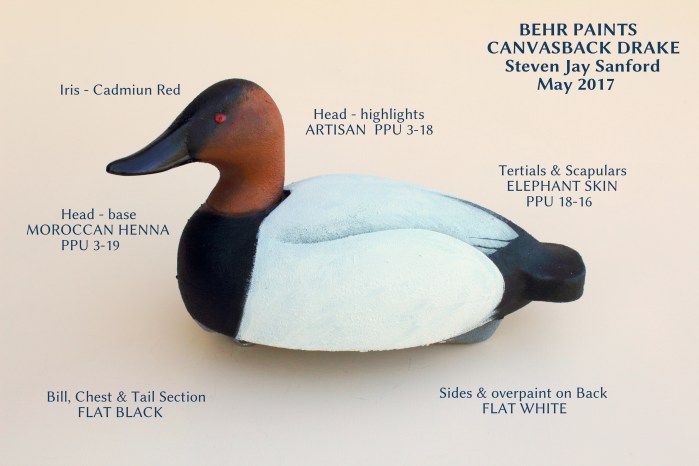
Here are the paints I use – Behr sample jars from Home Depot. For both sexes I put in some subtleties and details that are not necessary for gunning stool. The Drakes, for example, could be completed with just Flat Black, Flat White and a rusty red (Moroccan Henna or Artisan) and still draw plenty of Canvasbacks within range.
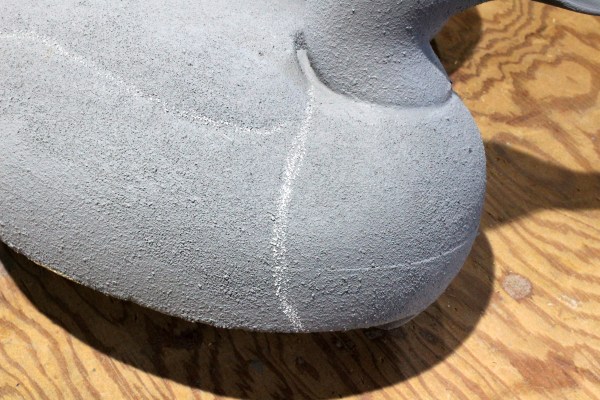
Laying out the major color areas begins with the smaller chest and tail sections as mentioned above. Mark the aft end of the sides about a half-inch behind the molded swelling.
Mark the chest so that the line runs down and forward from the “shoulder”.
Here is the big picture.
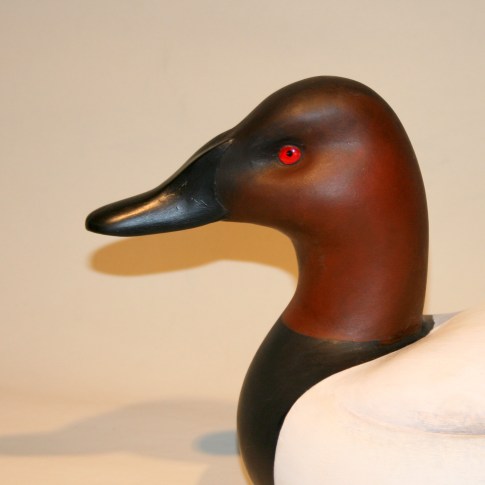
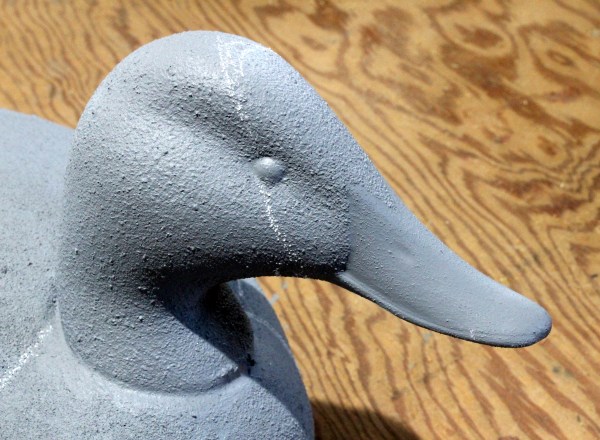
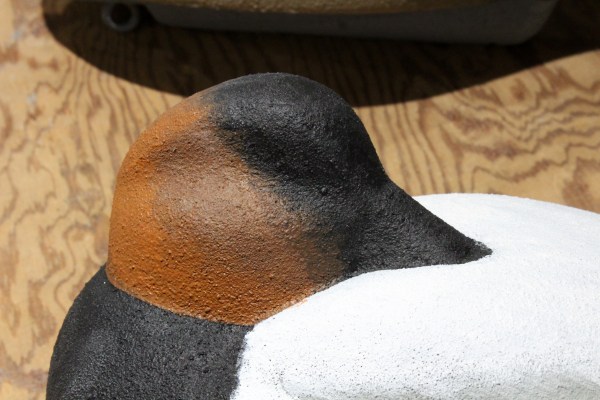
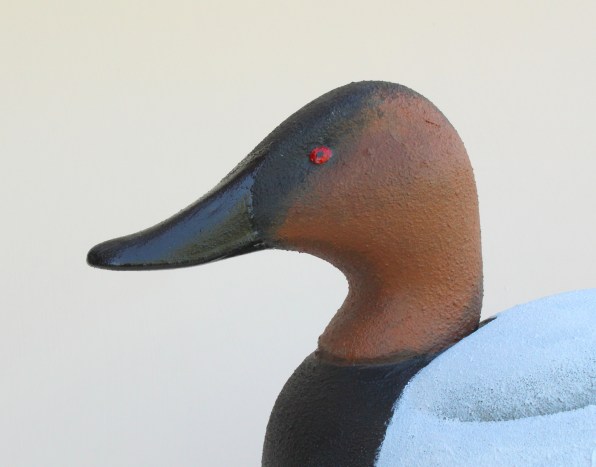
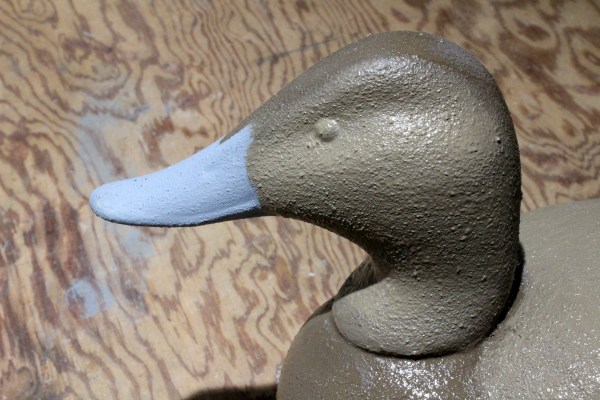
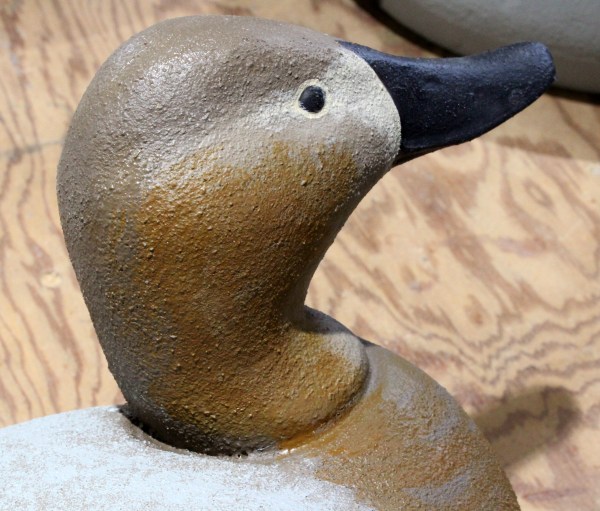
The bill is Black – as is the face on a line running from the “hinge” of the bill – through the eye – then onto the top of the crown aft of the eye. Note that the Black does not run down the back of the head or neck.
Here it is on the Sleeper. Although the head shape is more like a Redhead or Greater Scaup, it can certainly pass as a Can.

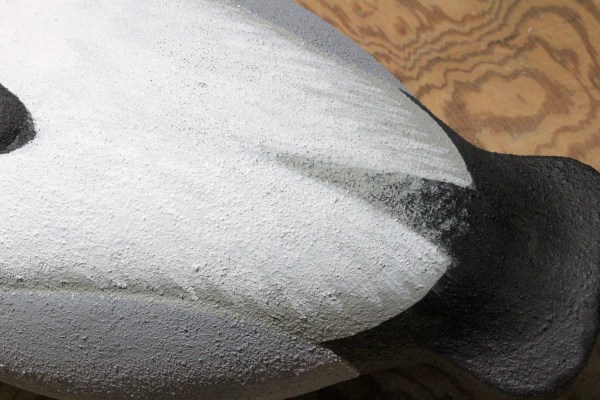
Now to apply some Flat Black. Overlap it around the bill and face just a bit. You can cut a nice clean line with later colors.
I usually paint decoys from the tail forward. The Black goes in three different locations: tail, chest and head.


I put more Black than I needed on the tail section here.

I prefer to base coat the head when the Black is still wet. With a stiff brush (3/4-inch “flat”), work a soft edge between the Black and the Moroccan Henna.
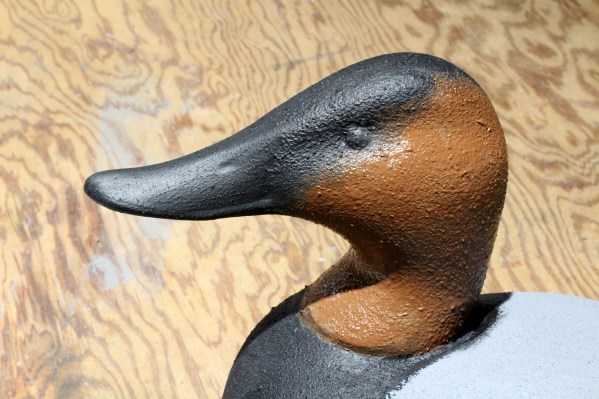
The Moroccan Henna covers the back of the head and neck.

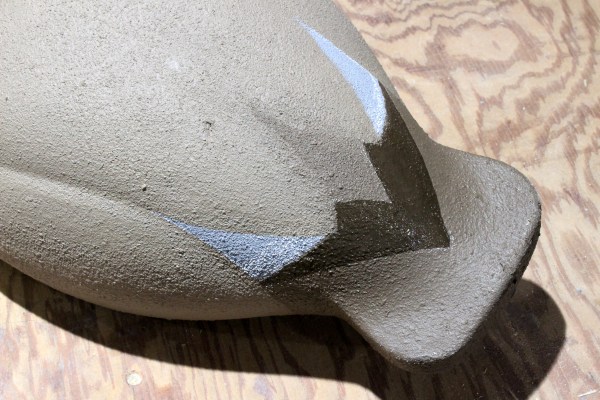
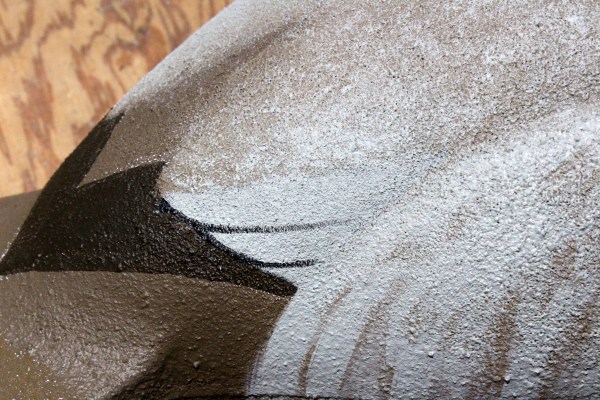
Once the Black is dry, cut the pale grey Elephant Skin on the tertial and secondary (= speculum) groups. Stipple the grey onto the upper rump between the tertials.
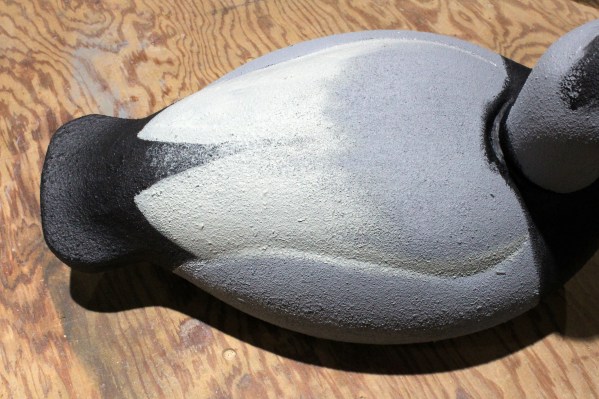
Also run the pale grey along the lower edges of the scapulars – where the back feathers “fold” into the side pockets: the so-called “roll-out”.

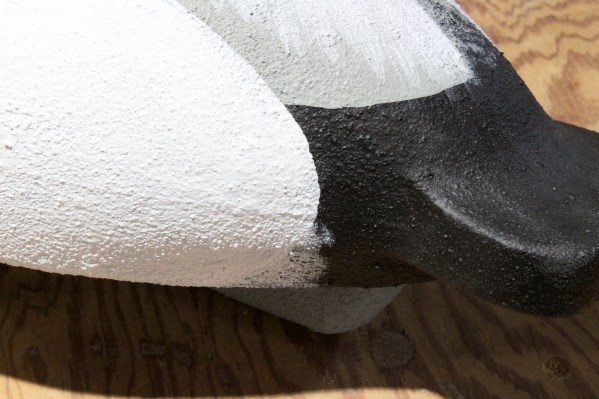
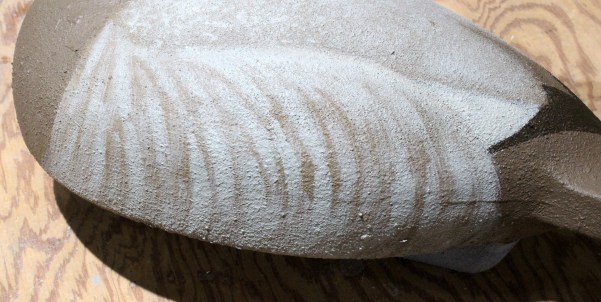
Now put some Flat White onto the back. Use it full strength up forward and cut a crisp line next to the bill and cheeks. Use a drier brush where is meets the pale grey Elephant Skin near the roll-out. Drag the lines downward and back.

Expose more of the pale grey tertials and speculum as you go aft. Stipple the White to suggest the look of heavy “canvas”.

Now paint the sides pure White.
Drag the White sides onto the Black flanks with a dry brush.
If you want some depth to the head colors, highlight the cheeks and sides of the neck with Artisan.
Paint the iris bright red. I use Cadmium Red acrylic from a tube.
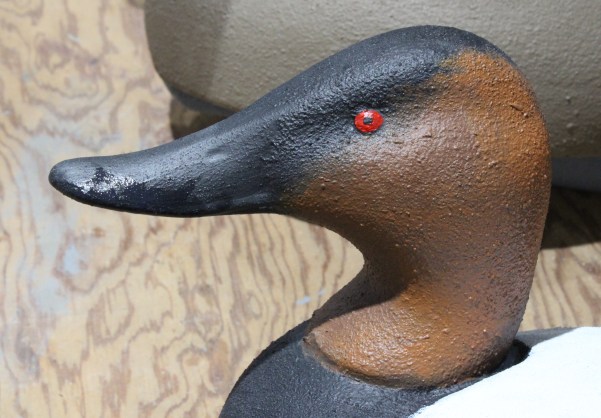
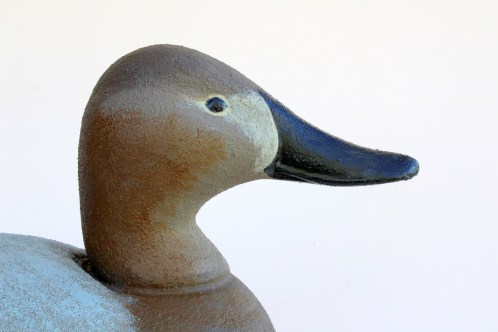
Here is Mister Canvasback – ready-to-hunt!
Here he is on the photo bench.

Note the two hues on the head.
And the Sleeper….

Painting the Hens
Once again, a simpler approach will work for gunners. I use some undercoating and over-painting to get some subtle effects unnecessary for hunting. The Hens could hunt with just brown ends, a grey middle, and a black bill. As always, I try to use Behr colors that I use on other species whenever possible.

The ends and top of the head are a medium brown. I use Aging Barrel, the same color I use on the backs of Canada Geese, on Redhead hens and some puddler hens.


The mid-sections are a paler brown – Mocha Latte.


The face and neck are also the paler Mocha Latte.
The bill and eyes are Flat Black.

The primary groups are laid out in chalk.

I use Espresso Beans (Black Duck body and lots of other uses) to exaggerate the contrast with the back and rump.
I use the same pale grey as on the Drakes: Elephant Skin. I paint the speculums a solid color and then stipple the back so the brownish undercoat shows through. I stipple heavier up forward and lighter as I move aft – so the back grades to a darker shade toward the stern.

Elephant Skin is used for the barring on the sides. The barring should be curved. Longer bars aft, shorter bars forward. Make sure the undercoat shows through.
The cheeks, sides of the neck and the chest get an over-painting – using a dry brush – with the redder Ancient Root.

On the chest, barring should be suggested.

The pale Woven Straw is used for the facemask: a distinct eye-ring and a “wash” near the bill and through the eye channel. To be correct, it should also include the throat below the bill.

Finally, I added the Black edges on the individual speculum feathers.
Here she is on the bench – ready-to-go!

Sea Trials
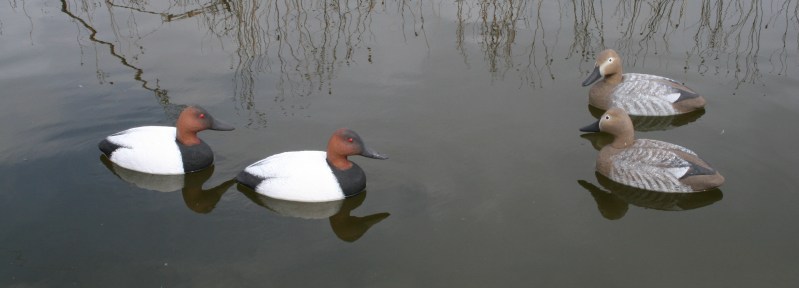
No prairie sloughs nor Susquehanna Flats nearby – so Lake Champlain and the Hoosick River will have to do for sea trials.


Hope this helps!
SJS
![]()
