Putting some classic gunning decoys back into shape

Here is how they looked upon arrival – worn from honest work but not beyond repair.
As much as I enjoy developing a new “fancy” carving – and crafting a gunner that looks and works really well – I still thoroughly enjoy re-painting gunning decoys. There is something about transforming a whole herd of venerable but badly worn decoys that is very satisfying. In fact, it is difficult for me to gaze upon some of my “collectible” birds – like some cork Wildfowler Black Ducks – and not pick up the paint brush. So, when I saw a bunch of Bean’s Coastal Black Ducks for sale in nearby Vermont, I took the plunge. Just for fun – and a modest profit – I would rescue some classic decoys and put them in the hands of a gunner who would put them back into use. Best of all, he would put them into use on the “coast” – the tidal salt waters of my native Long Island.
I bought 16 Black Ducks and brought them to the shop in August. I picked out the “best” pair – a high head and a lowhead/swimmer with the most original paint. They will live on a shelf in my shop – unmolested by tools or paint for the foreseeable future. The others would be restored – as 10 Blacks and 4 Mallards.
Gallery 1 – As they were

Here is how they looked upon arrival – worn from honest work but not beyond repair.

This is the original paint – perhaps 40 or 50 years old.

The heads were fastened with a dowel.

A brass pin intercepted the dowel in the neck.

I always liked this Swimmer posture.
Dale Dalrymple – of http://www.dalesdecoyden.com – freely provided his thoughts on the vintage – probably late-50s or early 60s. I understand that Dale is writing a book on Bean’s decoys.
Phase I involved some minor repairs and then sealing and priming so they could be painted.
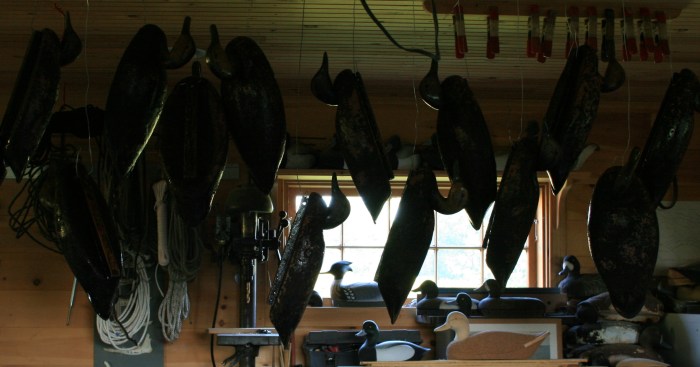
I hang the birds so the varnish will run to one spot – the tail.
Gallery 2 – Getting them ready for paint

Some of the larger voids in the black (aka “refrigerator”) cork were filled with epoxy and microballoons – then sanded.

I drove a deck screw up alongside the dowel on about half the birds – whenever the head wiggled side-to-side.

Here is a better view of the dowel and the driven screw.

Then, I brushed on a very wet coat of spar varnish – to seal the cork so it would not drink up Great South Bay.

I hang the birds so the varnish will run to one spot – the tail.

Flat grey primer goes on the bottoms and the heads.
I painted the Black Ducks first. Although I usually topcoat gunners with acrylic latex (house paint), I like to prime my birds with flat oils. In this case, I had a can of Black Duck Body Color – Flat Marine Enamel #3 from Lock, Stock & Barrell. This is an oil paint – and is the perfect base color for this species. So, the “primer” and the topcoat were one-and-the-same on the Black Duck bodies.

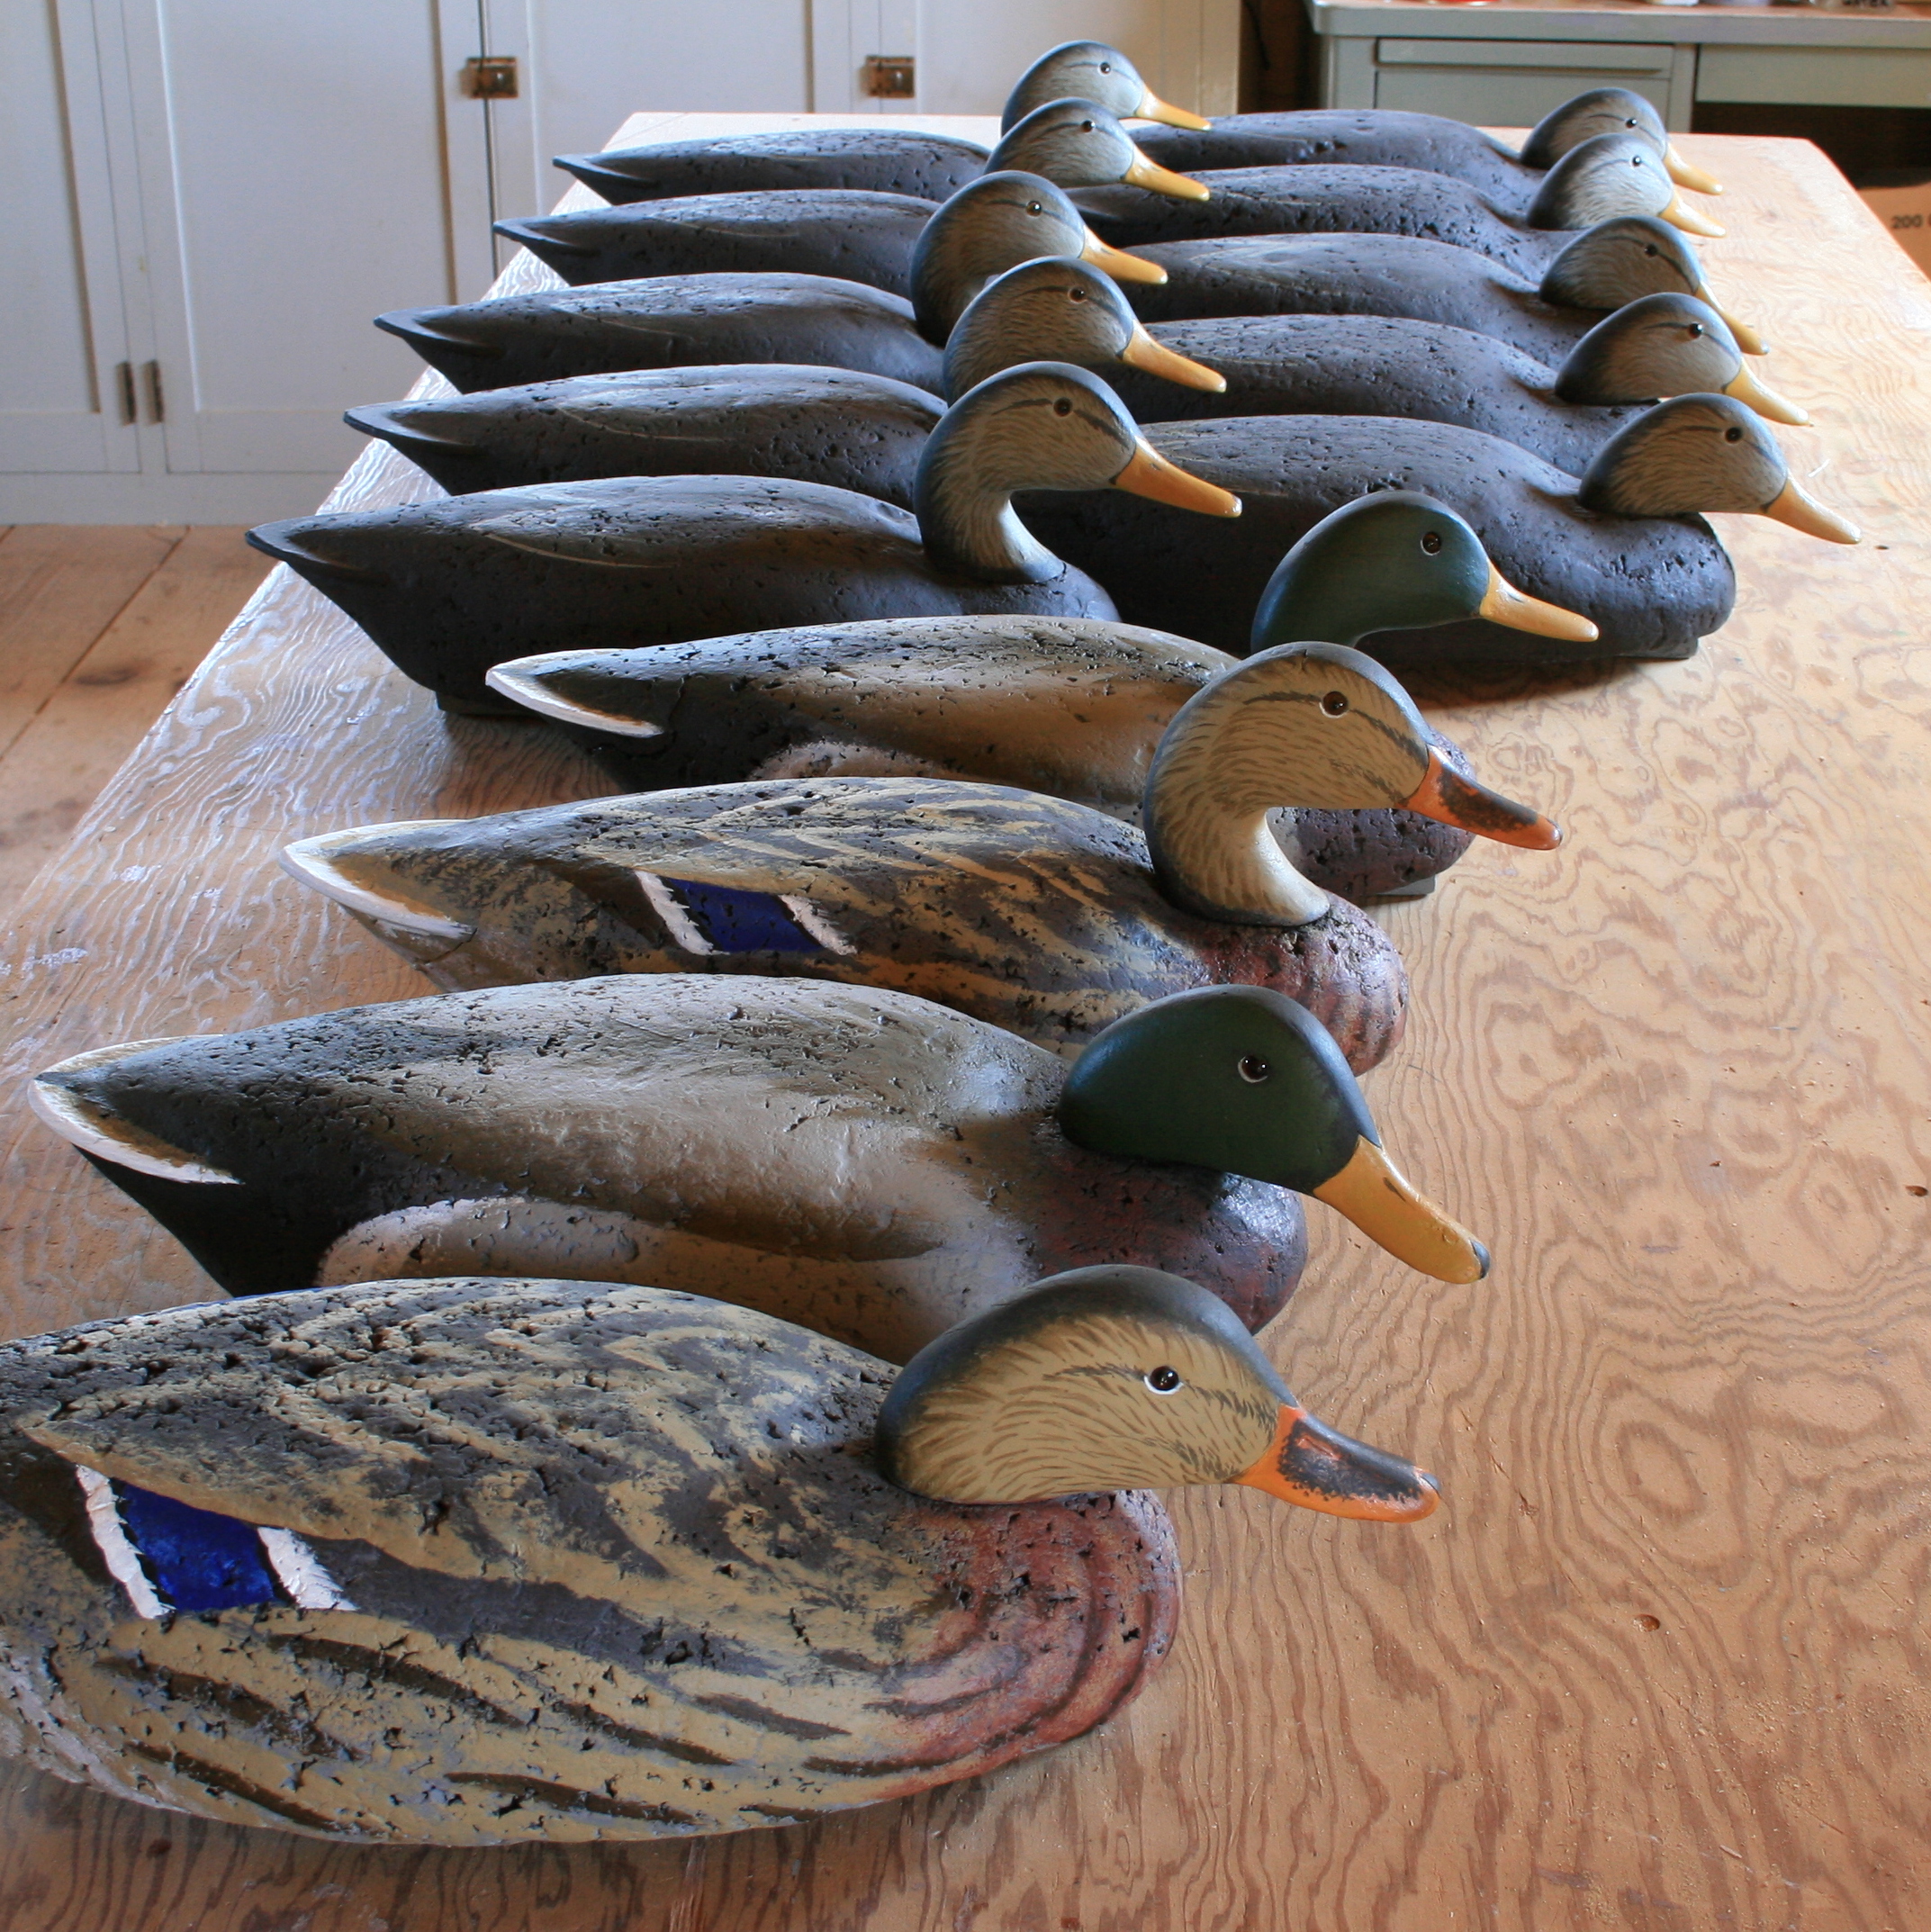
And here is the Big Ten – ready once again to campaign on Great South Bay.
Gallery 3 – Painting the Blacks

The body color is carried onto the back and top of the head.

Notice that the body color also comes up the base of the neck in the front.

Behr Mocha Accent from Homre Depot – in a sample-sized jar – is a good base color for the face on a Black Duck.

I use Behr Black Suede for the crown and the eyeline.

The bill is mostly Yellow Ochre from a tube. Note the black Line of Demarcation between the face and the bill – with that little triangle by the hinge.

I use Behr “Fedora” for the streaking on the cheeks – and suggest the back of the cheek separate from the neck itself.

I overpainted the dark flecking with paler (Behr Ashwood) streaks at a different angle to give that “wormy” look.

I accent the eye by painting in the lower eyelid with Ashwood – or White.

Here is a finished Swimmer – with a simpler paint scheme on the face.

This Highhead has the two-tone paint job.

I vary the eyeline but try to get that “hat pulled down to his eyes” look.

The tertials are probably important to other Black Ducks – note that they fade to paler toward the inside of the back.

I like a Grey bottom – so I can write the owner’s name in permanent marker.

Here is the face in natural light.

Here is the whole bird outside.

And here is the Big Ten – ready once again to campaign on Great South Bay.
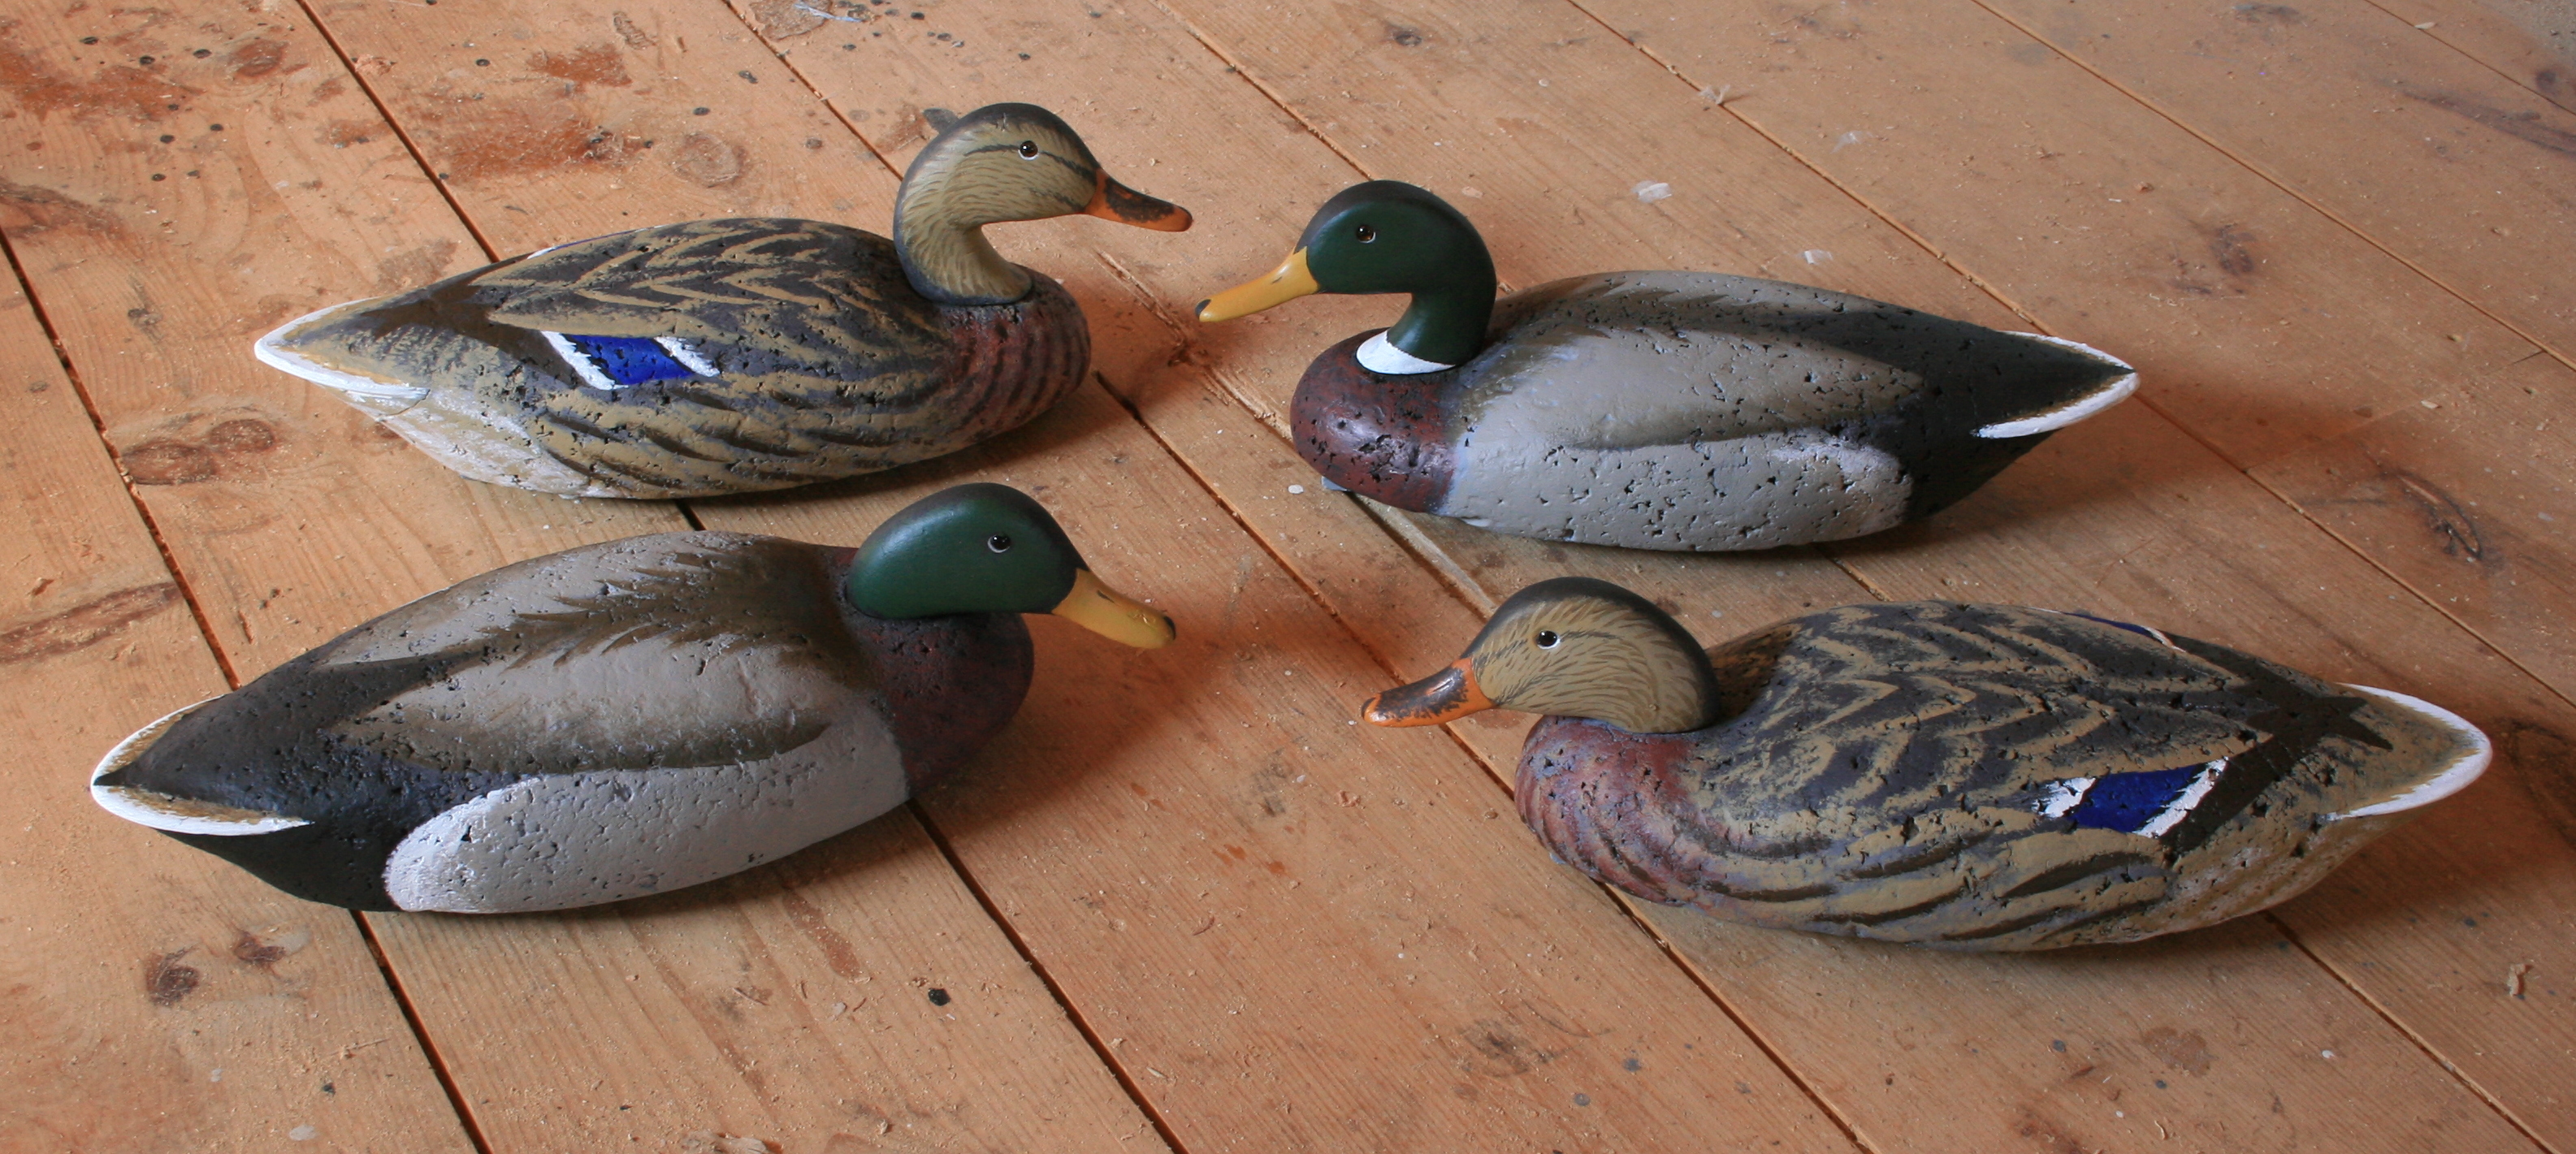
Painting the Mallards

Here is the Foursome.
Although the Mallard is our commonest species – and probably the commonest decoy – it is the most difficult to paint. The Drake requires some blending on its back and flanks to look right – and the Hen needs to look streaked like the grassland-nester that she is.

The Hen is primed with the Black Duck Body lightened with White.

The paint and varnish need to be scraped from the eyes.

The undertail is streaked with White to lighten it.

The speculum – which usually shows more on Hens than Drakes – is done with 2 shades of Ultramarine Blue – and some detail on the Black and White”bars”.

The back should be dark but with obvious streaking.

The sides are lighter but still heavily streaked. Each streak should sweep upward as it goes aft. The “tan” is Behr “Collectible”.

The Hen’s chest – just like the Drake – has a reddish cast to it.

Note the “mustache” – which Black Ducks do not have – and the heavy “saddle” on the bill.

Here is the whole effect on the Swimmer.

The Drake’s tertial feathers should be blended light to dark as they move outward from the centerline.

The dark back feathers are distinct “triangles”.

The flanks should fade from a warm Grey to White along the after edge.

The chest is Black Duck Body overpainted with a Barn Red.

I favor a dark Green cheek – without the vivid colors some prefer.

Here is the Foursome.

And here is the completed rig.
Now for delivery – and a useful life once again.

And here is the completed rig.


Excellent tutorial
Thank you
Great tutorial Steve. Thank you for doing these and showing us all how you do it from start to finish.
Blown away by your art and website! Thank you for passing this information on