
A Sunfish conversion for the open bay or saltmarsh
As I explained in the Boats & Canoes section, I converted this boat for a friend – to be used for layout gunning on Great South Bay. I did this one using the original decks. If I do another, I would probably remove the decks, cut the hull down an inch or so all around, then frame out plywood decks with about 4 inches of crown.
I built this boat to be used primarily for open water gunning but also wanted it capable as a “grassboat” for use in the saltmarsh. Either way, the gunner would be lying on his/her back prior to the Moment of Truth. For open water use, it would most likely be towed with a bigger power boat – to carry the decoys and other gunners. For use in the marsh, it would be rowed. The Sunfish hull rows very nicely because its stern lifts well out of the water and gives her a clean “run”. Also, she has lots of rocker and her bow rises to meet heavy head seas. Finally, she has enough deadrise (vee) to help her track well, even without a skeg.
Preliminary sketches
Here are the approximate dimensions and constructions details with which I began. It is nor unusual to fine-tune these as work unfolds.


The first step is to mark the cockpit opening.

I began to make 9-inch side decks but widened them to 10 1/2. I made up this marking jig so I could follow the curve of the gunwale. I was careful to establish square by measuring forward from the transom.

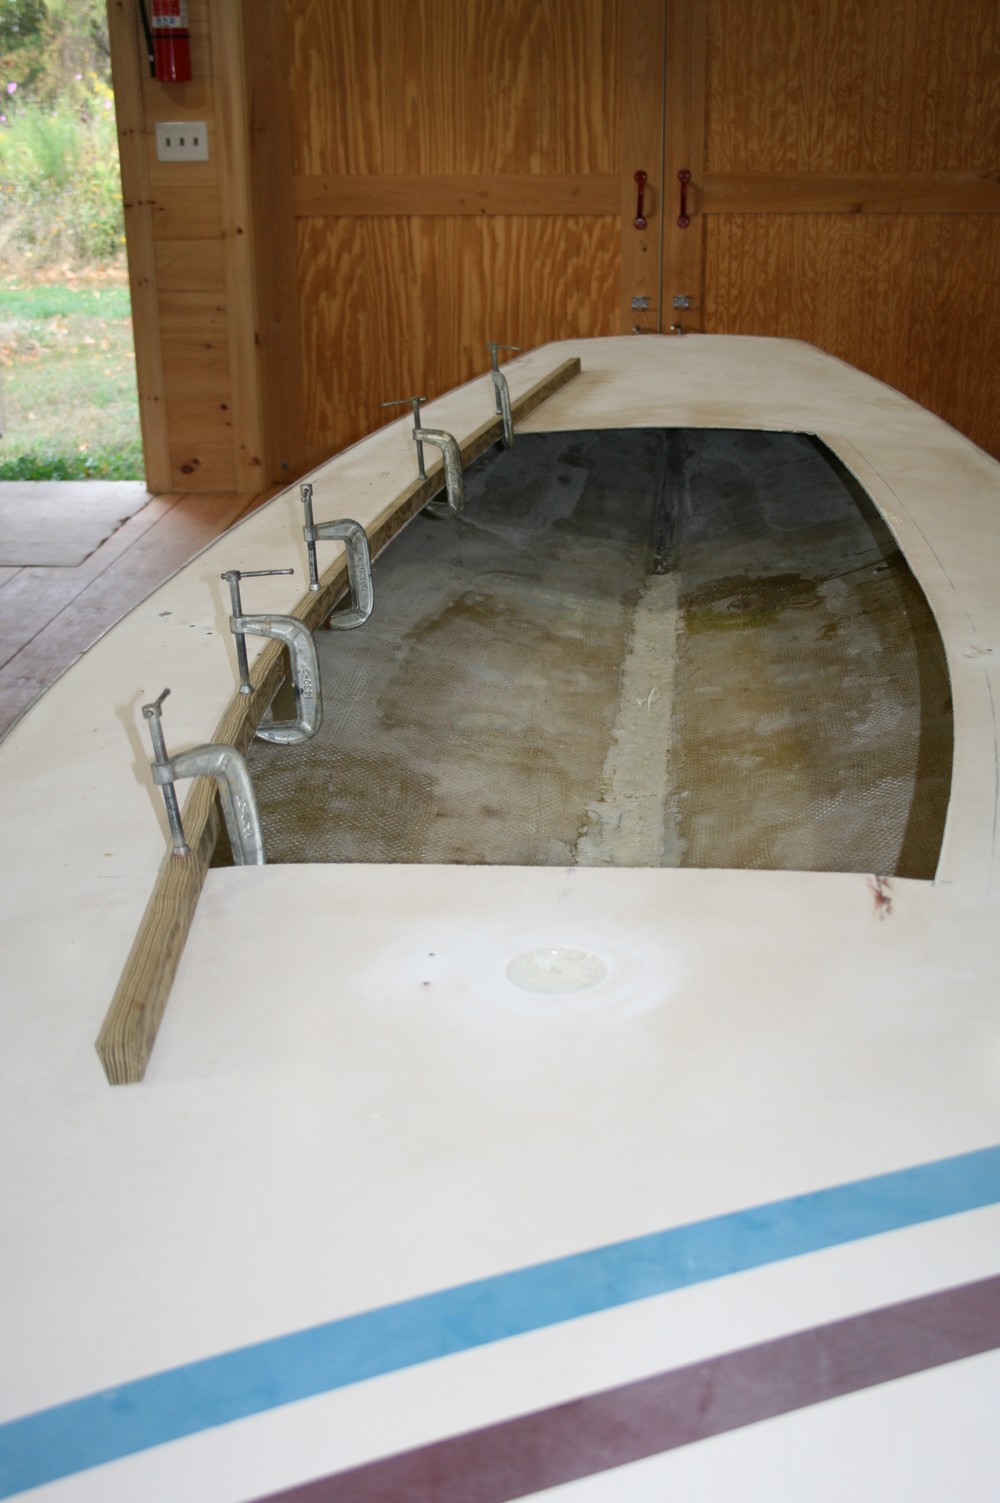
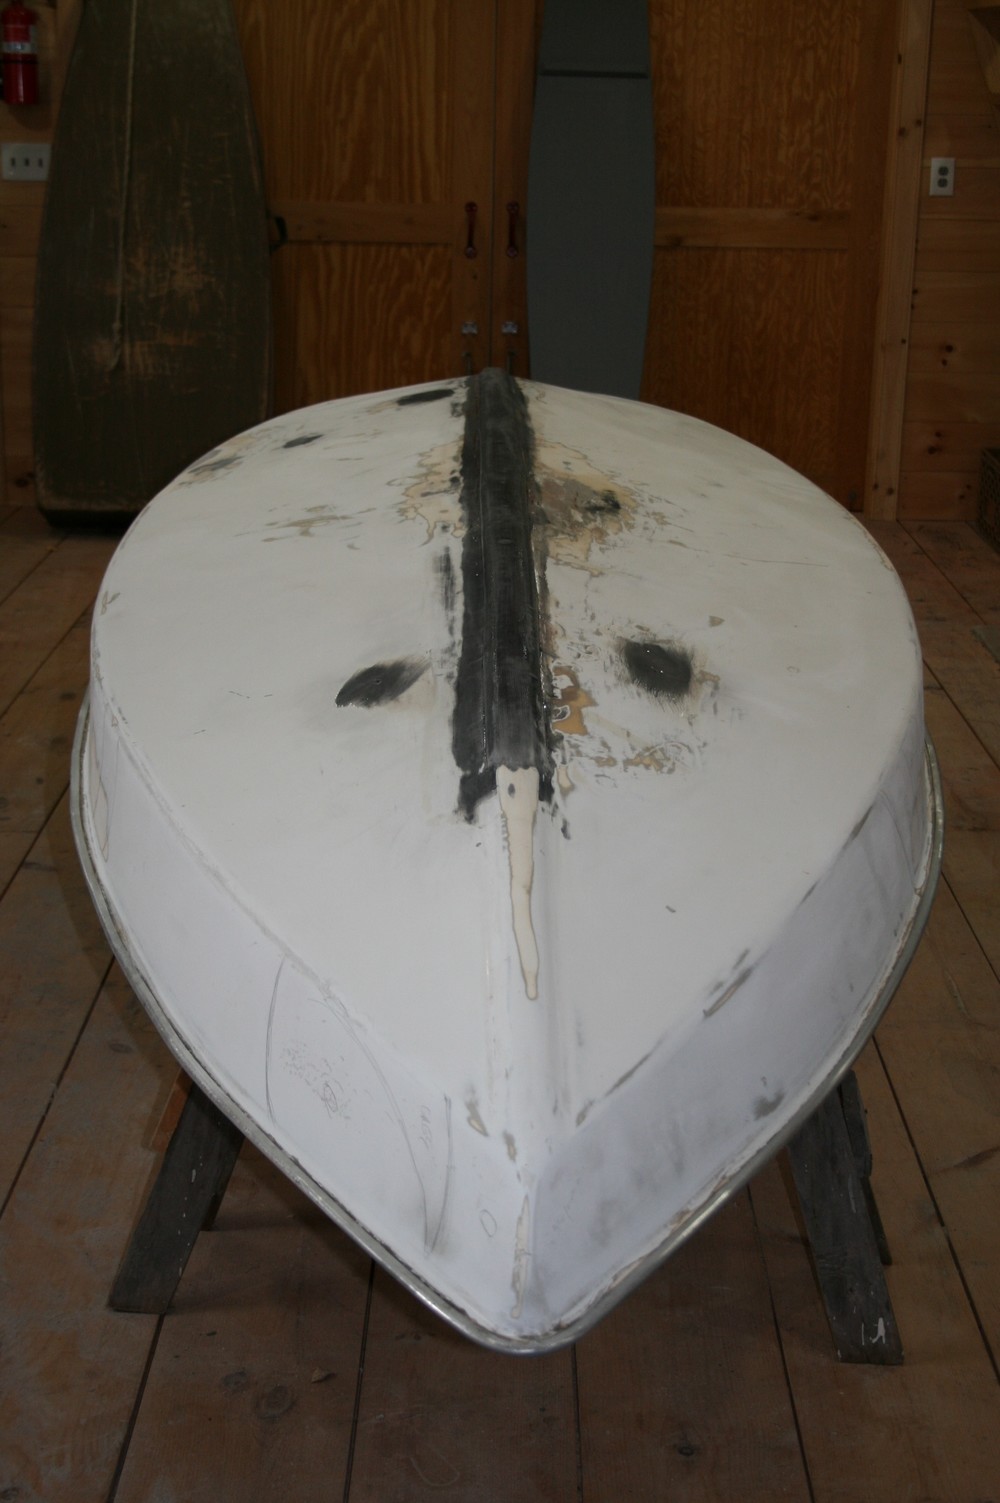
After marking all four sides, I cut through the deck with my skilsaw. Then I removed all of the existing floatation (water-logged Styrofoam) and extraneous structures.

Here she is opened up – ready for the shop.

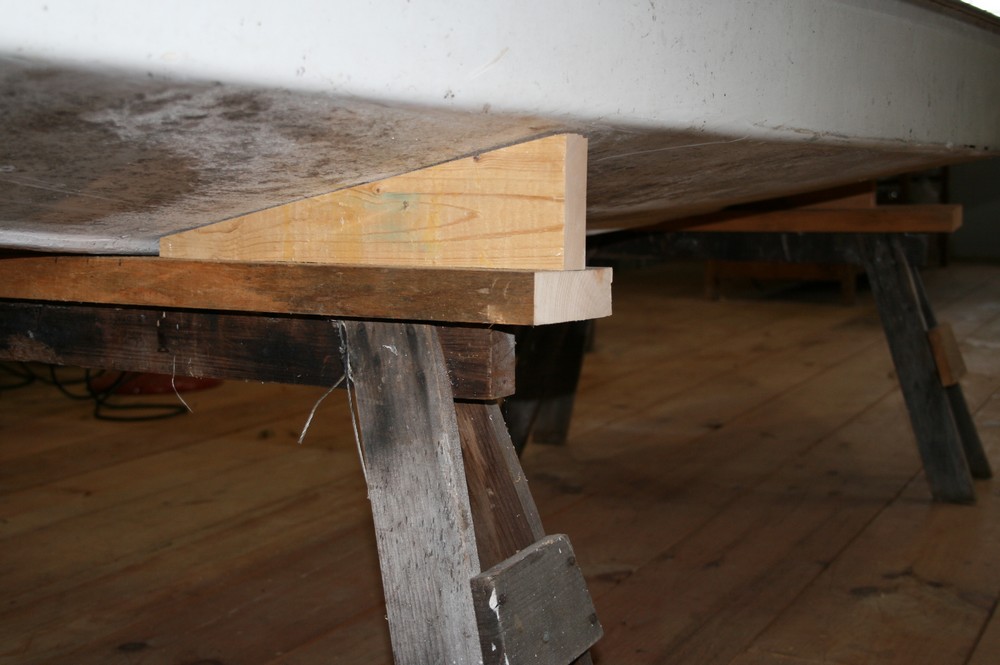
First thing I did was to fit some chocks and screw them to my horses so the hull would be dead level.
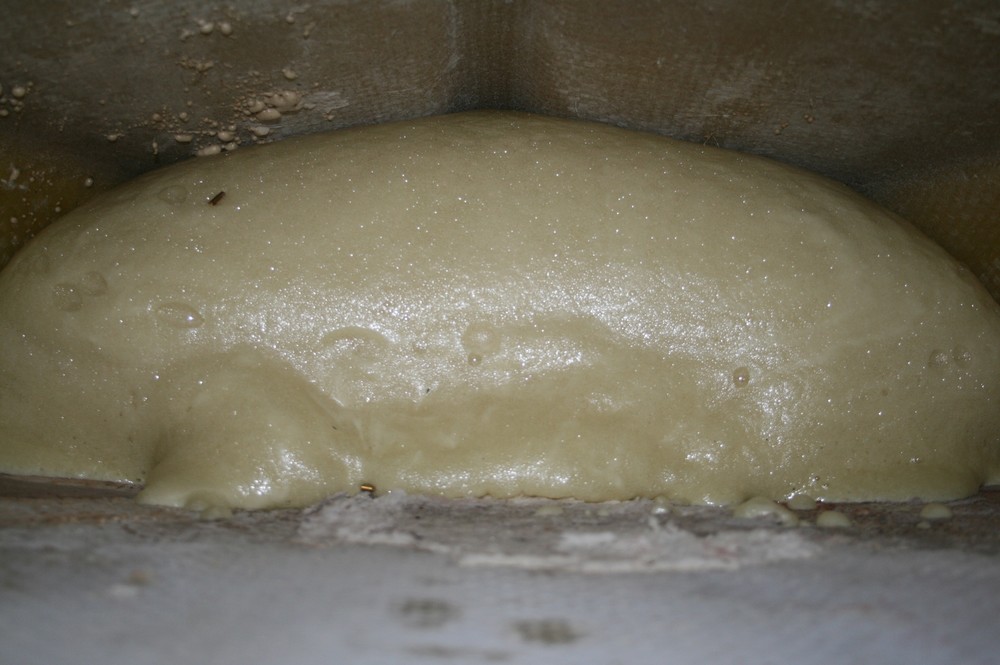
Next, I filled the keel and the mast step with insulation foam.
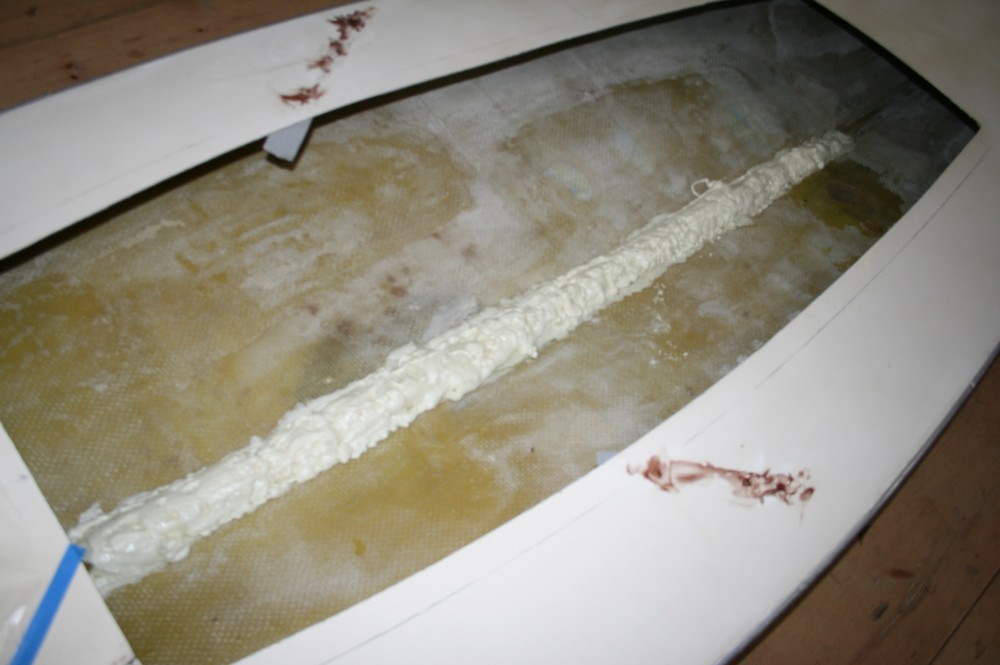

After it cured, I fared it off – to be covered later with ‘glass. I also poured floatation foam (2-part, 2 pounds per cubic foot) into the bow and stern. I tilted the hull down at the bow to get the forward foam where I wanted it – and vice versa for the stern.
The next step was fitting the deck purlins – the longitudinal framing members that stiffen the cockpit and provide something to fasten the coamings to later. I used some clear treated lumber (Southern Yellow Pine). I ran the purlins well past the cockpit opening to avoid creating a “hard spot” in the decks. I beveled the purlins on the table saw so they would be vertical once fastened. I set then in 3M 5200 adhesive caulk and SS panhead screws to hold them in place.
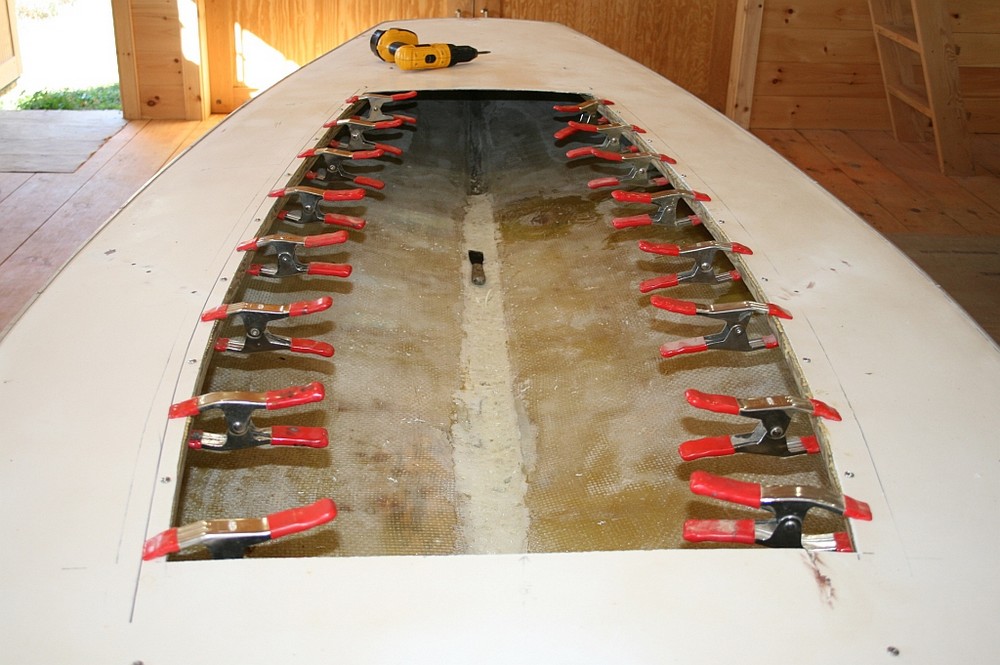
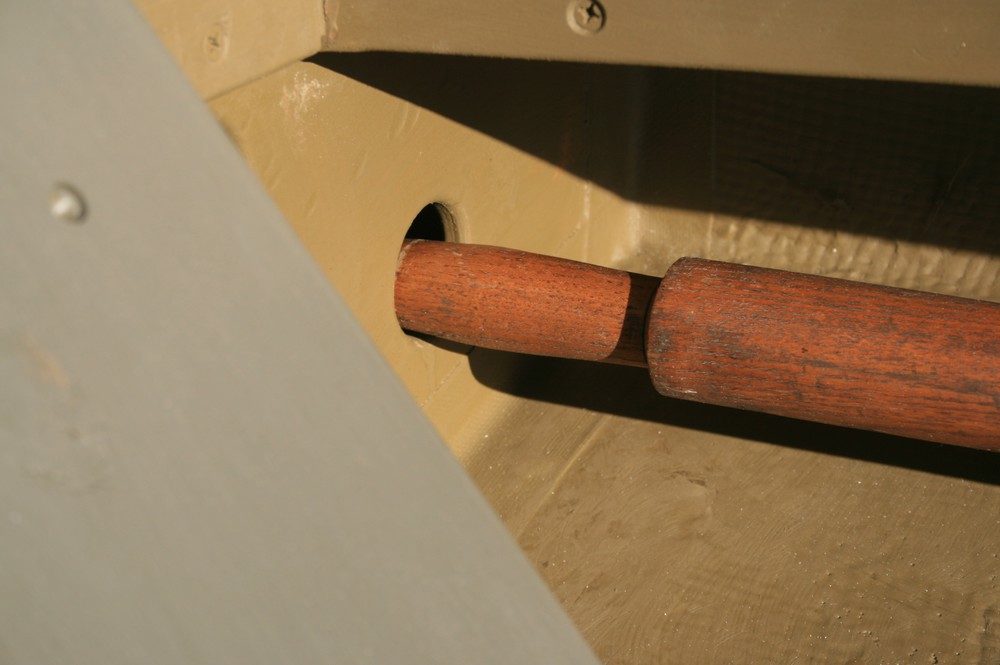
The bulkheads were fitted to the hull and deck and notched to accommodate the purlins. Holes were bored into the forward bulkhead to hold the handles/looms of the oars – and slots were sawn into the aft bulkhead to hold the blades of the oars. The upper edges of the bulkheads were held with the 3M 5200 again – but the bottoms and sides were ‘glassed and epoxied into place.
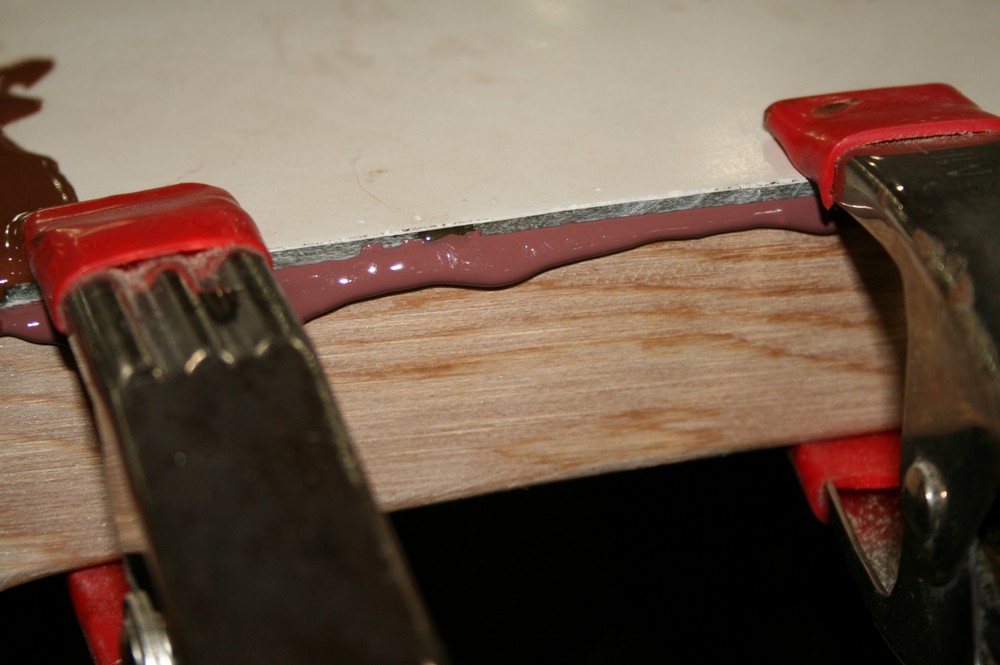
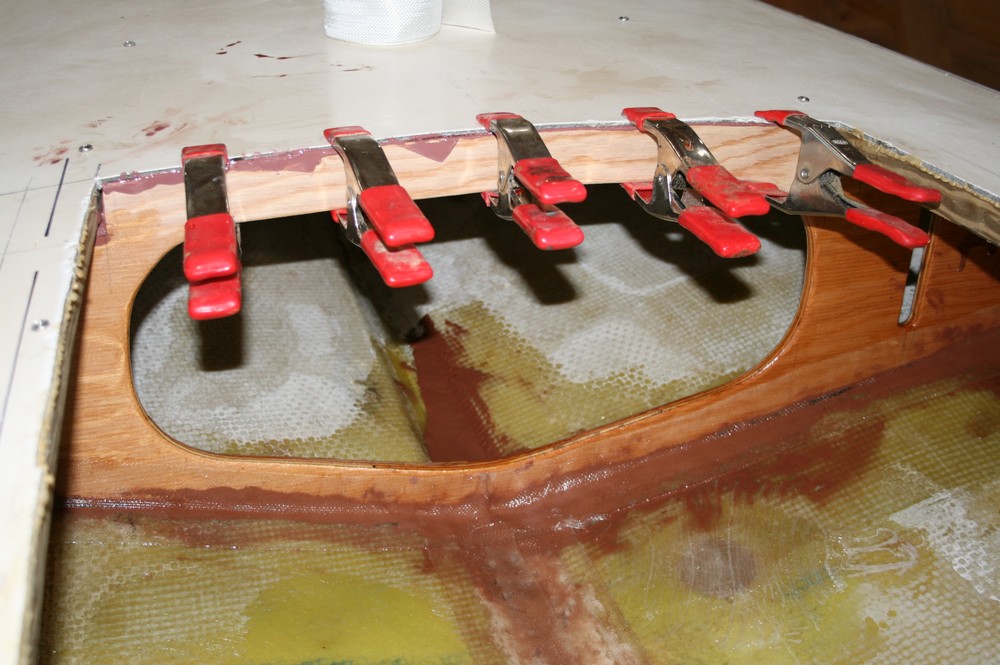
The coamings were screwed into the purlins and bulkhead using flathead SS screws – and set in 5200. The forward and after coamings are 3/4-inch thick treated lumber (SYP). The side coamings are Yellow Poplar (Tuliptree) planed to ~ 1/2 inch thickness. Yellow polar is quite prone to rot so I generally avoid it on boats unless its in a well-aired location like coamings. Better choices would be Cypress, White Pine or Philippine Mahogany.

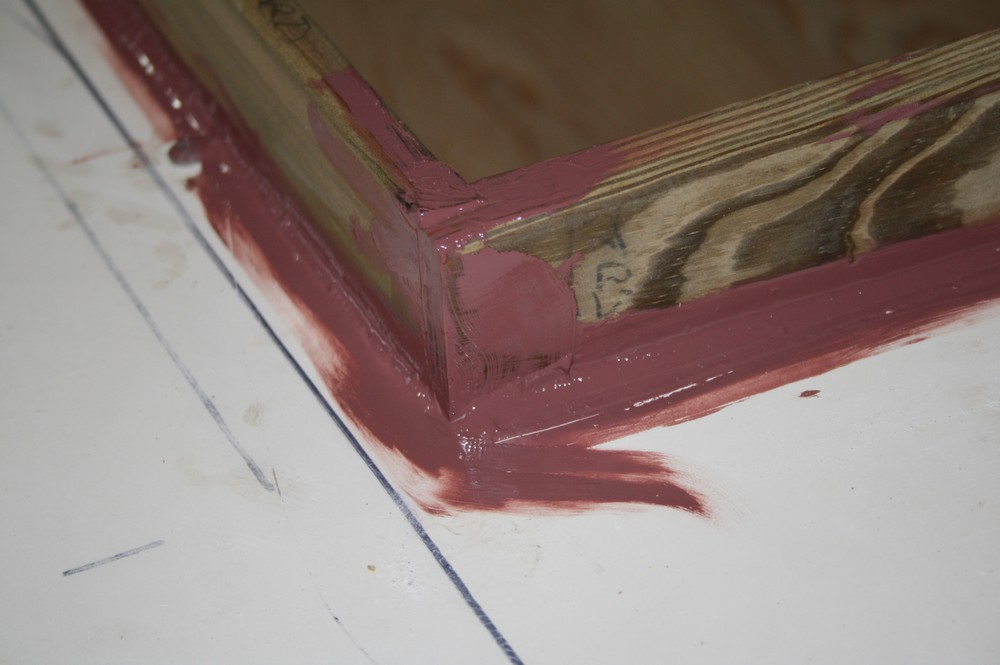
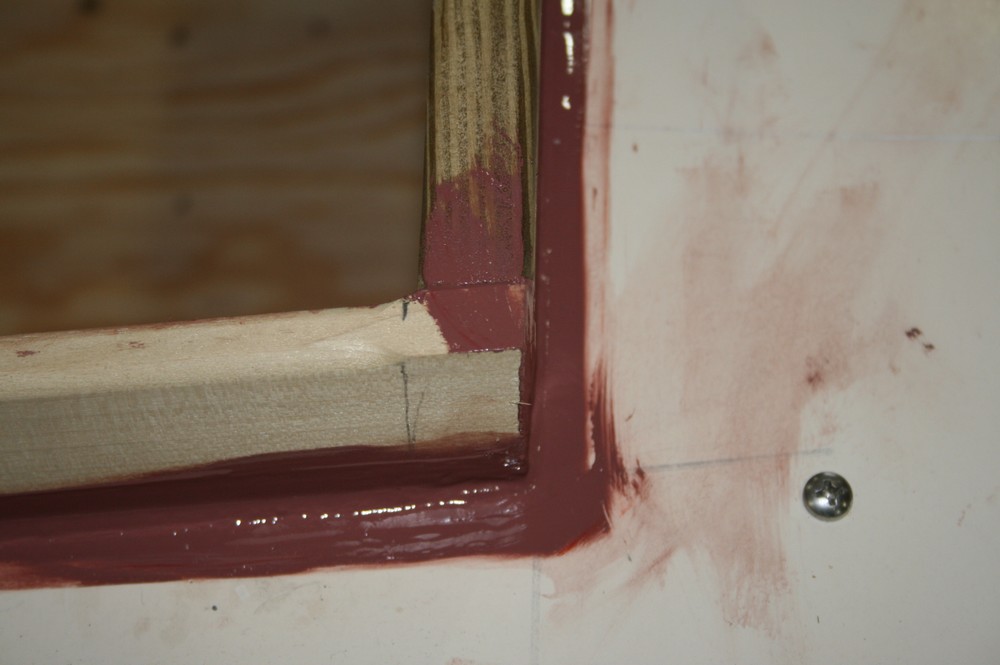
I notched the forward coaming to receive the forward ends of the sides coamings. I used a simple butt joint at the after end because it is challenge to get a tight fit on the bent sides otherwise. Liberal use of 5200 will keep moisture out – as will forming a generous fillet between the deck and the coamings. Hard to beat a fingertip for this procedure.
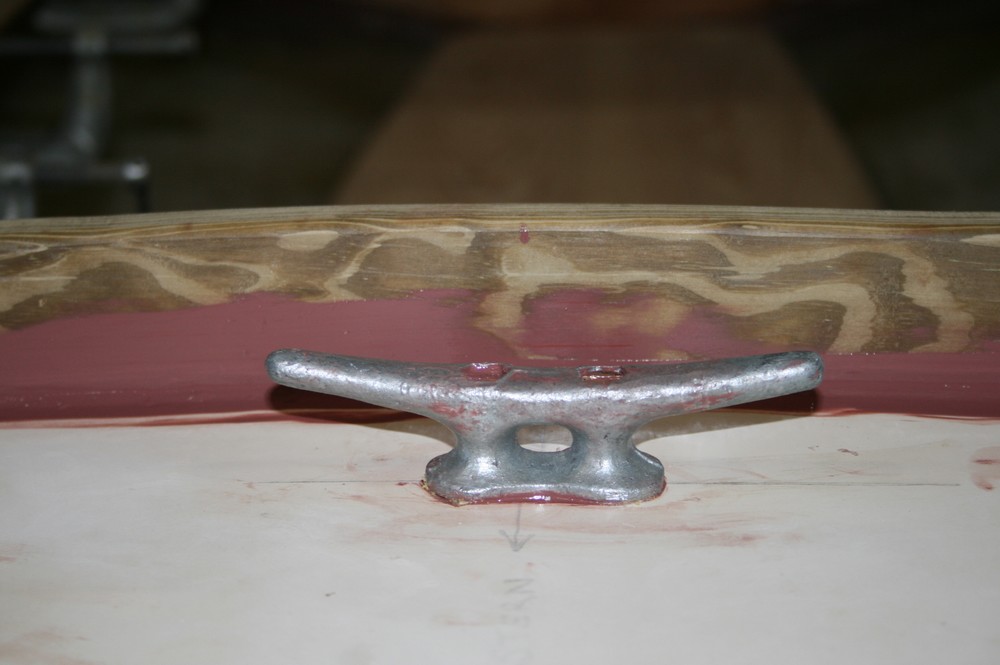
Four-inch galvanized cleats were installed a couple of inches fore and aft of the cockpit – for securing the bow and stern anchors, respectively. Each was bolted through the deck and a block of 1/2-inch plywood below – bedded in 5200, of course.
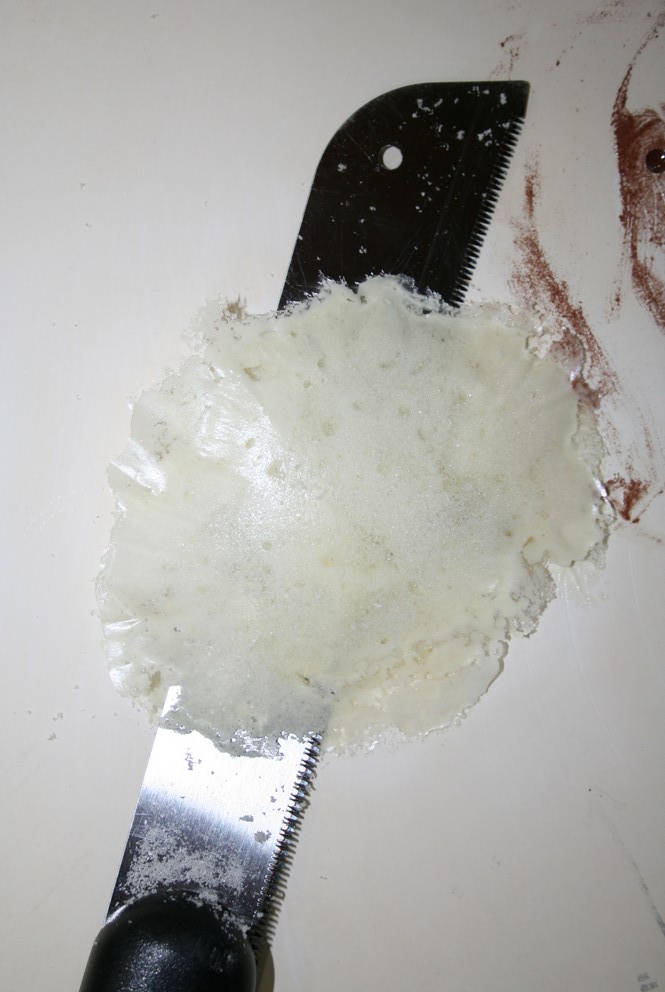
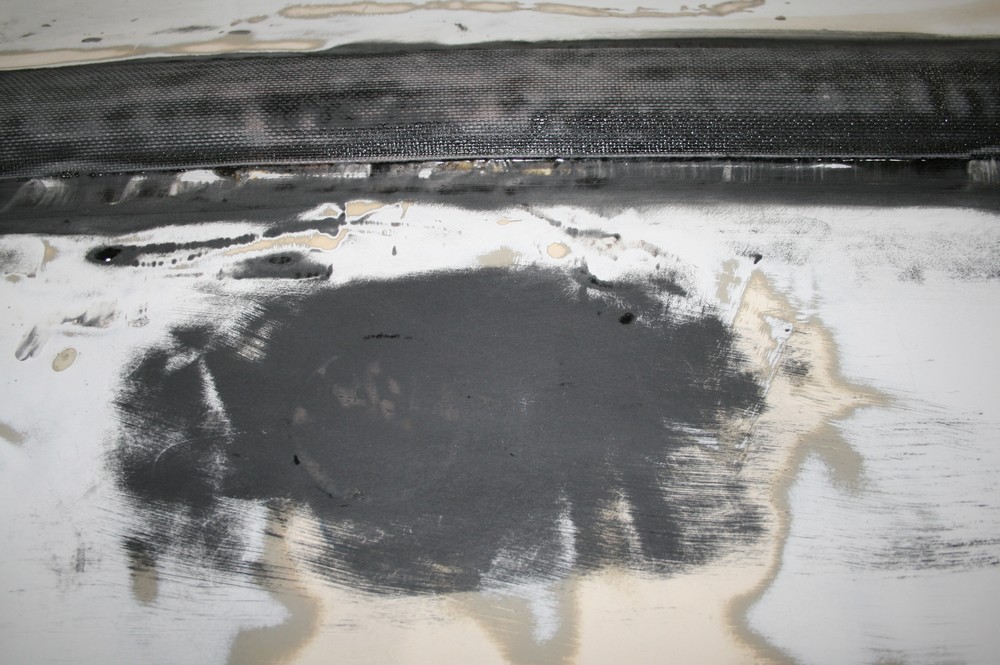
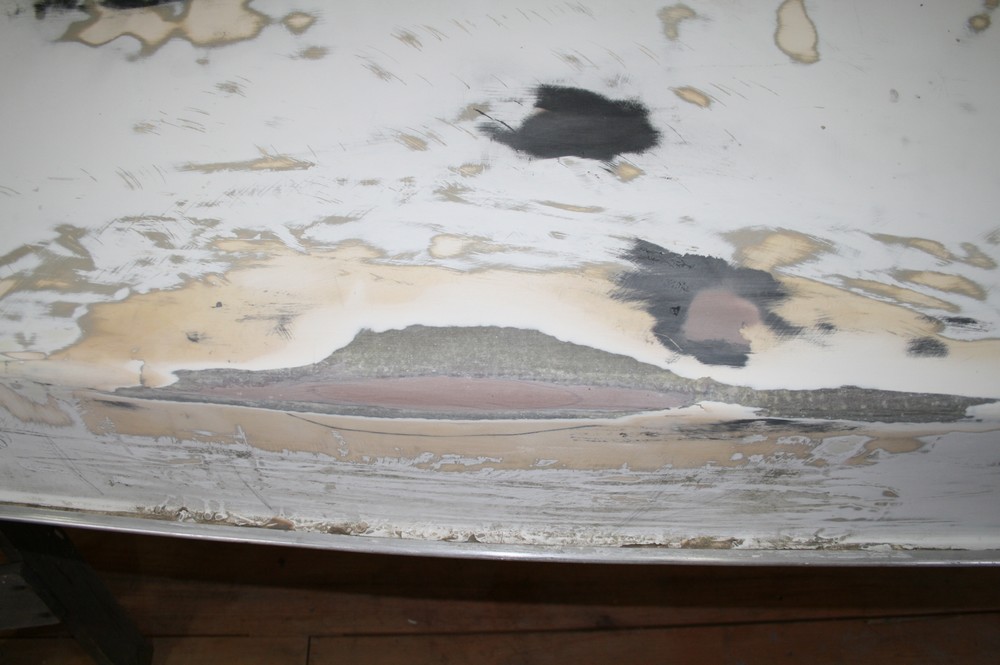
The bottom of the hull required lots of attention. In addition to ‘glassing over the daggerboard slot and drain hole, therte were the usual dings, gouges and erosions. All need to filling sand fairing. I thickened the epoxy with microballoons and ‘glass fibers. Along the keel – which I protected with a length of ‘glass tape – I added graphite powder to the epoxy.

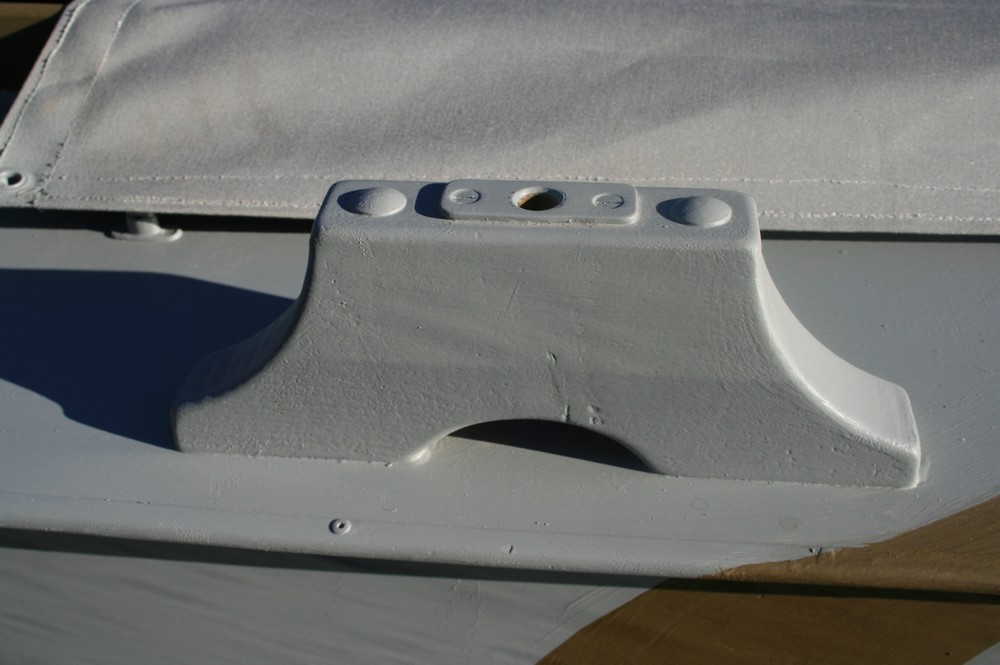
The stern fairlead was made from treated SYP.

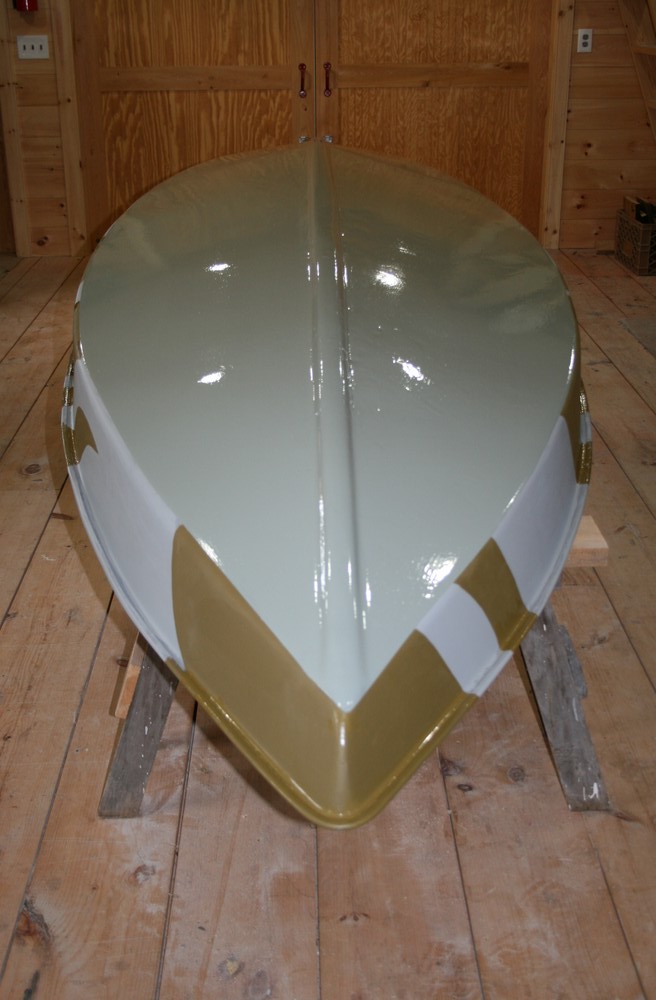
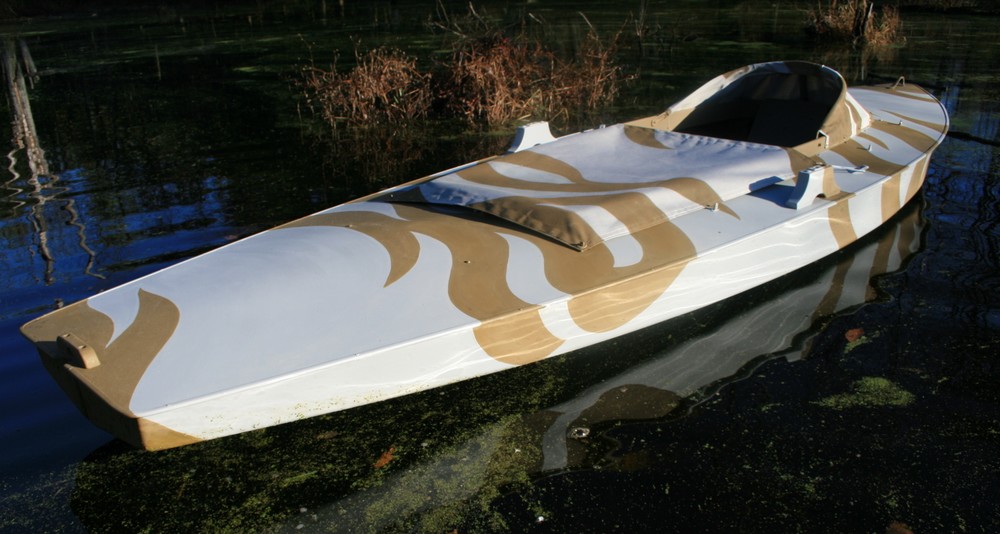
The hull then got a coat of Grey Primer (Interlux Pre-Kote) and then a glossy Grey belowe the waterline. Gloss paints are tougher than flats and their shine hardly matters down below. The sides and decks got a flat Grey and was then “tiger-striped” with Parker’s Hunter Green duckboat paint. The idea of the tiger stripes is to break up the outline of the boat. I have also found that it works well for gunning in the marsh – by just grabbing some old hay from the wrackline and scattering it around the decks.

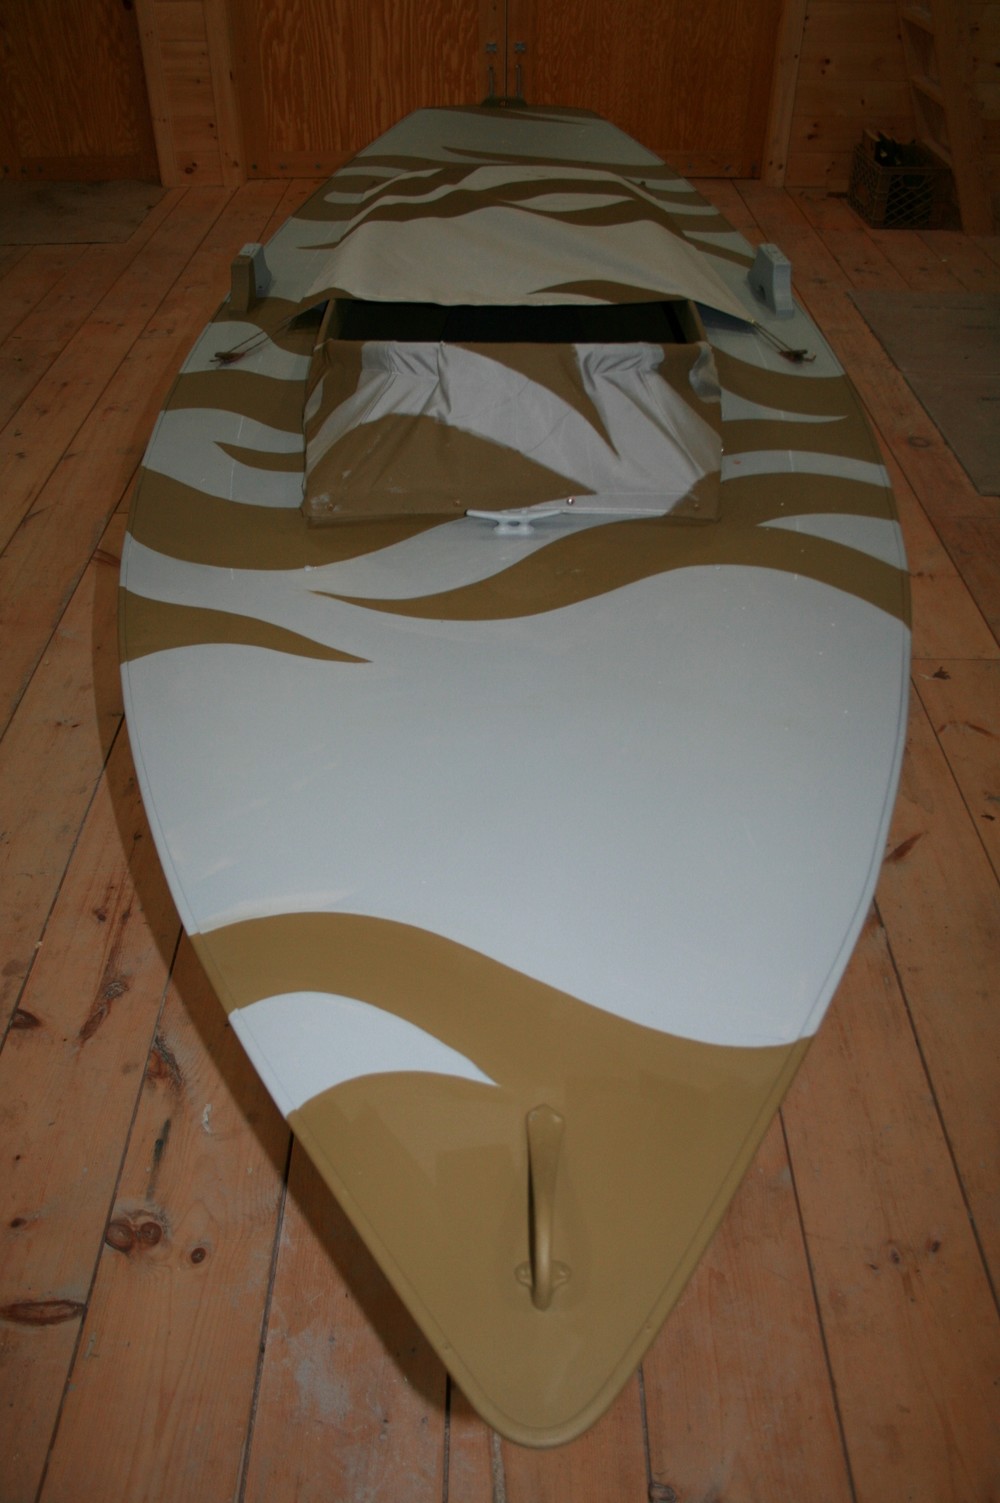
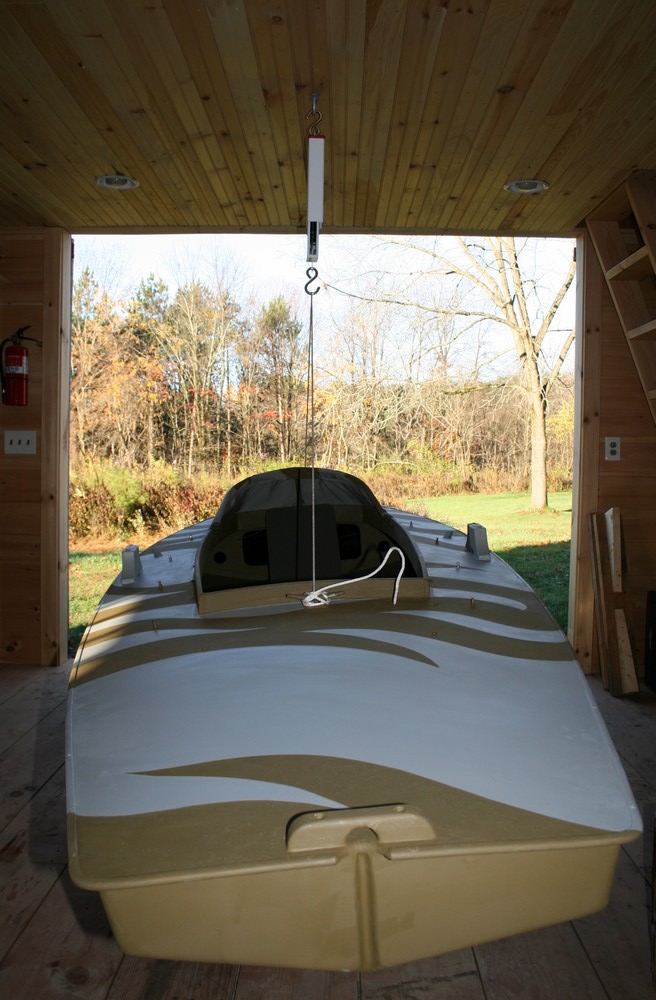
The completed hull weighed in at 90 pounds – BEFORE the floorboards, backrest, canvas, et cetera.
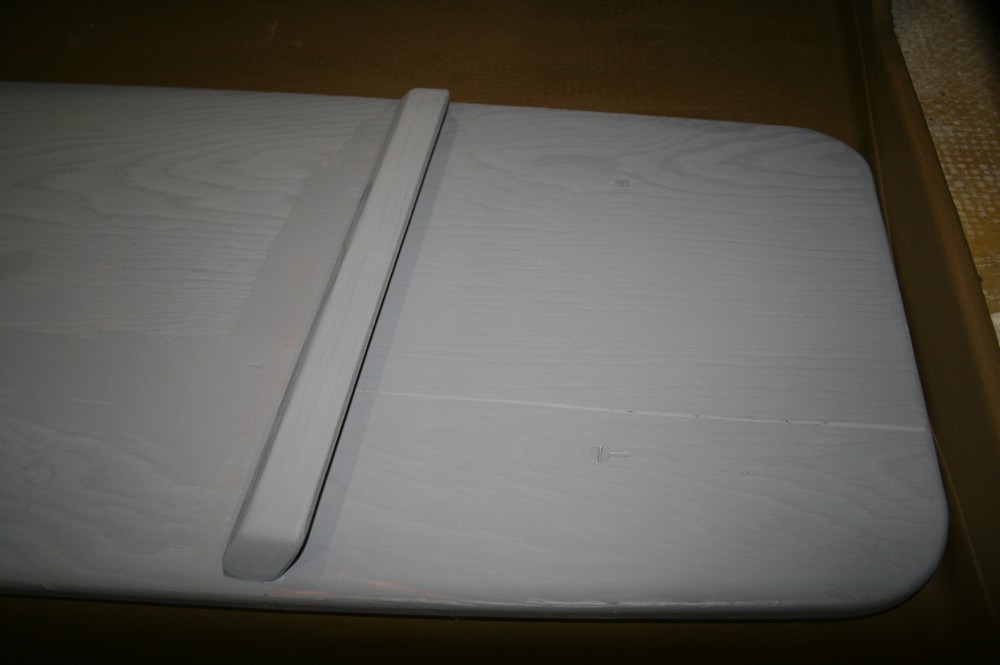
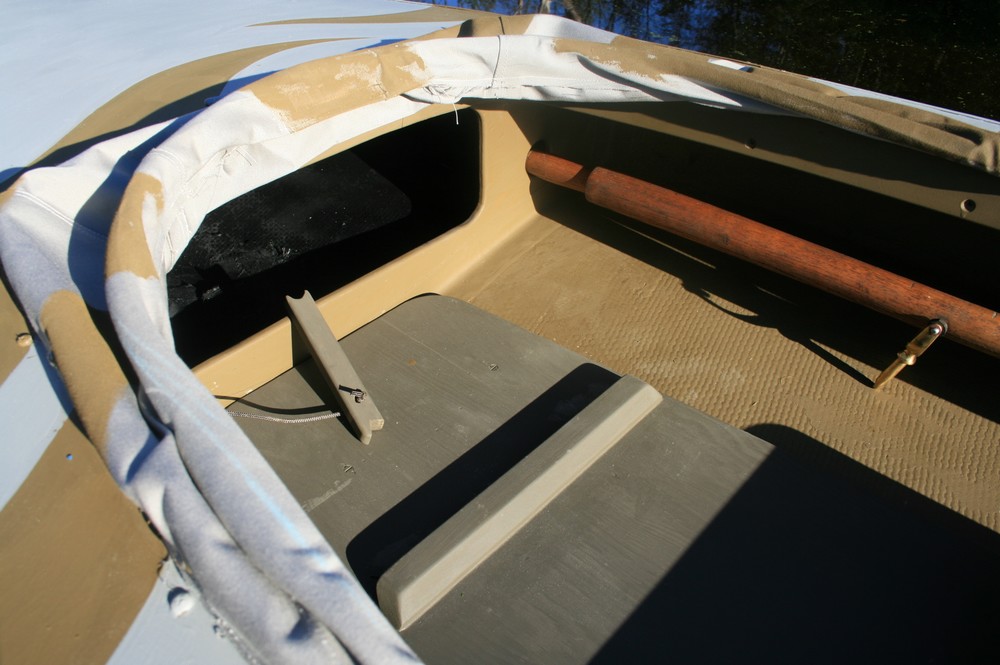
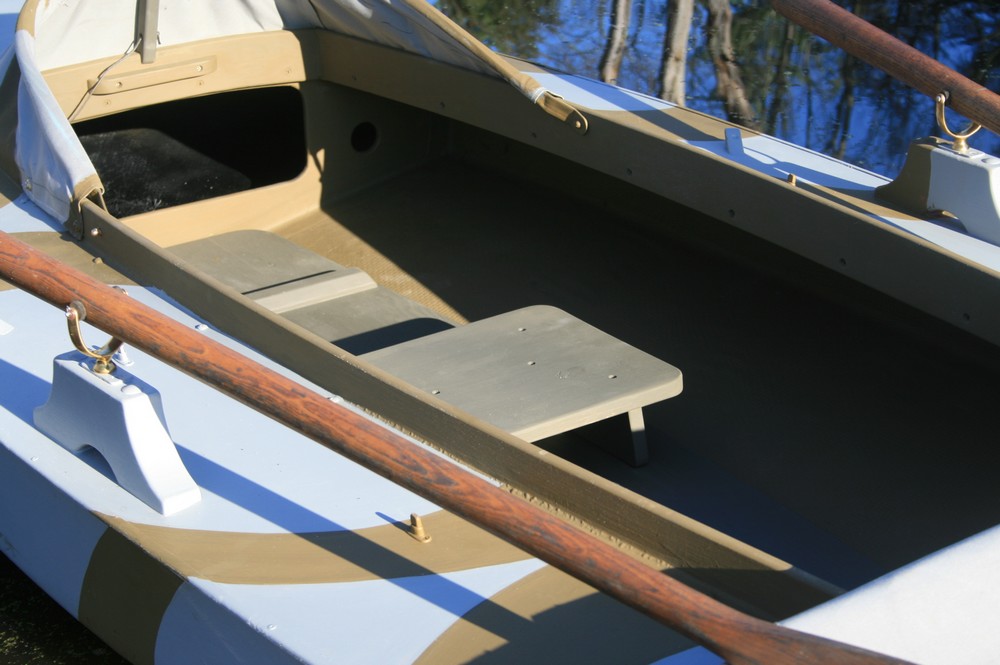
The cleats on the bottom of the floorboard were scribed to fit the hull contours. The board itself it 1/2-inch AC plywood. The cleat on the top is beveled fore and aft to serve as a chock for the backrest.
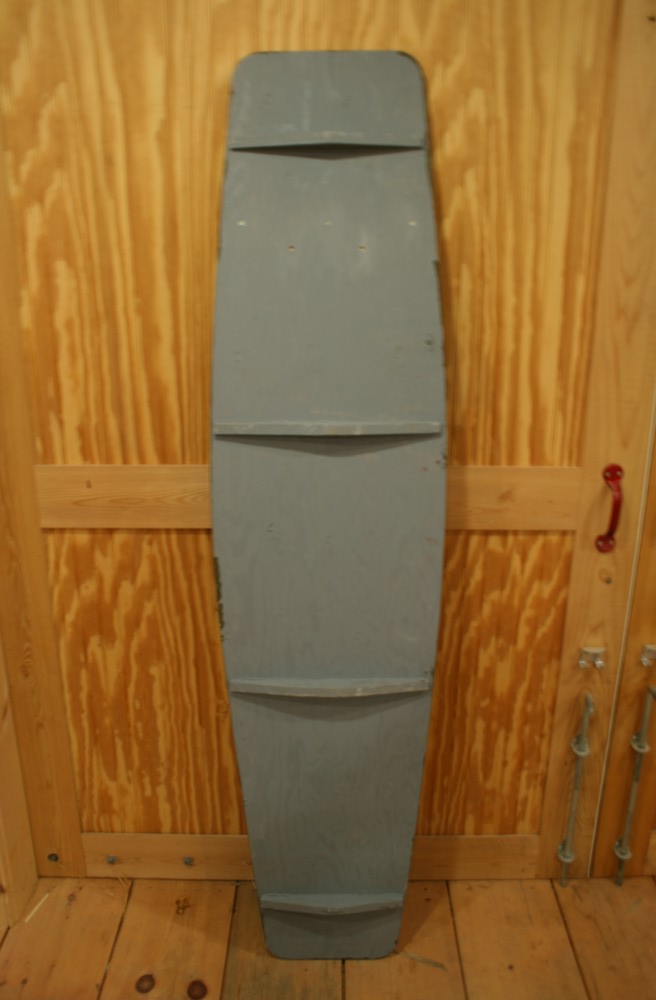
The backrest is designed to serve double duty as a rowing seat – and gets the rower about 4 inches up off the floor.

I opted for conventional wooden oarlock stanchions – fastened with galvanized carriage bolts and well backed up beneath with both a piece of 1/2-inch plywood and a beveled piece of SYP so the nuts and washers landed on a square surface.

The oar handles stow in the forward bulkheads as planned. When I pin the oars, I put rubber washers between the loom and the lock so they cannot slam back and forth during rowing.

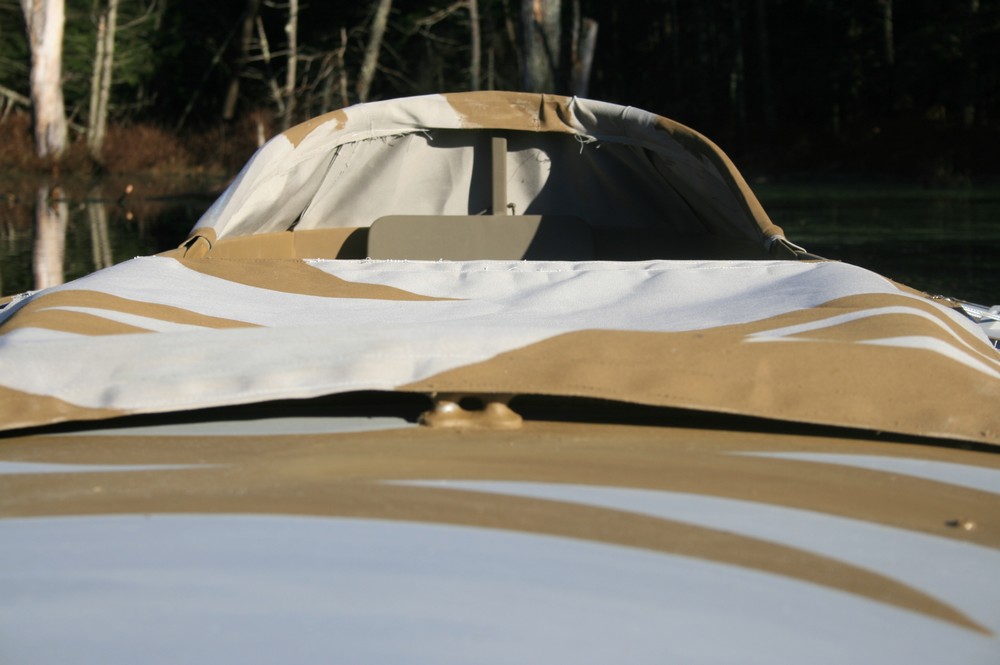
The spray dodger can be lowered. The strut that holds it up just presses into place on the forward coaming and sa pocket in the canvas. The strut is tied to the bulkhead with a piece if decoy line so it cannot get lost. The primary function of the dodger is mostly to serve as a “cowling”. It keeps the gunner’s head hidden and also keeps the wind at bay.
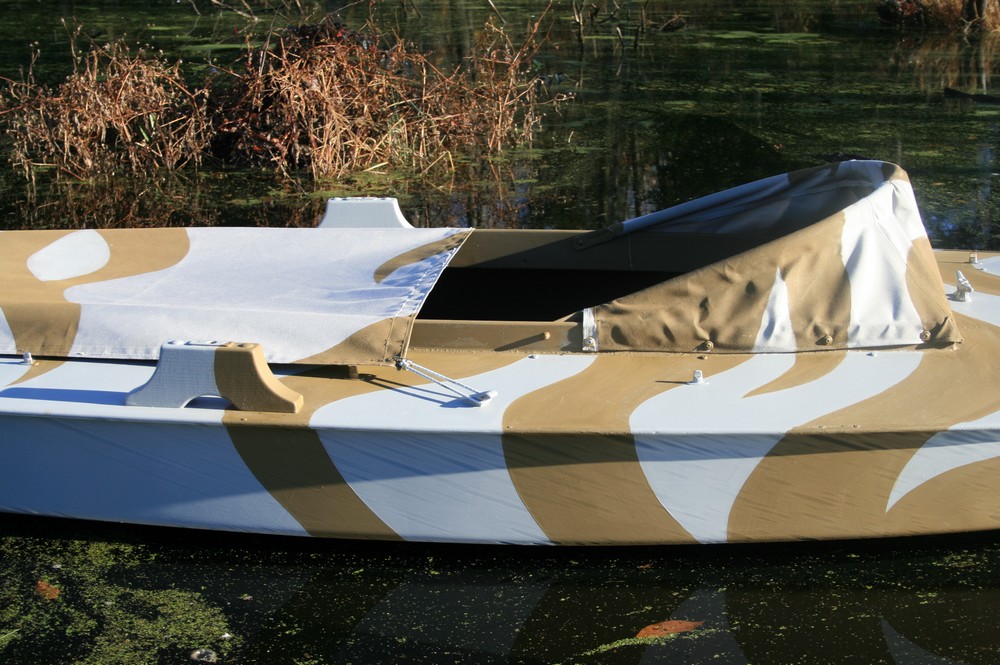
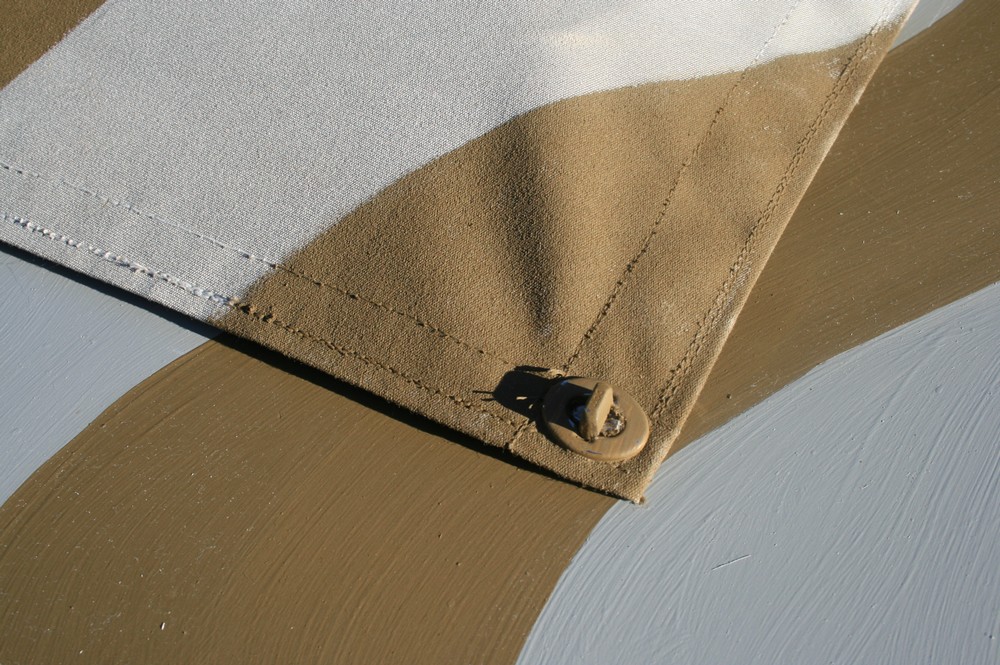
The lap cover is held at its forward end with shock cord over wooden thumb cleats. The after end is secured with Common Sense fasteners. The same studs that hold the lap cover are used for the full cockpit cover (not pictured), too.
The shock cord allows the gunner to sit up without being restricted – and the thumb cleats allow quick release when the gunner needs to go into rowing mode to pick up that pair of enormous Broadiebeaks he just dropped in the rig…..

All these “details” make gunning a pleasure – but do add a few pounds. Ready to gun, she is now at 140.

The preliminary “sea trials” at Pencil Brook Boatworks are conducted on the Hemlock Swamp – about 200 yards from the shop. Here she is in gunning mode with the lap cover in place.
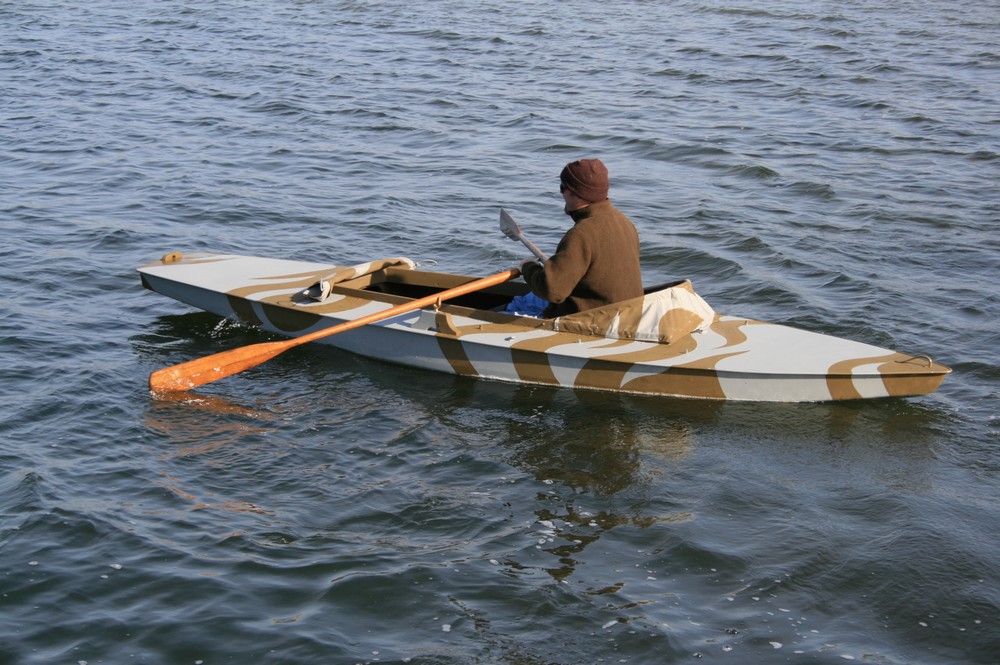
Here she is in rowing mode. Note the lap cover is rolled onto the after deck – but is still secured with the fasteners.

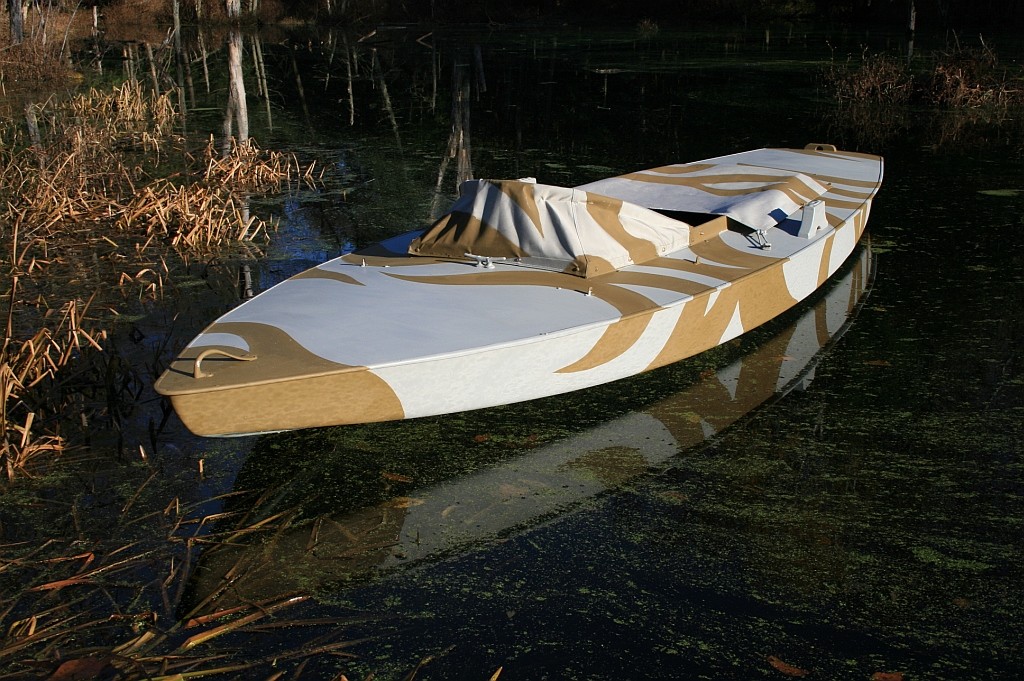
And here she is on the salt waters of Great South Bay for the first time.
![]()

I just got given a freeze-burst sunfish hull and I intend to make a similar conversion after repair. I am considering bobbing off about 12-18″ from the stern, inserting a 2″ oak transom, sealing with 5200 and using a trolling motor to get around. Would such a practice necessitate relocating the cockpit a few inches forward in order to trim out?