
King of the Late-Season Divers

A Nice Little Niche
Over the past couple of years, I have had the opportunity to rehab – repair, restore and re-paint – some decoys made and sold by L L Bean’s. These cork birds – originally the work of George Soule – have a real charm and have stood the test of time. Many gunners want to keep them in service and cannot simply keep them in original “paint”. Any paint wears over time, eyes fall out, bills, tails and “chines” break and crumble, and – most important – the cork can lose its seal and start to absorb water. All of these problems are easily solved with a bit of attention to detail. I always enjoy putting any gear back into service – much more satisfying than simply buying new.


Thus far, I have rehabbed Mallards, Black Ducks, Gadwalls and a single Pintail. Three Hen Pintails and 5 Teal await my attention on the bench.

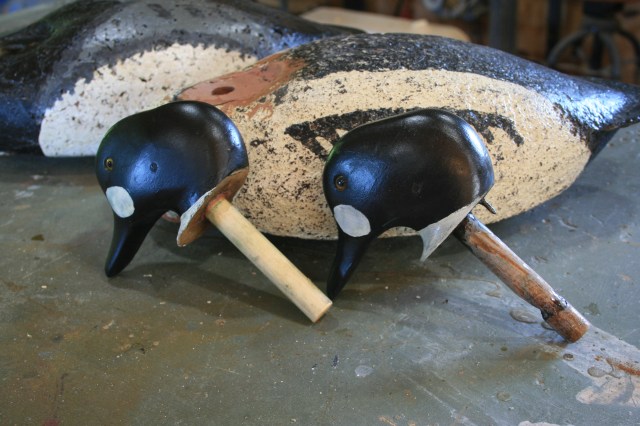
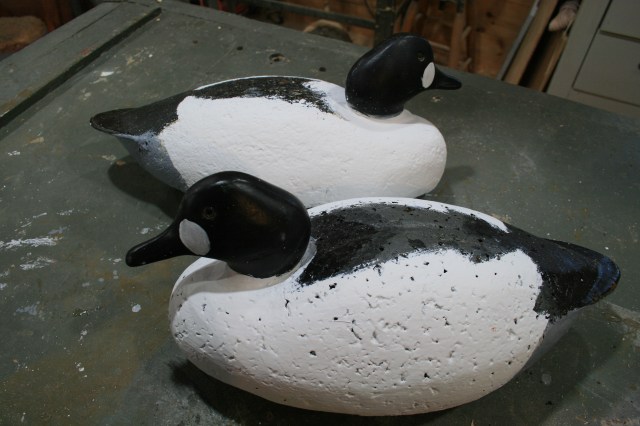
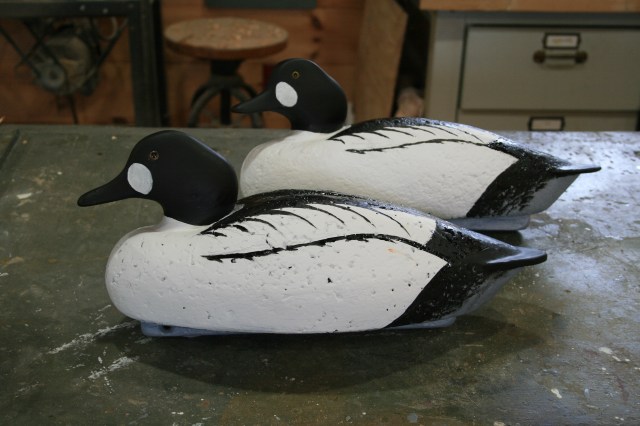
“Before”
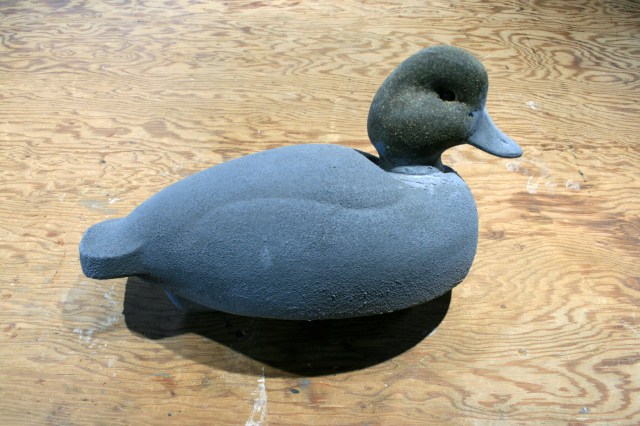
The owner of these two birds – a Drake Whistler (Goldeneye) and Broadbill (Scaup) – wanted both made into Drake Whistlers. They arrived carefully packed but in pieces.
Gallery 1 – Repairs
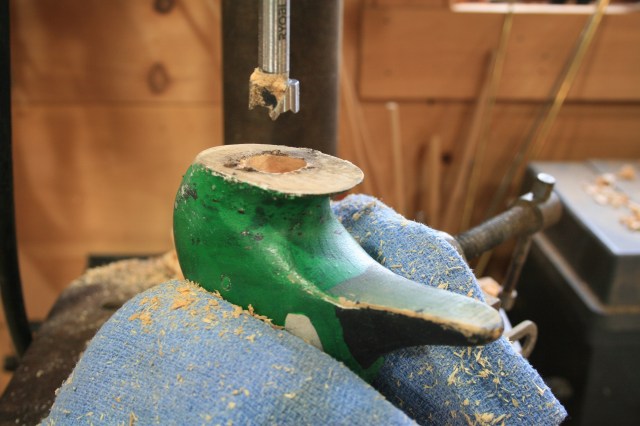
1 – The socket in the head was very loose – so I used a 5/8″ Forstner bit in my drill press to bore a deeper socket to receive a new length of 5/8″ dowel.
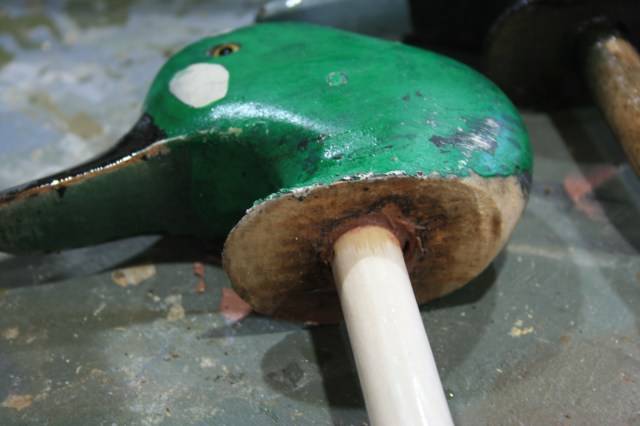
2 – The new dowel was set in marine epoxy thickened with U S Composites fairing mix – microballoons and fumed silica. I taped the shaft to keep the mix off the exposed part.
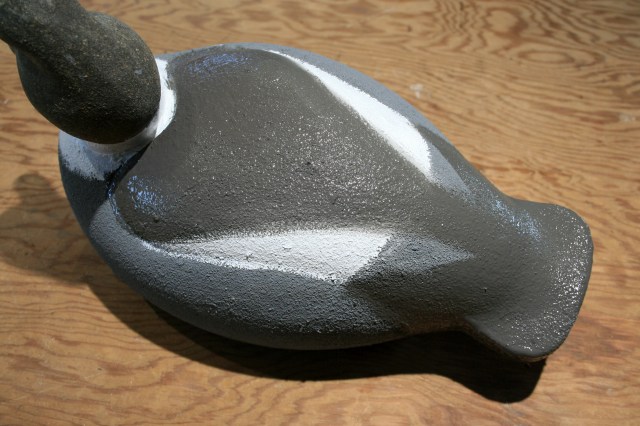
3 – The same thickened epoxy was used to bed the keel and to fill the hole through the body. The cellophane tape kept the dowel from sticking so a nice 5/8″ hole was molded into the body.

4 – Other imperfections in the bodies were filled at the same time.

5 – The tail boards were sealed with straight epoxy, brushed on.

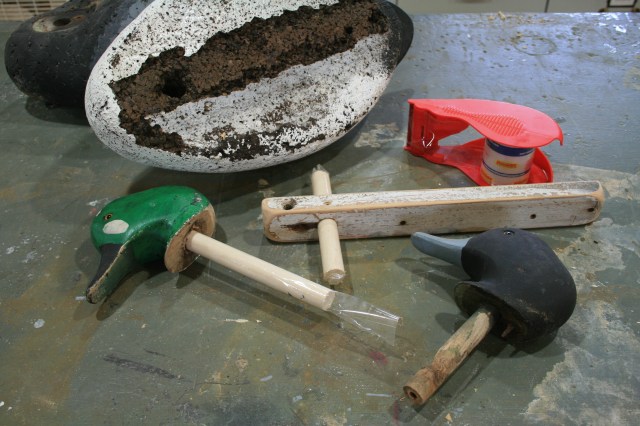
7 – I like to round over the corners and edges of the keels to prevent future damage to paint on other decoys. The taped dowel creates the hole in the epoxy fill.

6 – After curing, I carved out the “landing area” on the body so the head would seat properly.
8 – Here are the heads ready for installation. Each dowel was cut about 1/8″ short of flush – so the new screws would pull the heads down tight. And, the bodies and heads have been sealed with spar varnish before assembly.
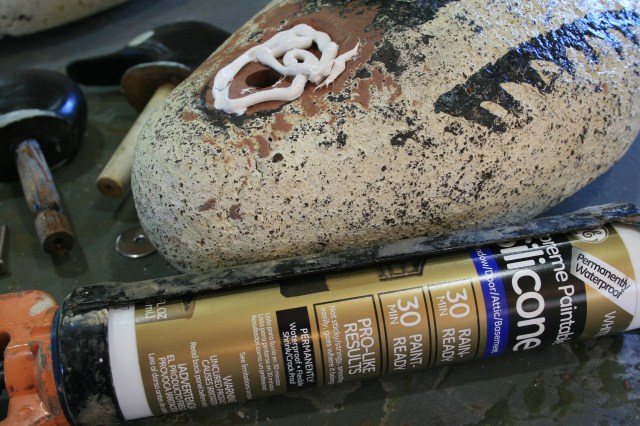
9 – I use a paintable silicon caulk to bed the heads and the hardware.

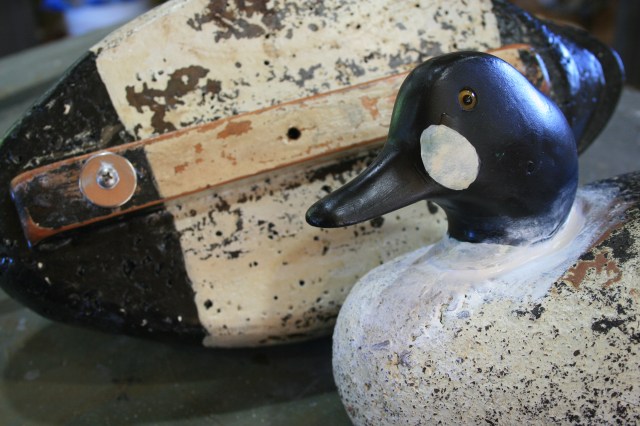
10 – Stainless fender washers and longer panhead screws replace the original galvanized.
11 – All caulk is wiped or smoothed before it cures.
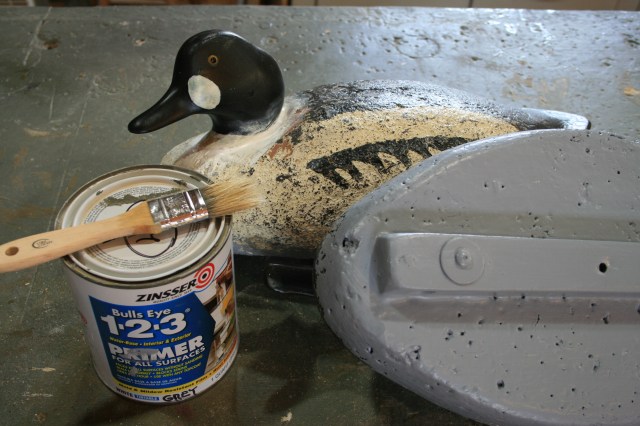
The Paint
I usually follow this sequence for gunning birds: 1) Seal with spar varnish. 2) Prime with flat oil-based paint. 3) Topcoat with acrylic latex (house paint). Because these birds are mostly just Black and White, however, I used flat oils for topcoats as well as prime coats. The heads got a little bit of latex for their finish.
Gallery 2 – Painting
1 – I like Grey for bottoms because it’s clean-looking and allows the owner to write their name in permanent marker.

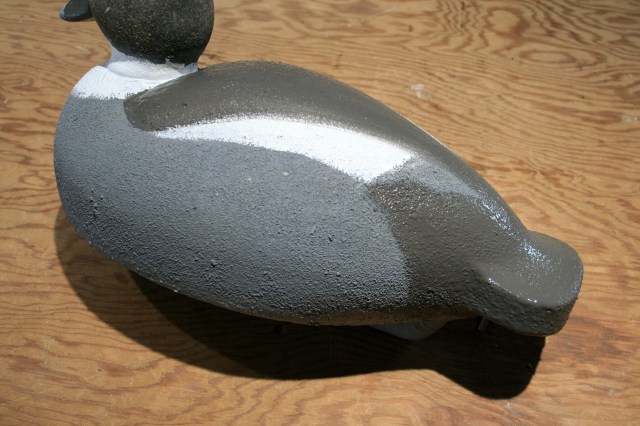
2 – Although I normally use an oil-based primer, this product allows for oil or latex over it. I brought the Grey up to cover the undertail area to serve as a topcoat.

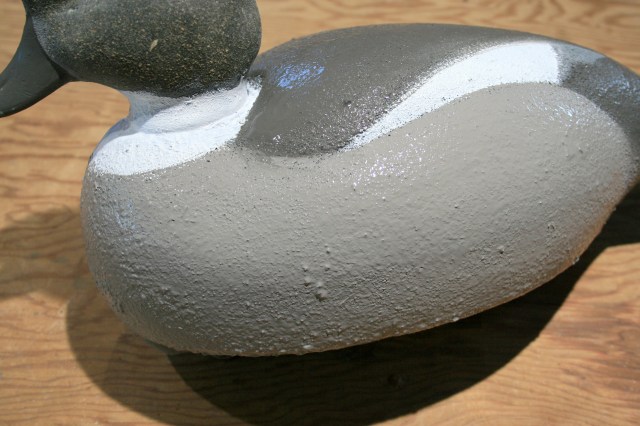
3 – Flat White is most of the body. Be sure to carry it around behind the head onto the back.

4 – Carry it up onto the lower neck and paint in the oval between the eye and the bill.
5 – The White goes up into the scapulars and the secondaries.
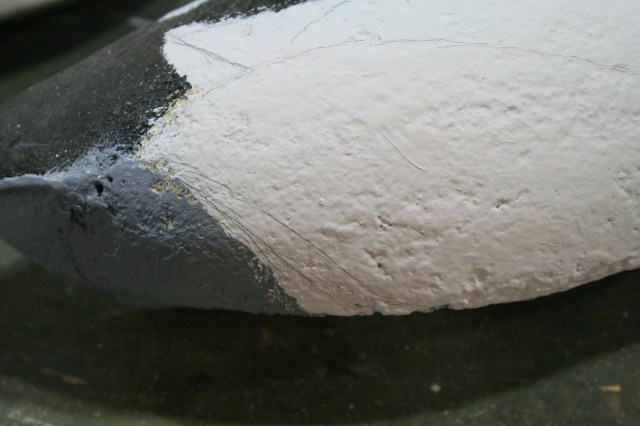
6 – Note how the side feathers angle back to a point – not rounded like in most other ducks.
7 – The secondaries – speculum – are marked in pencil.

8 – Note how the side pockets are lower forward and higher aft.

9 – I use an angle brush to demarcate the White areas from the Black.

10 – Note the curve at the after edge of the side pockets. Carry the Black down onto the Grey undertail.

11 – The Black back comes to a point on the shoulders while leaving a narrow band of White showing behind the head – at least when the head is upright.
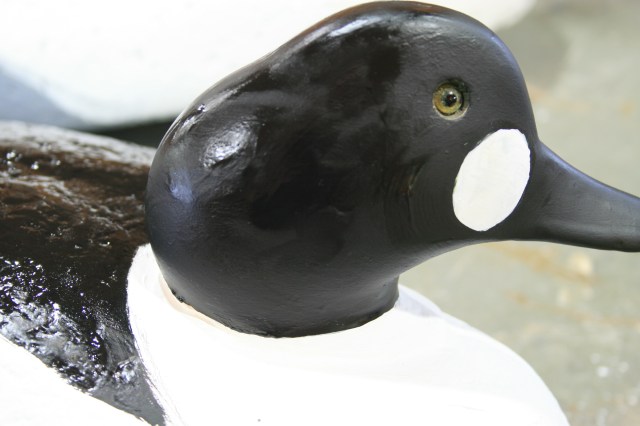
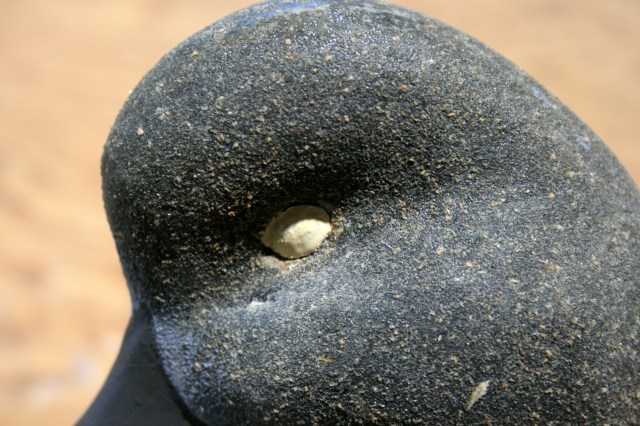
12 – The White oval on the face is immediately behind the bill and below and in front of the eye. I was tempted to replace the eyes with bright new ones – with pinpoint pupils – but opted for the originals since all 4 were sound and secure.

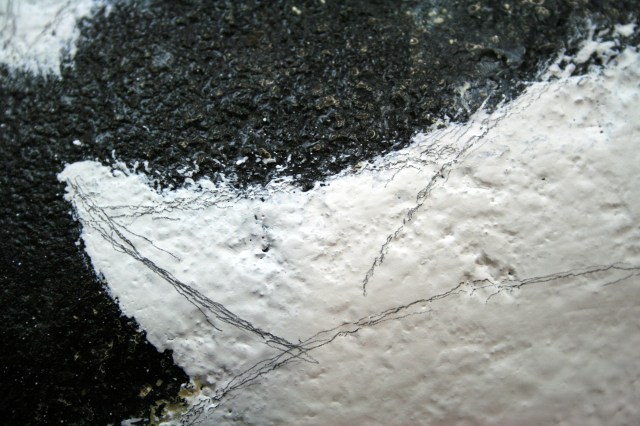
13 – Lay out 7 scapulars with pencil. Each gets longer and wider as you go aft.

14 – I use a 1/4″ angle brush to paint in the edges of the scapulars.

15 – I curve them downward – but they can also sweep backward.

16 – Now add the upper edges of the side feathers – with the same brush.
17 – These are ready to hunt – but I will tart up the heads a bit.

18 – Few Whistler stool enjoyed any green paint before recent decades. But, I mixed a Medium Green – Home Depot Pastoral – with Flat Black to make a very dark base coat.
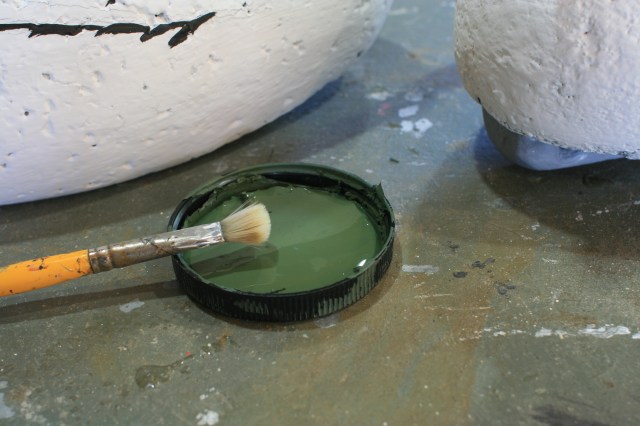
19 – Once the base dried, I used a beat up #10 Filbert brush to stipple on the Pastoral along the aft edges of the face.
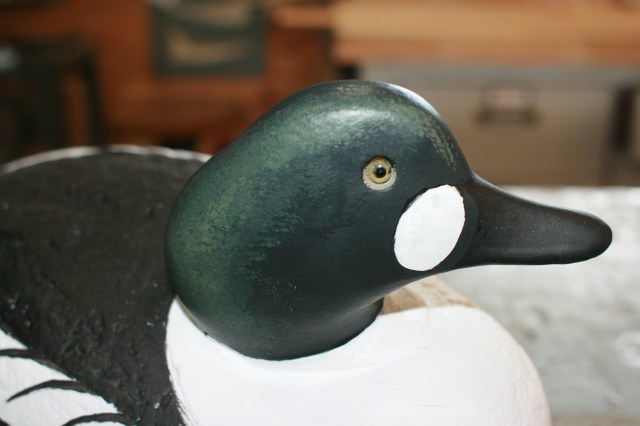
20 – Here is the Pastoral dried.

21 – Finally, I used tube acrylic and the same brush to stipple on the highlights.

22 – I put a final coat of White on the oval.
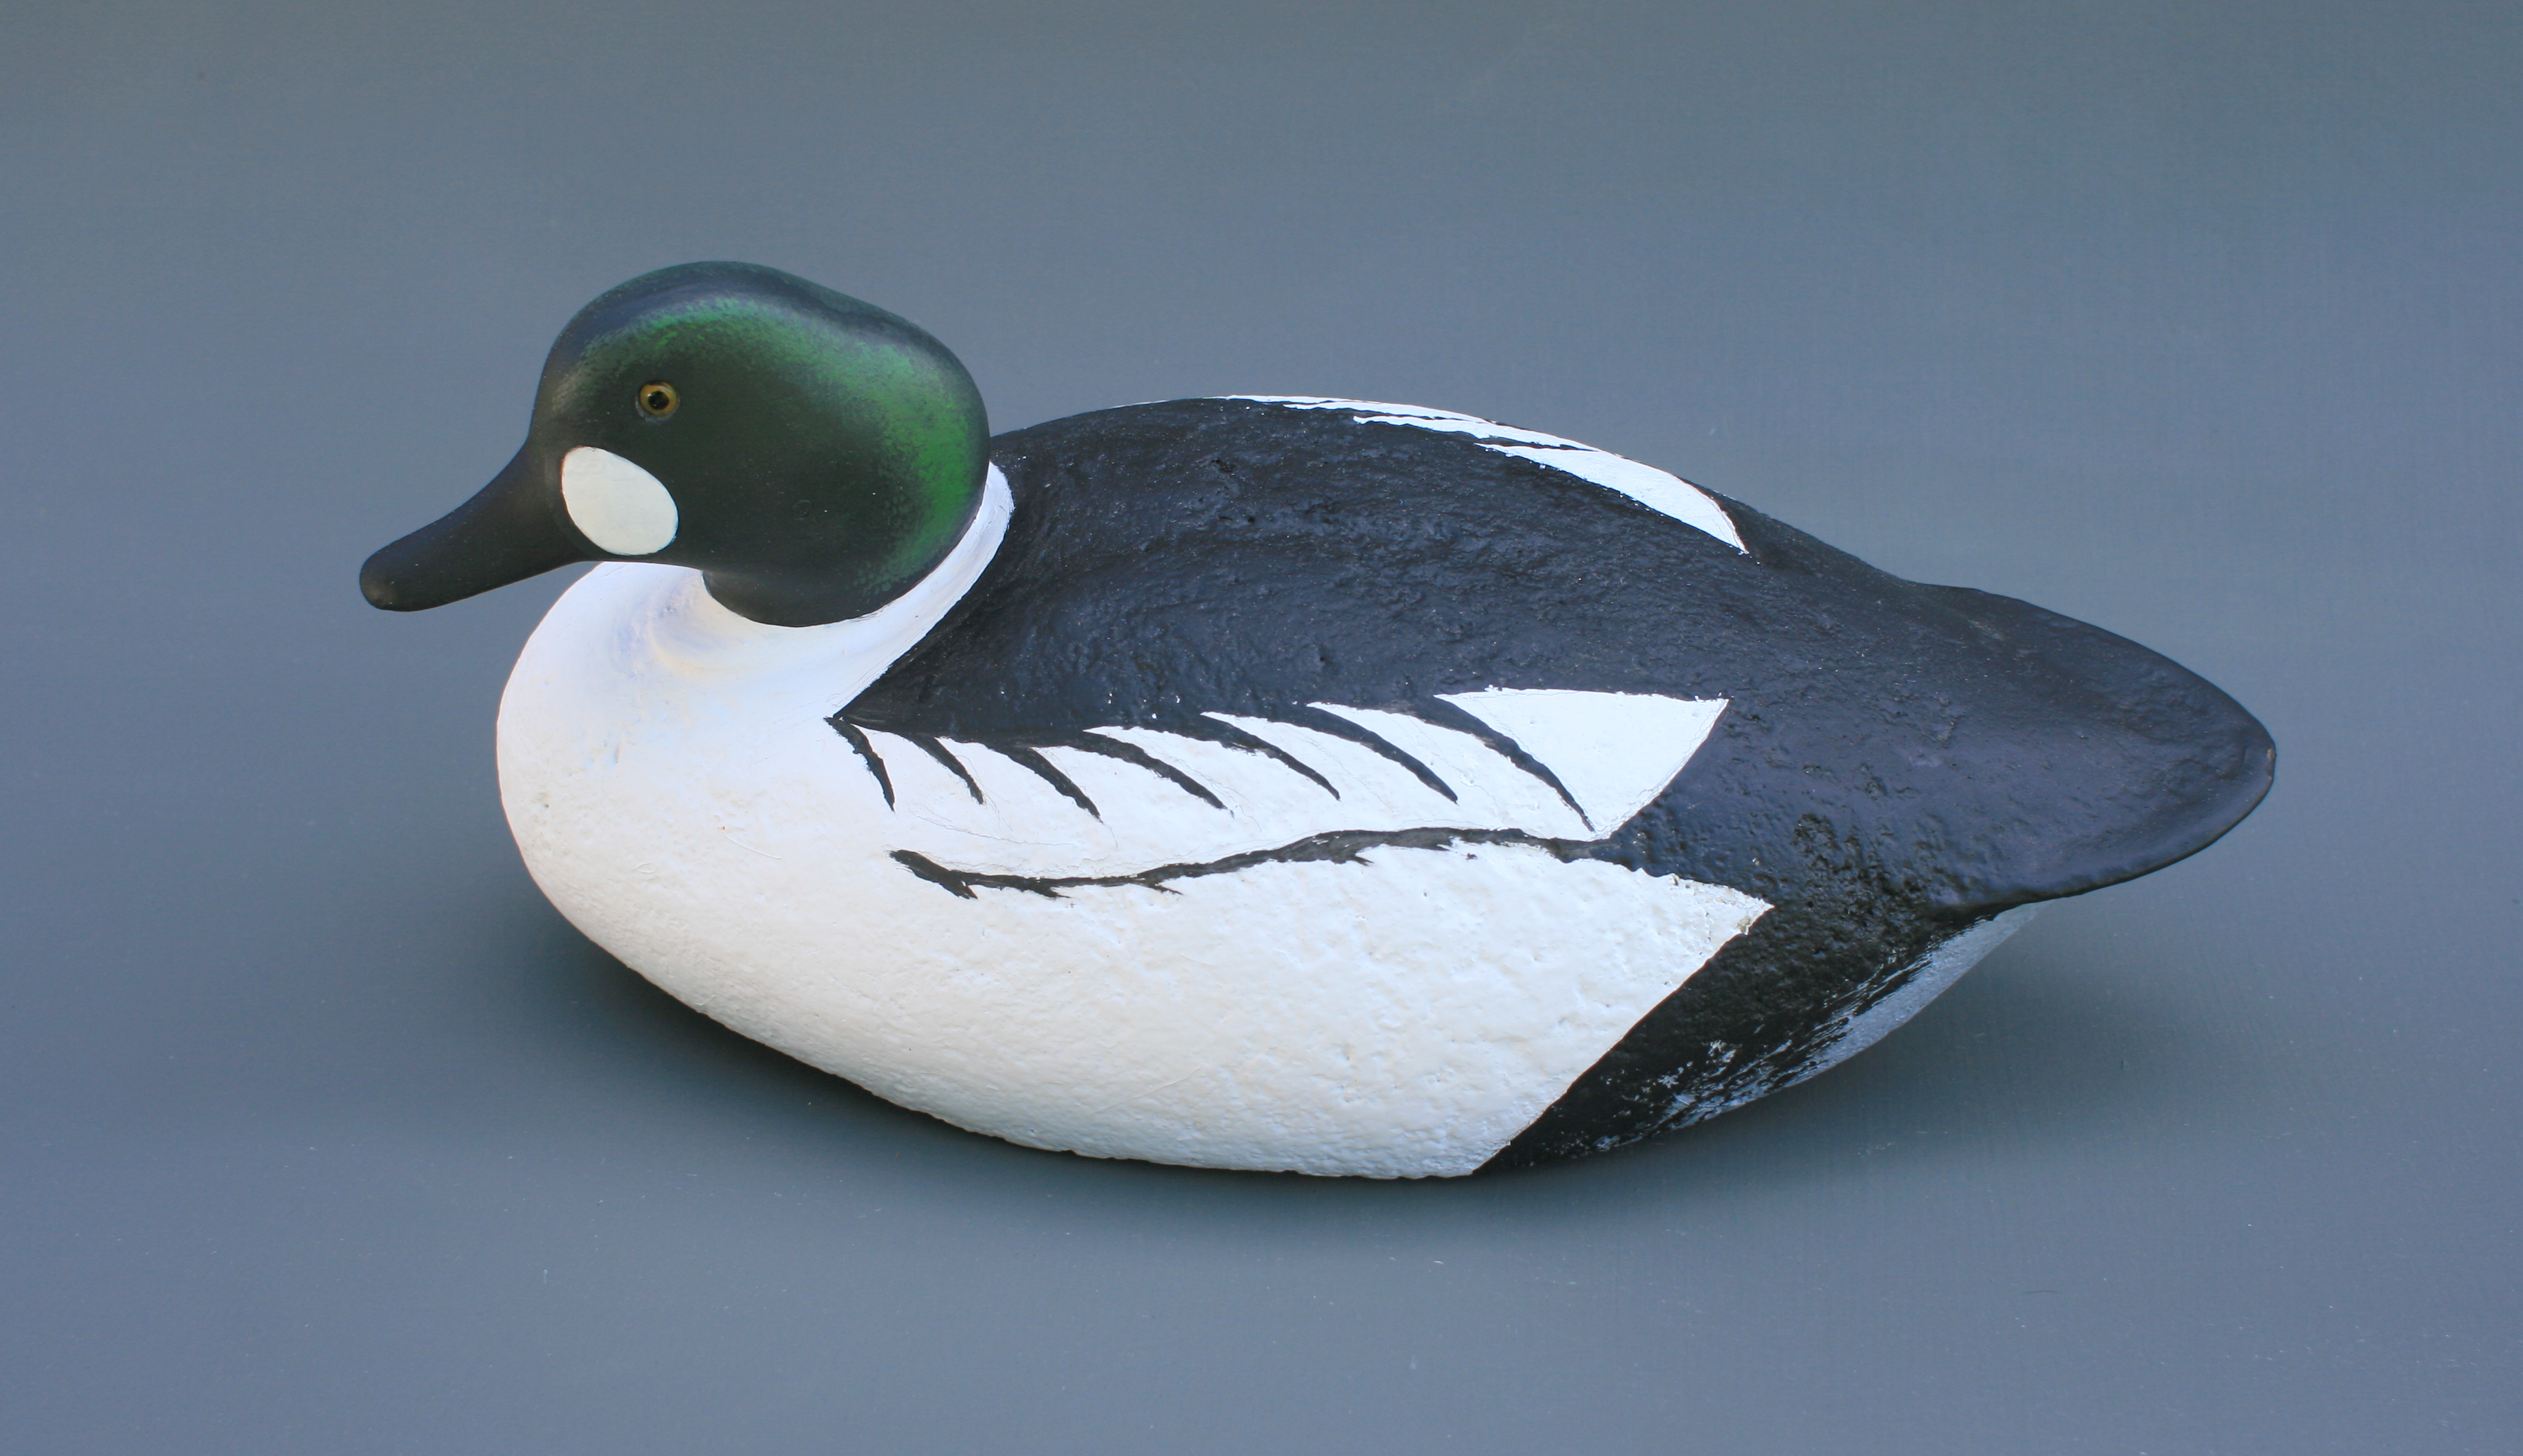
Every Girl Crazy for a Sharp-dressed Man
The suggestion of iridescence is guaranteed to provide the gunner with an extra thrill – each time he picks up the rig.


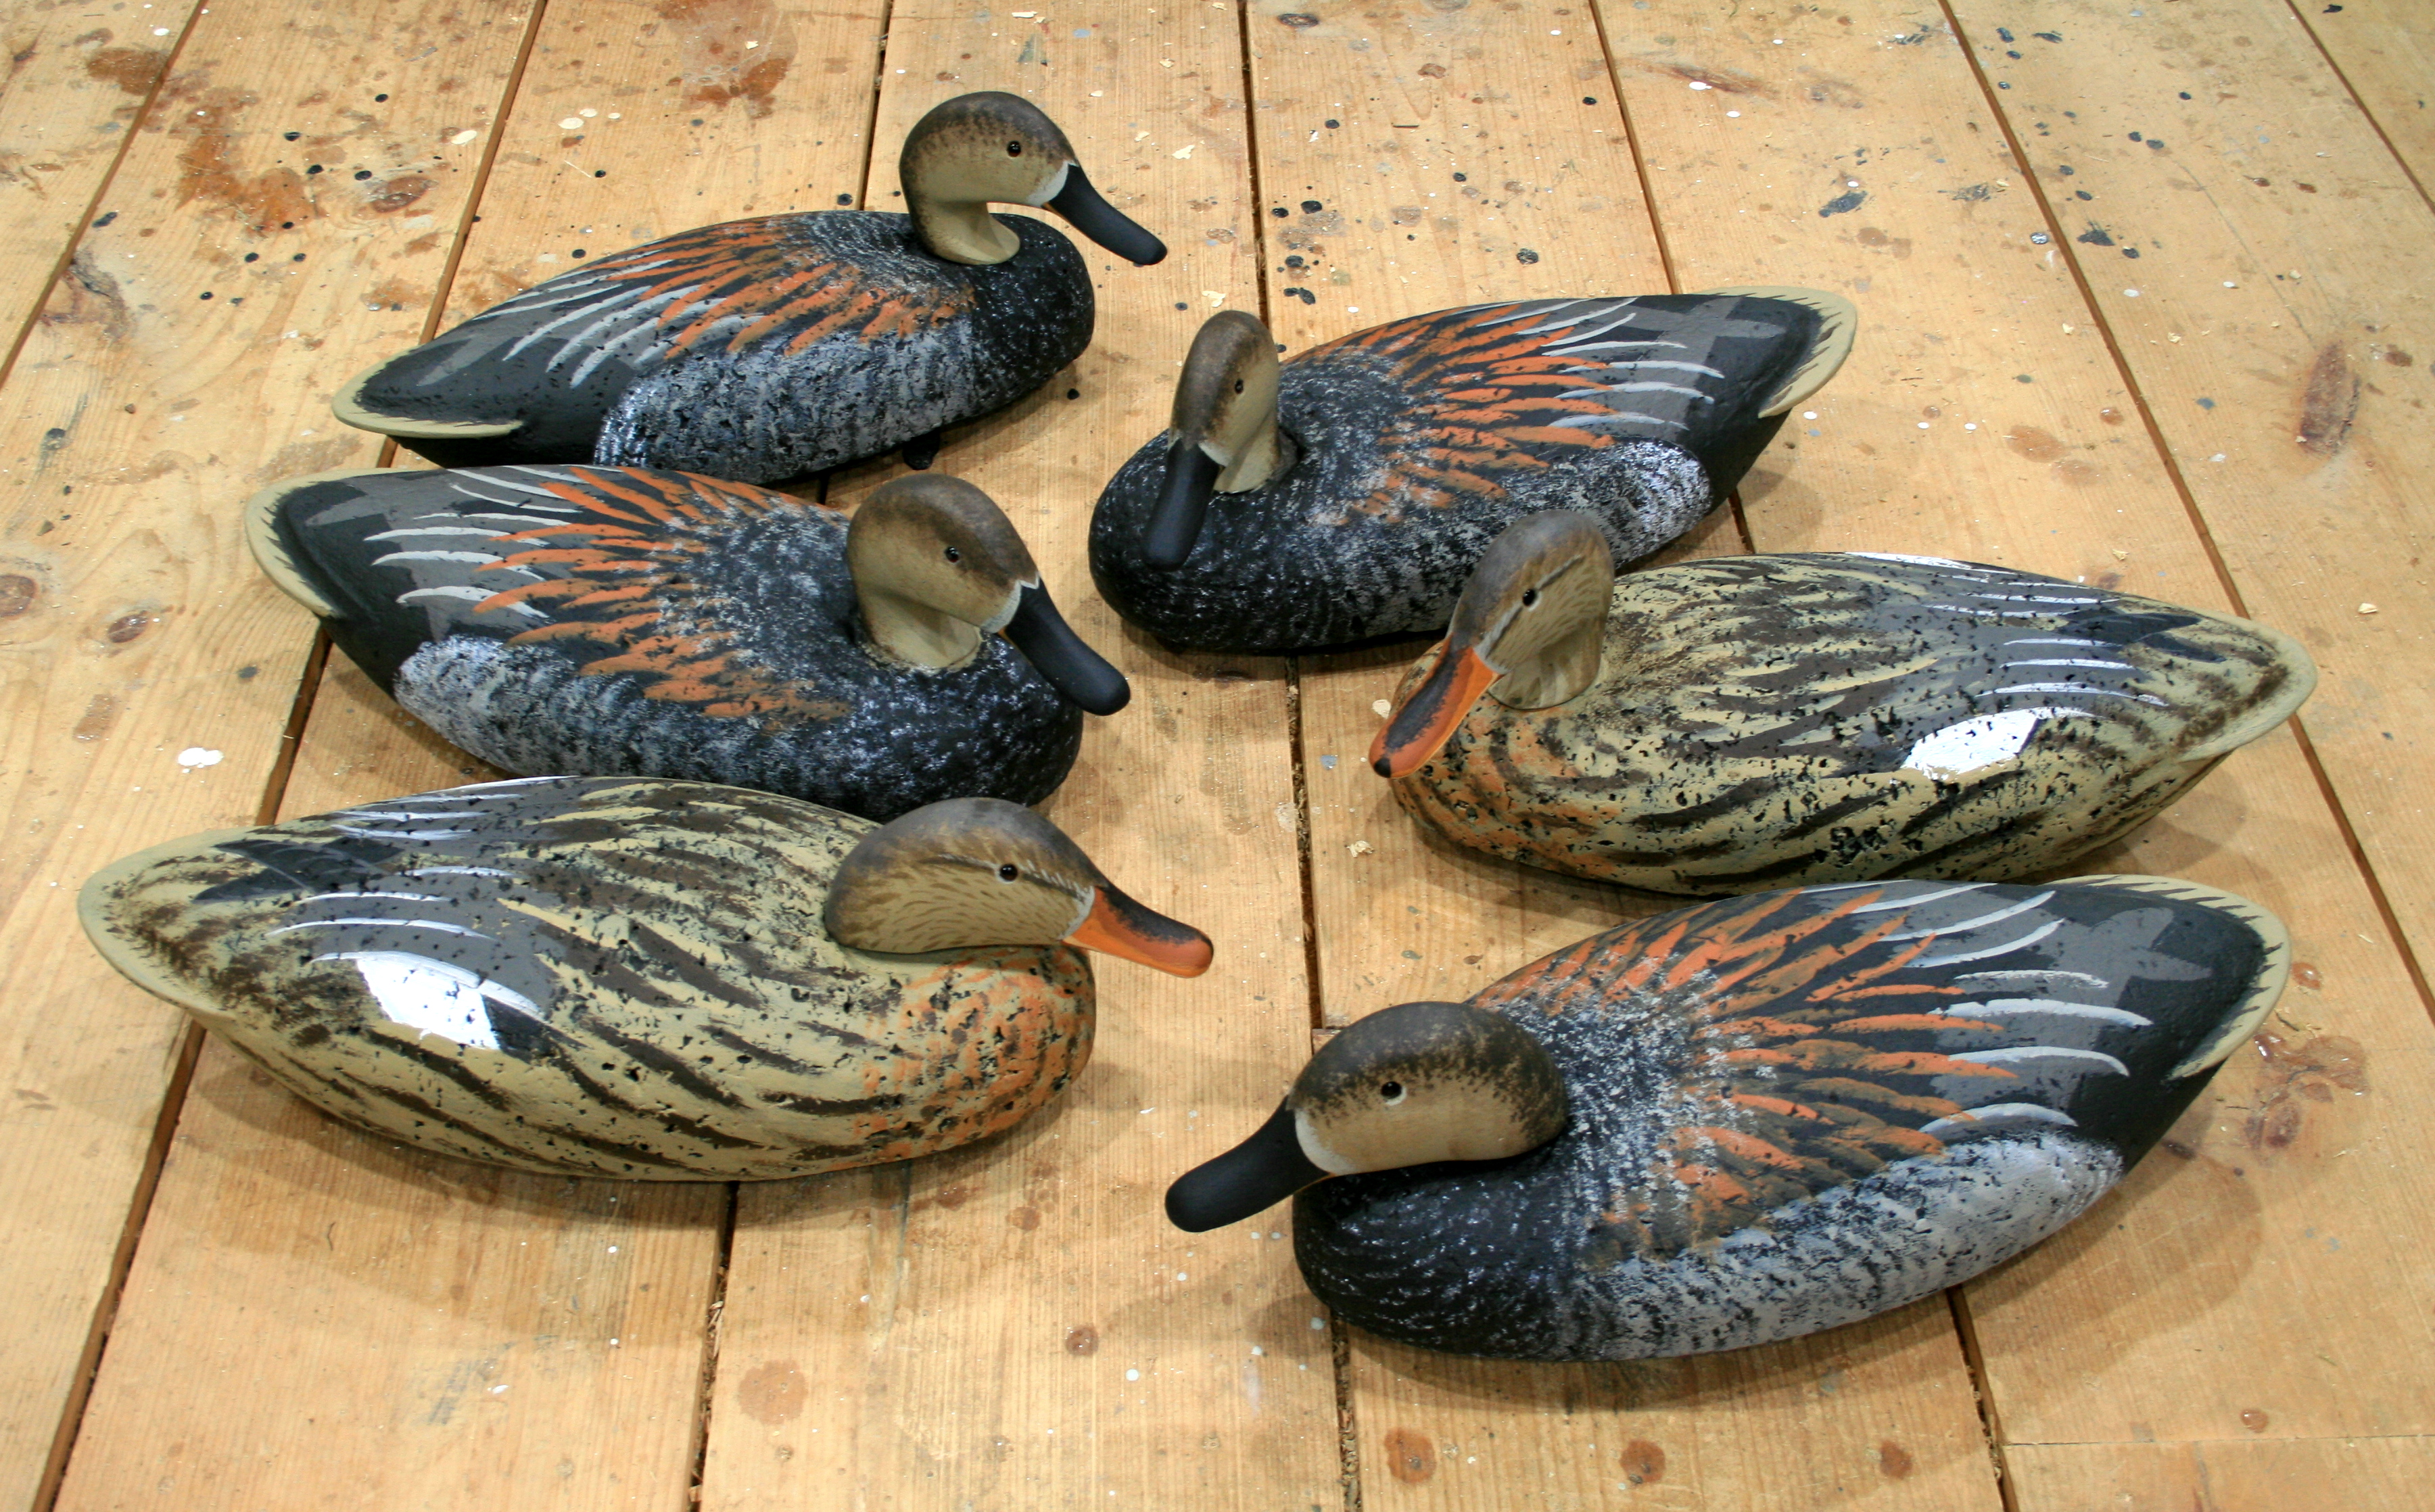
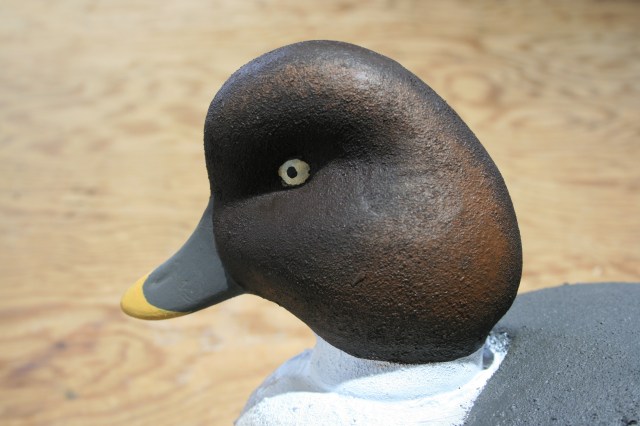
Now for the Hens
The Hens are a horse of a different color. Whether you call them “Chocolate-Heads” or “Copper-Heads” or just Hen Whistlers, the birds I paint here are not Bean’s. They are a new line made by Homer Decoys in Ohio. ( http://www.homerdecoys.com/ ) I had the privilege of carving the master for the heads on this species – as well as their Broadbill/Bluebill – and I just finished 6 to add to my diver rig. I carved the shape of the Goldeneye head to look acceptable as either a drake or hen.
I toughened up the skin of the foam bodies with my usual treatment of marine epoxy – with some colloidal silica (Cabosil) added to prevent running – and some fine sawdust from my bandsaw. Although the heads are very tough, I treated them – but not their bills – the same way. Then, I primed the bodies with a flat grey primer.
I used stainless steel screw eyes and caulk to attach the heads. I always caulk between the head and the body so the anchor line cannot get wedged there.
Here is a Hen ready for finish paint.
Gallery 3 – The First 2 Colors

1 Here are the brushes I used on this bird.

2 All paint is flat latex exterior.First the White.
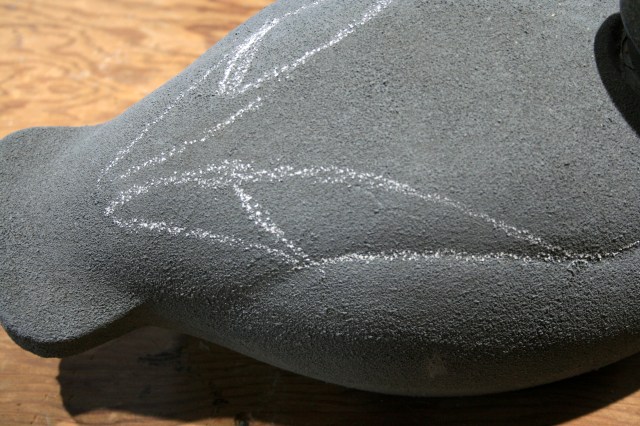
3. Wing patches – secondaries and their coverts – are marked in chalk along with the primary groups.

4. THe wing patches get painted first.
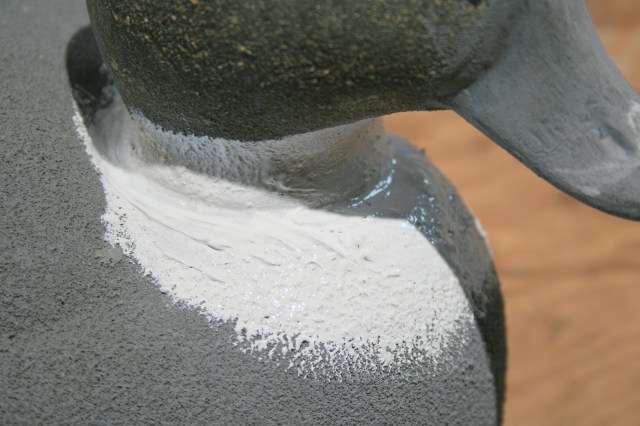
5. The White collar spreads down onto the breast.

6. The bill is marked with chalk, too.
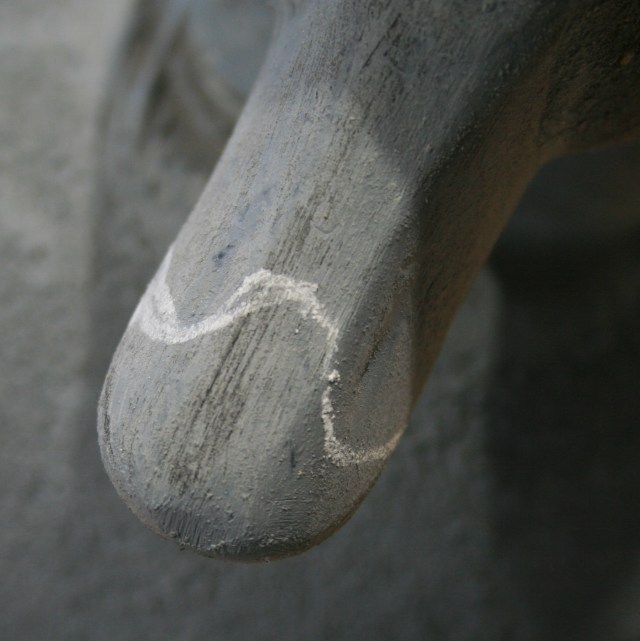
7. More bill tip….

8. Behr Intellectual is a great “wing grey” – and does the back and bill.
9. Here is the Intellectual on the back.
10. Another view of the back.

11. The base of the bill is Intellectual.
Gallery 4 – More Paint


2. The flanks are solid Elephant Skin for now.
3. Bring it forward onto the White collar.

4. The tip of the Hen’s bill is a deep Yellow – Saffron Strands.

5. I put 2 coats on the bill for thorough coverage.

6. I mixed the Saffron Strands with White to get the Pale Yellow-almost White iris color – much paler thn the Drake’s eyes.
7. The Hen’s eyes are like butter – whereas the Drake’s are more like egg yolk.

8. Behr Sweet Molasses gives a warm Brown for the base coat on the head.

9. Cut a hard break between the head and the collar.

10. Now a bit of Black on the nail.
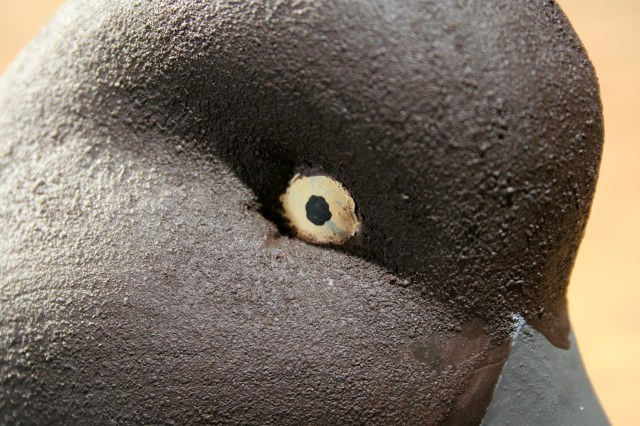
11. Dot the iris.
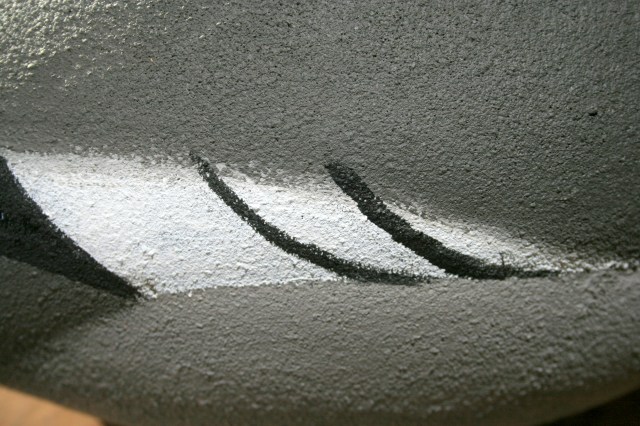
12. Two Black curves on each wing patch – the covert edges.

13. I use Black on the primary groups so they contrast with the body.
Gallery 5 – Some Subtleties in the Final Paint

1. Behr Graceful will edge the side and chest feathers – and suggest some depth to the plumage.

2. Start aft and work forward with curved strokes that meet at the upper edge of the side feathers.
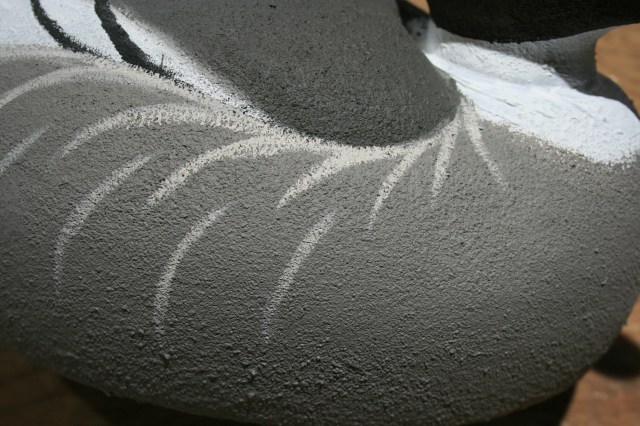
3. The edges become more vertical as they go forward.

4. Then they circle around the breast and blend into the White collar.
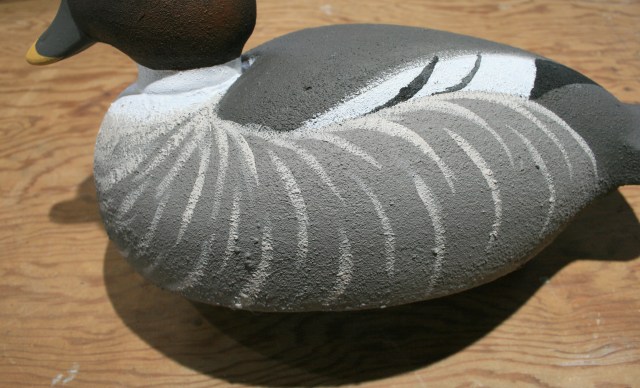
5. Here is the completed side and breast.

6. Behr Moroccan Henna puts reddish highlights on the Copper-Head.
7. Port side.

8. Starboard.
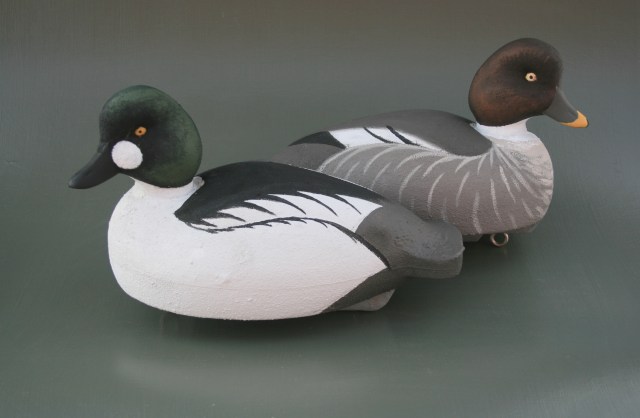
On the Bench


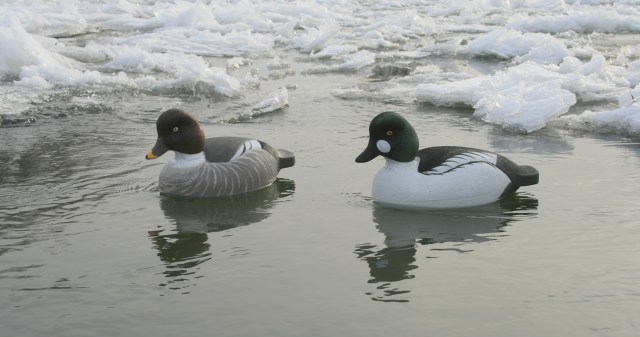
On the Water
Whether you call them Goldeneyes, Whistlers or even GEs….I hope this information is helpful.
All the best!
SJS
![]()

Very nice
Just want to say thank you, I’ve been re purposing some old worn Mallard decoys using your paint scheme and I’m very happy with how they turned out.
Steven, I’m in the process of rehabilitating some LL Bean Goldeneyes based on your tutorial. The ones completed so far have turned out really well. Thank you for putting this information online. I have the 14 black ducks to attend to after these are completed. Thank you for sending me the paint colors for the blacks.
Best regards,
Scott Edwards