
I took the following pictures to document the process I use for carving a decoy head; it is also available on the duckboats.net website in their Carver’s Corner.

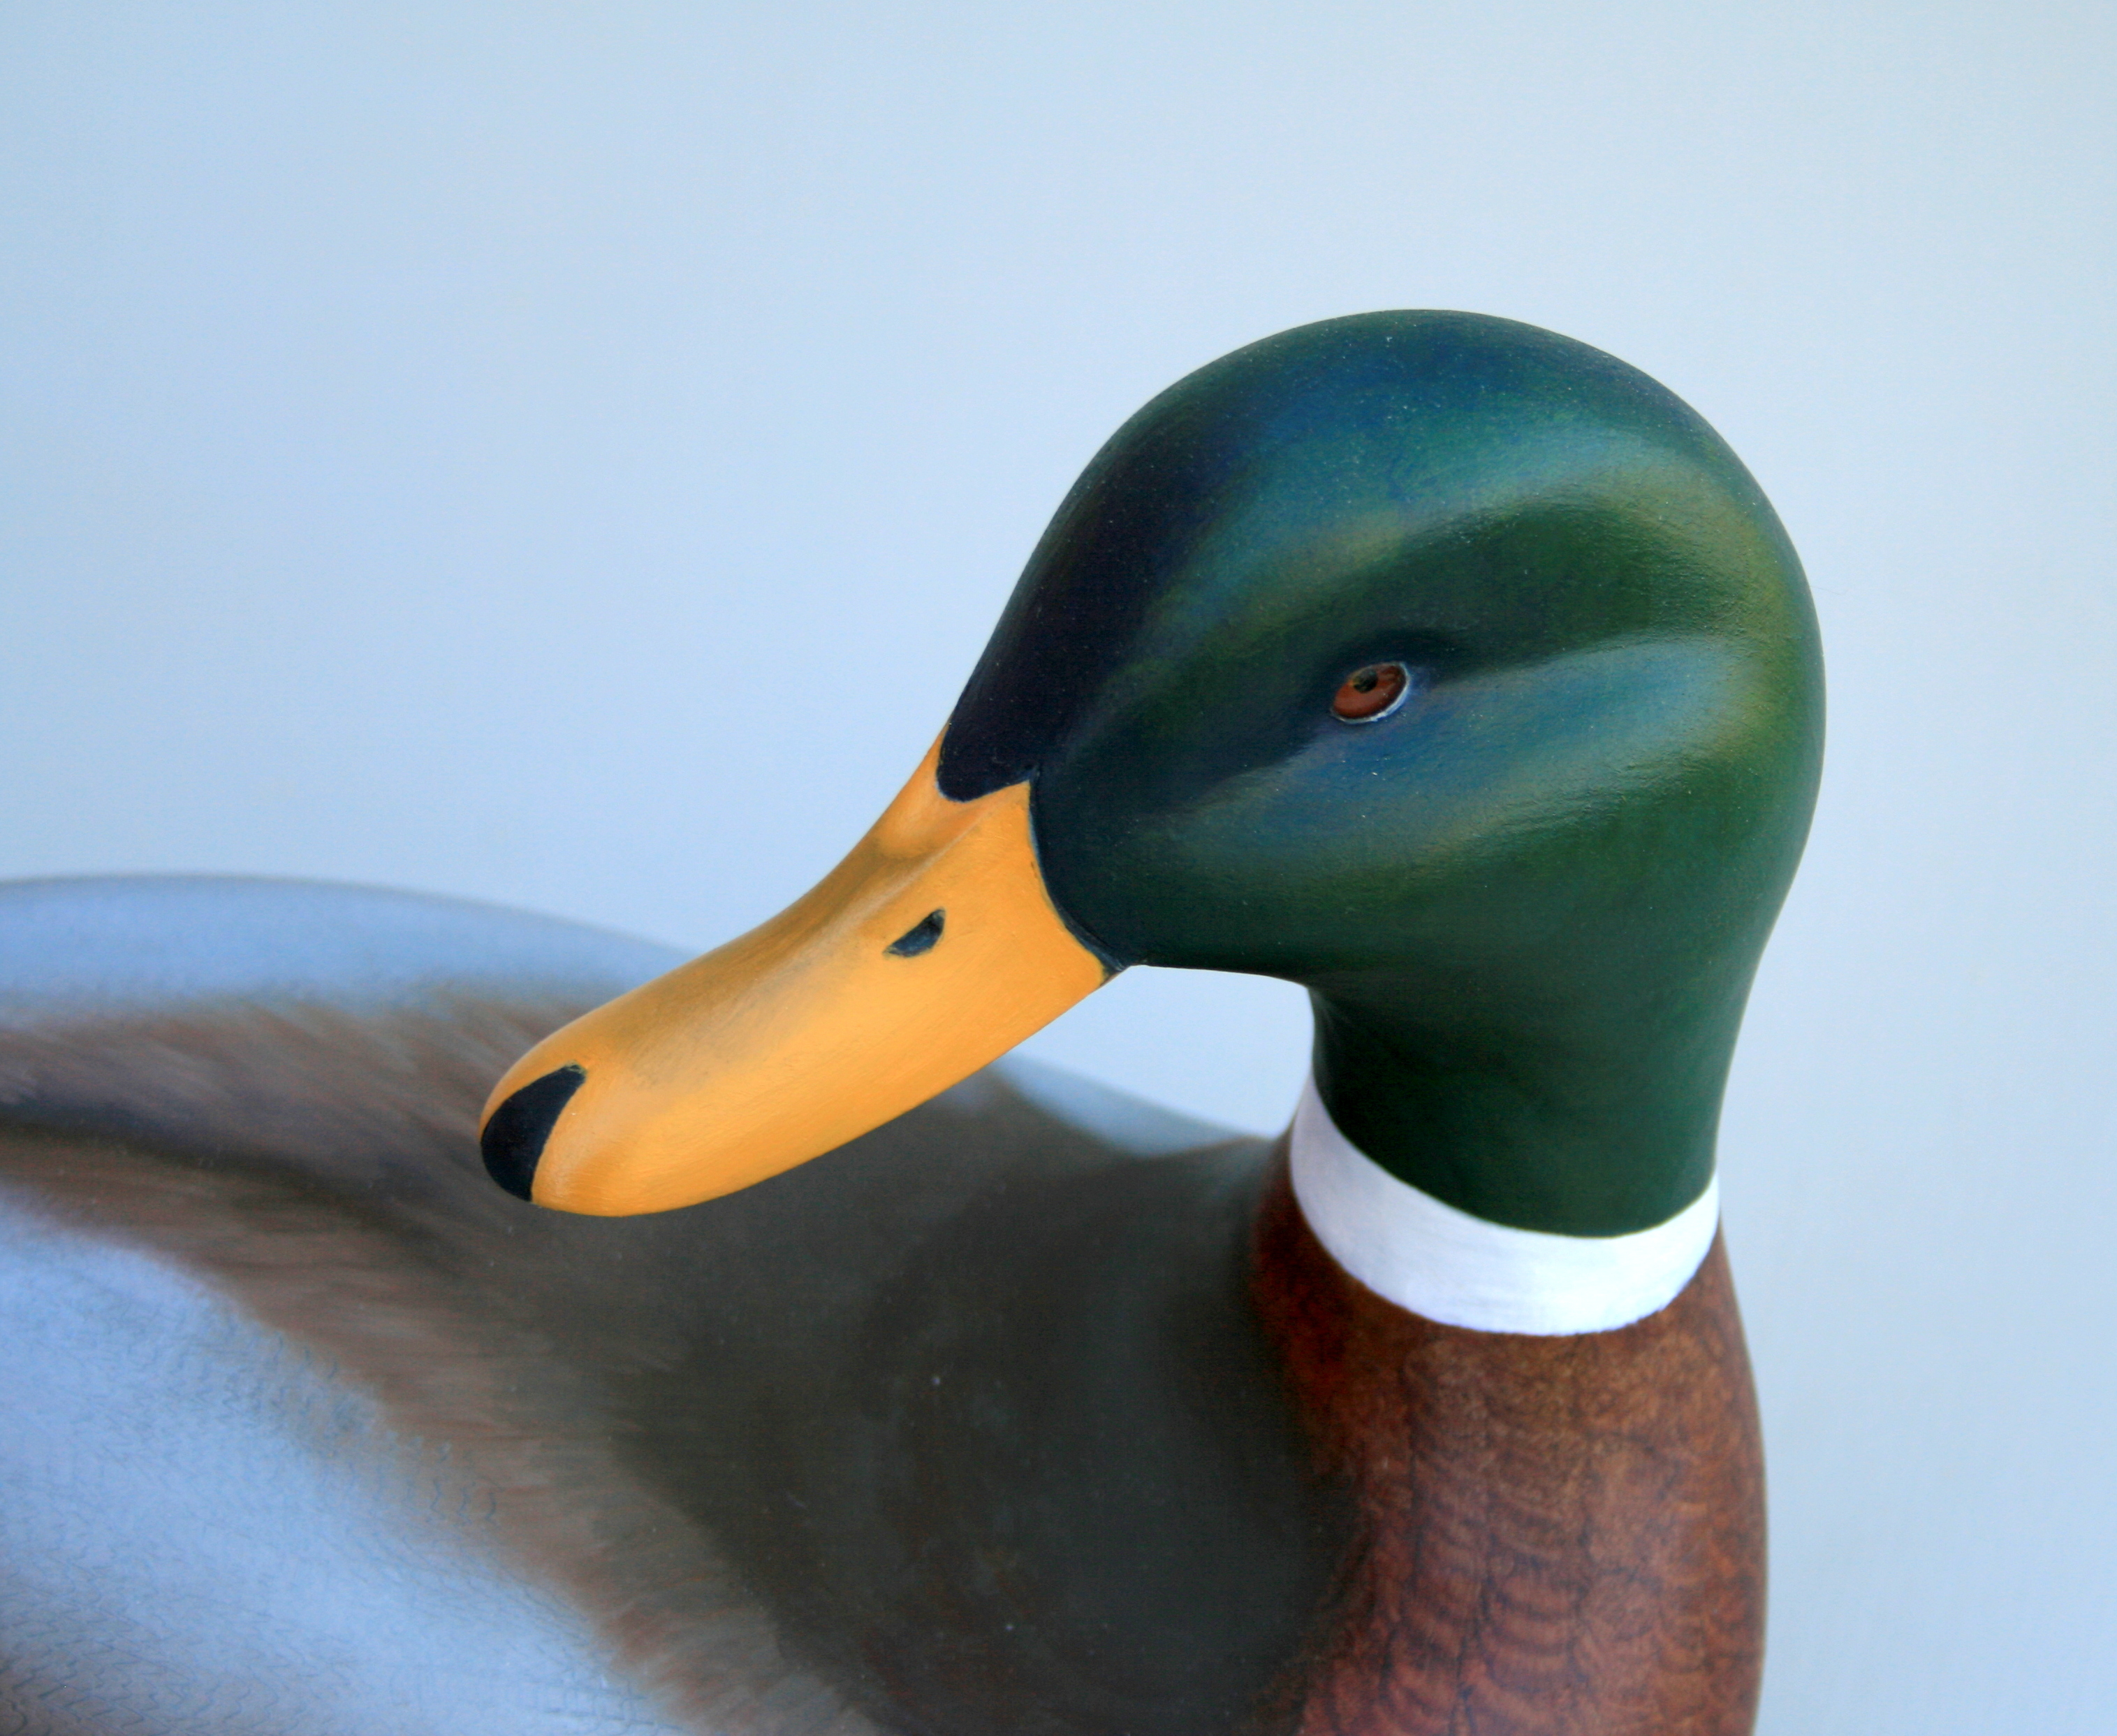
Above left is the head ready for a body. Although this Drake Mallard head was for a decorative decoy (some would insist I say “carving” instead…), I use the same process for gunning birds.
This bird is finished in oils.
As with all of my instructional posts, this is simply how I do it. There are many ways to accomplish any job – and there is usually no one “right” way – but watching others is a time-honored way of learning and developing one’s one approach. Sharing ideas is also an important part of our carving tradition. So, I hope this is useful to you.

1. Start with a pattern you like. This is a decorative Drake Mallard – body is a bit over 14 inches long.

2. Here is a pattern for a more conventional gunner.

3. Draw the pattern outline on stock thick enough for head – this is 3-inch sugar pine. Make sure grain runs through the bill so it will resist breaking in use.

4. Saw out head profile first.

5. When sawing under bill, leave about a 1/4″ to support the head when sawing the plan view later.

6. Mark eye socket centers on both sides of head.

7. Measure and draw centerline.

8. Measure and mark brow width.

9. Measure and mark bill width.

10. Draw rounded bill tip.

11. Measure and draw “ramp” on bill.

12. Measure and mark widest part of cheeks.

13. Tie brow forward into bill processes and narrow it aft.

14. Here’s what it should like like so far.

15. Measure to bottom of eye sockets.

16. Measure widest part of cheek up from base of neck –

17. – and back from bill tip.

18. Round cheeks – convex – into hinge of bill.

19. Round back of head.

20. I use a 7/16″ brad point on a drill press to bore out eye sockets.

21. Depth stop on press is handy.

22. Saw bill corners first.

23. Then saw sides of bill back to brow.

24. It should look like this.

25. Saw plan view of cheeks around from back.

26. Stop the cut just before you intercept the bill cut.

27. On the other side, you can complete the cut and remove the scrap.

28. With the flat side down, finish the cut beneath the chin.

29. Another piece for the kindling pail.

30. Here is the sawn out head – almost ready for carving.

31. First make widest part of cheeks. This area gets carved off near the end.

32. Centerlines and bill edges, too, must remain intact until the finl stages.

33. I make my decorative necks round in cross-section but a real bird is longer front to back.

34. I carve the whole head – and a bit of the body – with an X-acto knife with the # 22 blade.

35. Without violating the reference lines, I first hollow out the eye channel.

36. Keep the sections convex from the eye channel toi the cheek.

37. Carve straight down from brow line to eye channel, then hollow very slightly in towatd eye socket from a point half-way between socket nd brow line.

38. Keep cheek full (convex) as it approaches the bill.

39. Hollow neck from base up toward widest part of cheeks.

40. Start to round bill – keeping the sections convex – and maintain reference lines.

41. Note that “ramp” lines are still intact.

42. With tip of knife, carve out the V at the bill processes. This is much easier with a Foredom or the like.

43. Draw the widest part of the brow about half-way down between top of head and eye socket.

44. Now very carefully round over crown from centerline to new brow line.

45. I stay away from centerline and get there with sandpaper later on.

46. I use a circle template to mark rounded bill tip on underside of bill.

47. I then carve straight up from beneath.

48. Mark the curved line between the bill and cheek. Note that the hinge (at the bottom of the bill) is aft of the process at the top of the bill. Carve this first with the tip of the knife the shave very carefully with the belly of the knife.

49. Now round over the forward part of the bill – kind of like a round-toes shoe – or your gunning boots.

50. Bill near cheek is slightly hollow.

51. Now to the final shaping with sandpaper. I screw an oak block to the bottom so I can secure it in a vise.

52. I rip sanding belts into whatever widths make sense. Grits are usually 60 or 80. Do as many aspects as you can in the vise.

53. Now I sand by hand with 100 or 120 grit.

54. Mark the nail, nostrils, and bill-face boundary.

54. I mark bottom of bill too – just in case a Shellpecker swims into the rig and peers upward….

55. I burn the bill lines fairly lightly – deep burning can make painting tougher than it needs to be.

56. The carvings all done except around the eyes.

57. Right near the eye sockets, carefully shave a “crater” – the walls of which should be convex.

58. Sand around the socket with 120 grit.

59. I use water-soluble wood filler – which I sometimes siften by adding water so it’s somewhere between peanut butter and sour cream.

60. Push eye in with the eraser on a pencil.

61. I first use a pallette knife to get the approximate contours.

62. Shape around the eye with wet brushes and fair the filler into the adjoining wood.

62. Eyes should be set so that you can you barely see them from above.

63. When the filler is fully cured, very carefully sand and maybe shape around the eyeitself with the point of your knife.

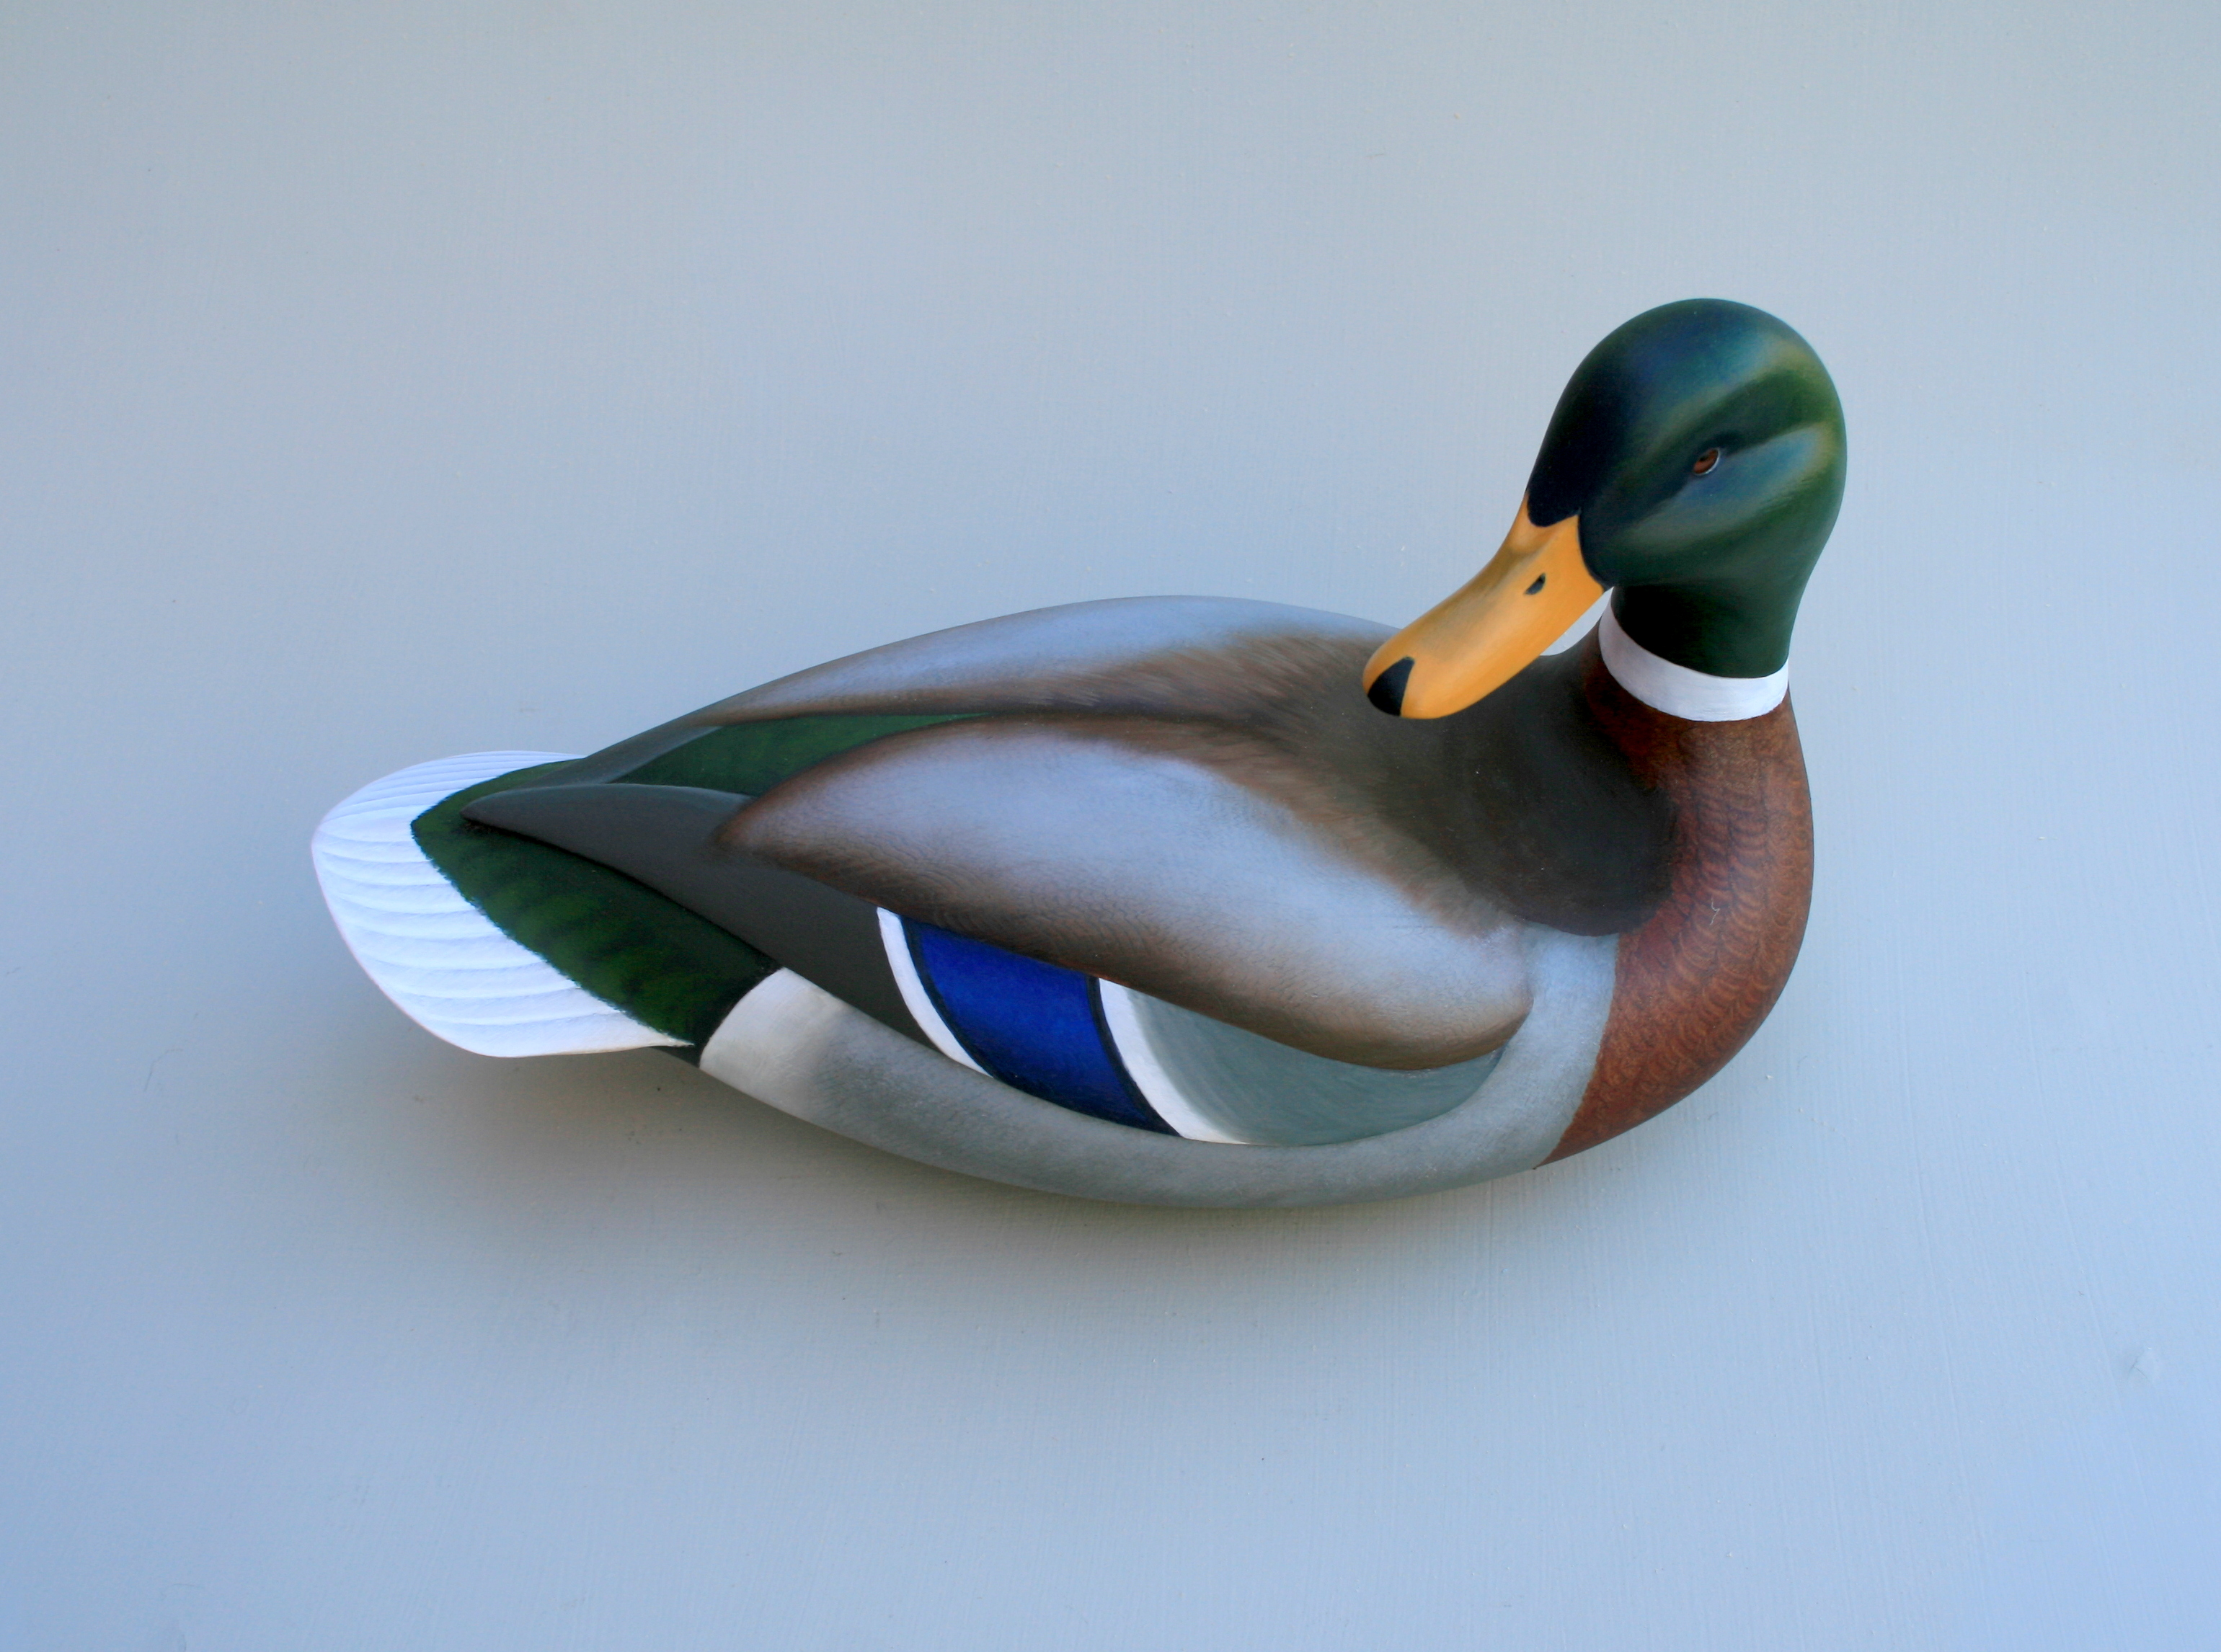
64. Here’s the finished product. I often paint the bill just to be sure I like the head. It will get sealed with varnish and primer before finish paint goes on.

65. hHere’s a side view.

66. Note contours of brow, cheeks, neck.

67. Ready for a body….

Fantastic! What a brilliant tutorial.Thanks for being so generous in sharing it. I really love your carvings, too.
Great stuff Steve! I appreciate your heart to help others. Thank you for keeping decoy carving alive!
Steve,you have made successful decoy carving within the possibilities of the novice, like me! I appreciate and admire your concise and understandable teaching style. I’m excited about getting started using the techniques of “the master”. Thank you for sharing your great skill and enthusiasm!
At 73 I have lost some of my stride but I’m still not done for. Shaking hands and endurance. But I would like to take a moment to think you for sharing your skills. Have carved for years, high relief. My grandsons are duck hunters and have asked me to carve some decoys. Your teaching skills are very important to me at this point in time. Very well done Sir and God bless you. Sincerely walter.van_cleave@myself.com
Excellent thanks for helping me great tutorial.
Illustrations very easy to follow well done