

A long time coming
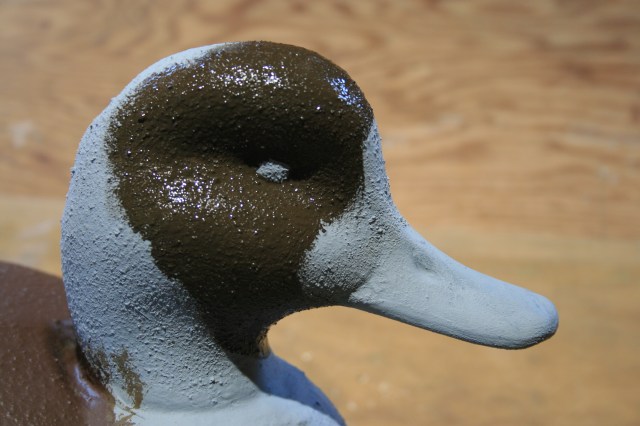
I had an opportunity last summer – 2015 – to realize a dream I first had back in high school. I grew up hunting Broadbill on Long Island’s Great South Bay over my Dad’s Model 72 “Bluebill” decoys made by Herters – then in Waseca, Minnesota. Of course, there are no “Bluebills” on Long Island. Like our friends in New England and down along the coastal bays of New Jersey, we have always called the Greater Scaup “Broadbill”. It was in high school that I first started painting gunning stool. I learned a lot from the Model 72s – both the puddlers and their divers, because they molded in the major feather groups and so helped me on my ornithological journey. The Model 72 provided yeoman service to many thousands of gunners since the early 1950s. I am sure many will continue to serve for decades to come – especially now that many are being refurbished and “armored” with burlap and the like. But, the Model 72 s no longer in production. So, when I saw that a successor was coming to life in Ohio, i was curious to see what their Broadbill/Bluebill head looked like. As it turned out, the earliest diver had a Redhead head – and an exceptional one at that – but not the Broadbill head I had envisioned in my youth. The Herters head was fine – except for the brittle “Tenite” heads – a little to prone to breakage, especially the the eck “stem – but I wanted a more ducklike shape. The head and bill were fine in profile but the bill did not get wider as in a proper Broadbill, and the brow did not overhang the eye. So, I sent a note off to Tony Homer – wondering whether he would welcome a Broadbill head carved to the scale of his new diver bodies. After a quick “Yes!”, I carved a head and mailed it off to the Missisippi Flyway.
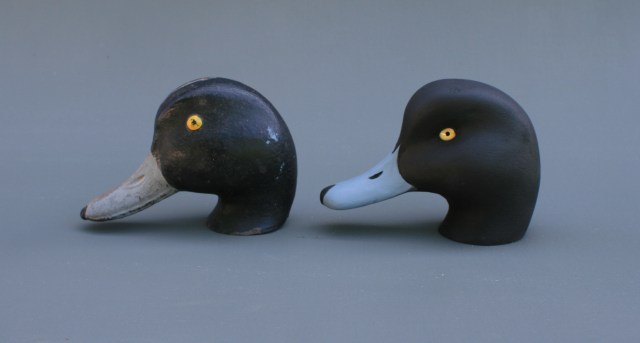
Herter’s Model 72 Bluebill & Sanford Broadbill
Preparation
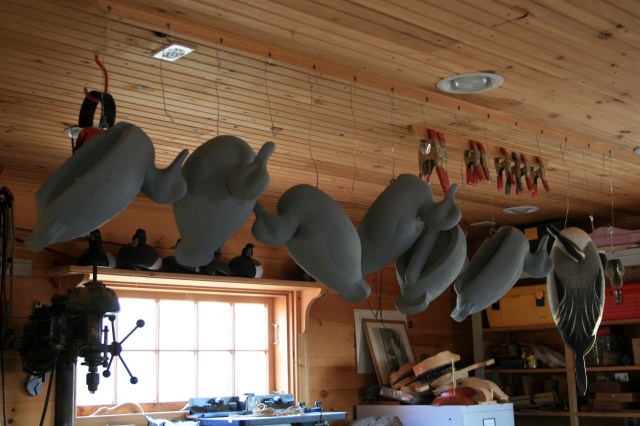
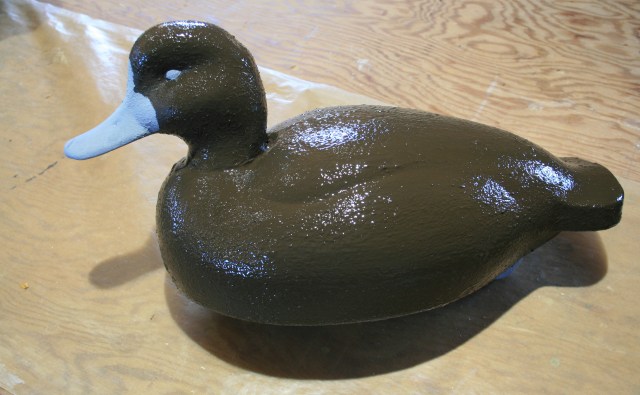
The heads are now manufactured in a tough – guaranteed unbreakable – polypropylene plastic and the bodies are a denser (than Herters) styrofoam. I mated 6 heads with 6 bodies nd coated each with my usual mixture of marine epoxy – thickened with some Cabosil – and fine sawdust from my band saw. They were then primed if a flat grey oil-based primer. They hung over one of my benches for several months before I could put finish paint on them.
My Paint Bench
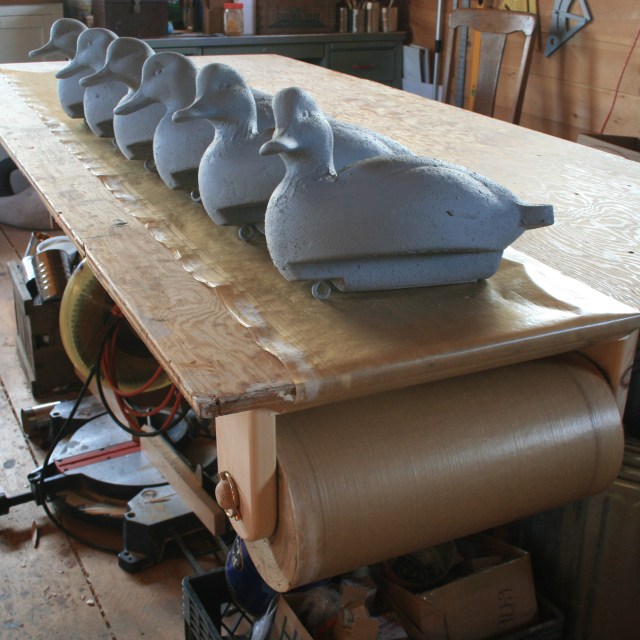
I do most of my paint at my lower (assembly bench). It is equipped with two rolls of protective paper – each held in a “dispenser” mounted beneath the top. I first got the idea from the doctors office – where fresh paper could be rolled out from beneath the examining table. I have a roll of 48-inch brown mailing paper on the east end and this role of waxed paper on the west end. I scrounged this a couple of years ago from my local transfer station. I do not know its original purpose but it will keep my bench more or less clean for many years to come.
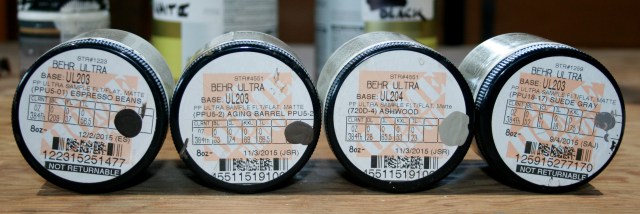
The Paints – Sample Jars from Home Depot
I use acrylic latex paints – house paints – on my gunners. Although flat oils are tougher, I switched to latex many years ago for 2 reasons. First, the cost and waste – from quarts that dried up before I could use most of them. Second, a technologically savvy gunner from Long Island once explained: “plastic paints” for plastic decoys. The decision got even easier when oil paints became harder and harder to find and when I discovered the sample jars at Home Depot. I had observed – in teaching many gunners over the years – that the toughest part of the job for most is matching colors. I help them over that hurdle by using “standard” colors available at any Home Depot. Because the 8-ounce samples cost just a few dollars – and are frequently on sale for $1.94 each – the waste is minimized.
So, here are the hues needed for Broadbill:
Flat Black and Flat White can come from any hardware store. I usually have quarts of each in hand. Just be sure to ask for “dead flat” – not matte or low luster.

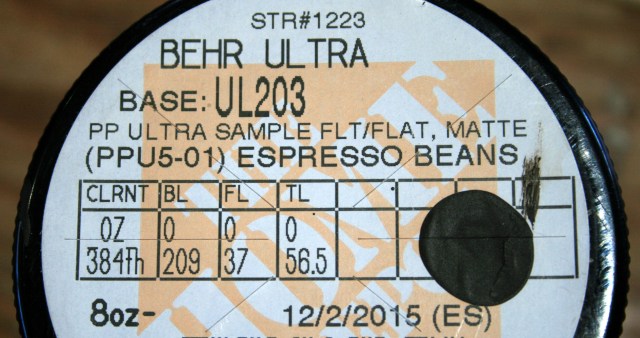
Four Behr Ultra sample jars are needed for the bodies:
Espresso Beans ~ PPU5-01
Aging Barrel ~ PPU5-2
Ashwood ~ 720D-4 (this may be an old-style code)
Suede Gray ~ PPU18-17
A Cadmium Yellow Deep is needed for the eyes: Saffron Strands ~ PPU6-02

The bills can be left with just the grey primer – but I use a medium blue-gray:
Dark Storm Cloud ~ 740F-4

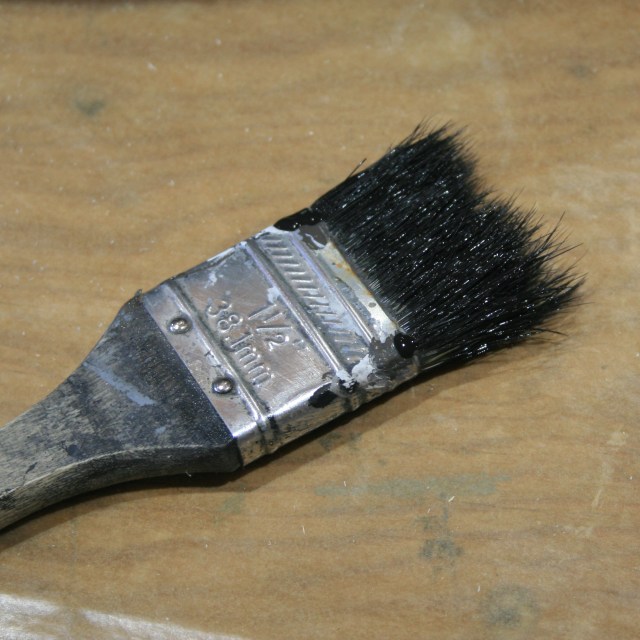
The Brushes
I use a modest selection of brushes, none very expensive. I use “throwaway” (aka “chip”) brushes whenever I can. And, some of my beat-up brushes are very handy for stippling – using the ends of the bristles to dab on small amounts of paint.

Slide Show 1 – the Drakes
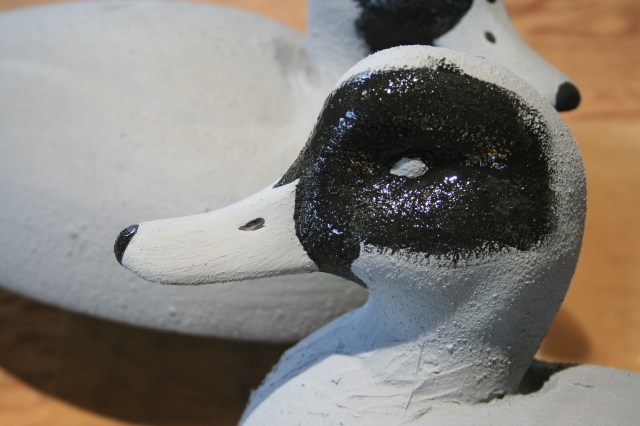
I use my half-inch Angled Shader to cut in around the bill and eye. No sense putting dark paint in any area that will ultimately be much lighter. This is especially important on gunning decoys where hard use will cause some wear-through in any paint.
The Drakes

2. Use a large brush to cover head, chest, tail section and parts of back with Black.
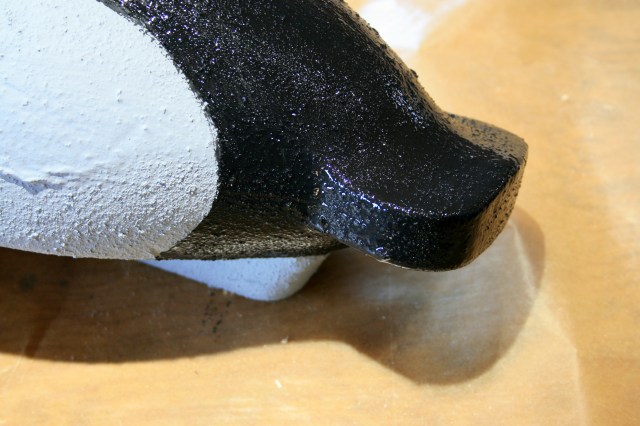
3. Details on aft end.
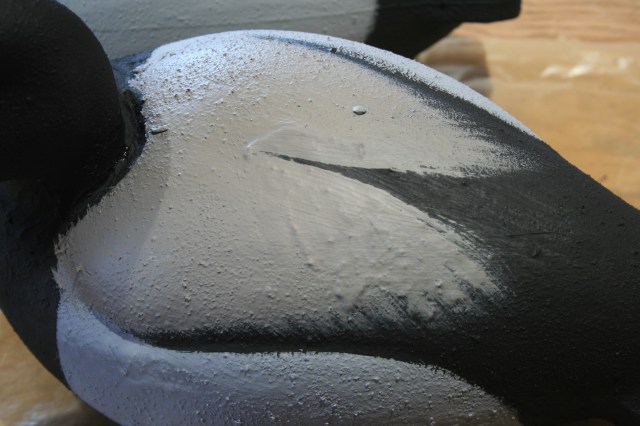
4. Paint Suede Gray on back – cape, scapulars and tertials. Soften after edge onto Black areas.

5. Shoulder detail.
6. A beat up chip brush is good for stippling – use tips of bristles to daub a small amount of paint on back to suggest the vermiculation.
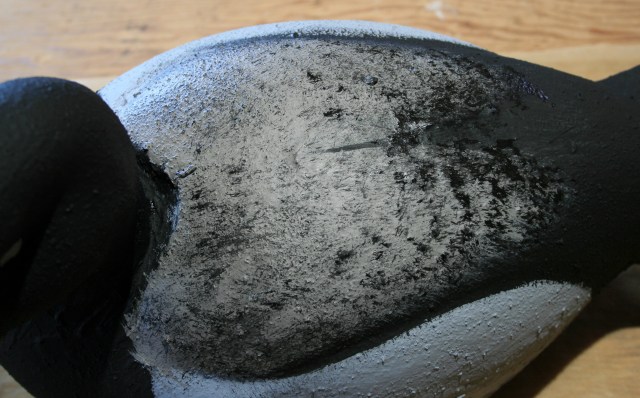
7. The vermiculations get heavier as you go aft.
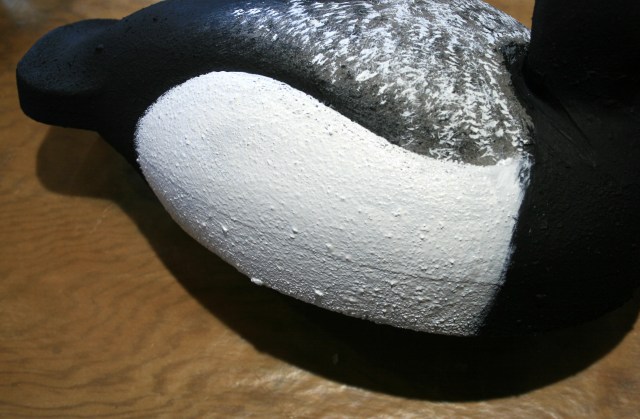
8. Paint the sides White – following the molded-in contours.

9. Stipple the back again – with White.

10. Drag the Black from the chest onto the White sides.
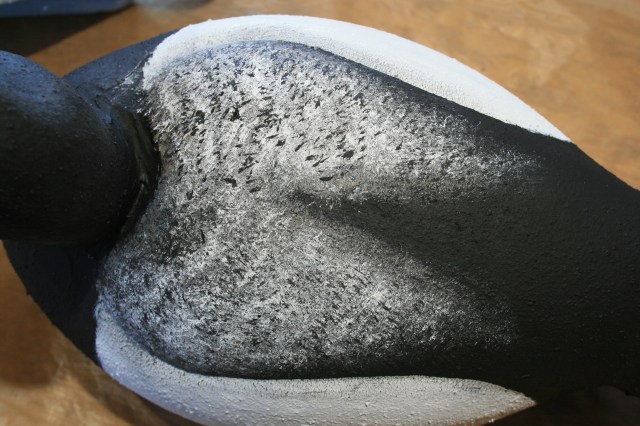
11. Stipple with Black one last time.
Slide Show 2 – the Hens
The processes are similar here – just more muted colors.
1. Espresso Beans is the Dark Brown I use for Black Ducks and Hen Mallards – among others.
2. Delineate the eye and the facemask.
3. Paint the rest of the body – although you could wait on the sides.
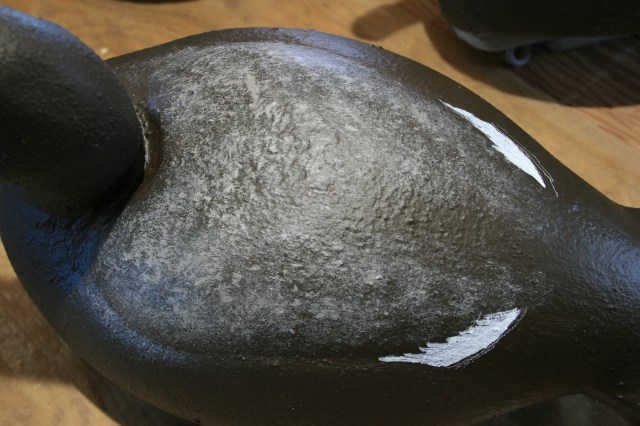
4. Use chalk to mark the White “wing patches” – the specula.

5. Paint the eyes with Saffron Strands.
6. Paint the specula with White.
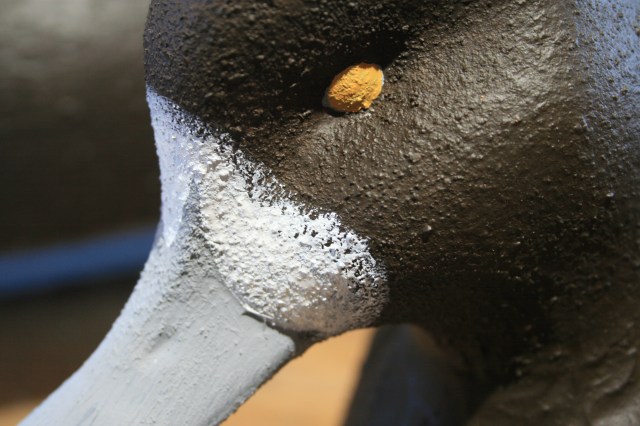
7. Paint the facemask. Check out Google Images to see how its shape varies.
8. Stipple the back with Suede Gray.

9. Paint the sides Aging Barrel.
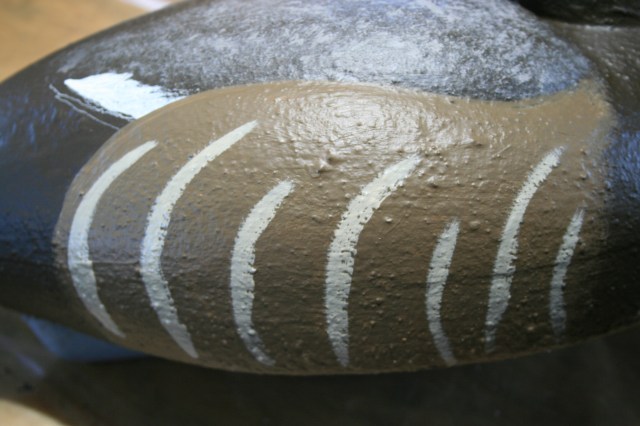
10. Use Ashwood to paint 6 or 7 curved feather edges from the bottom up about two-thirds.
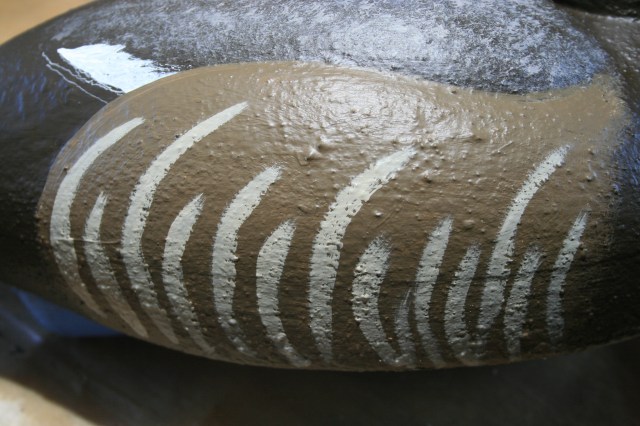
11. Add shorter curves in between the first ones.
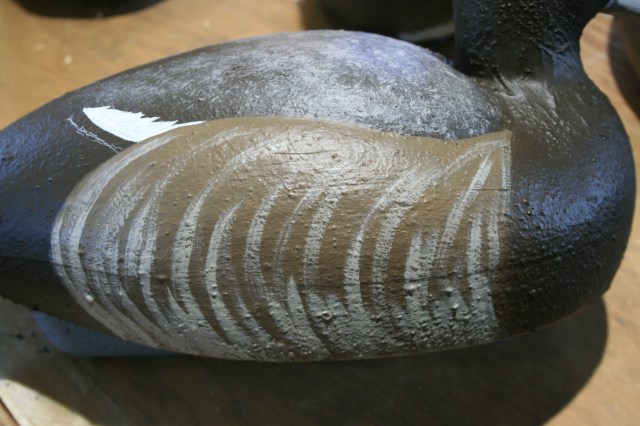
12. Now scrub the lower edge of the decoy so the edges run together – then, with a finer brush, curve a few thin lines upward.
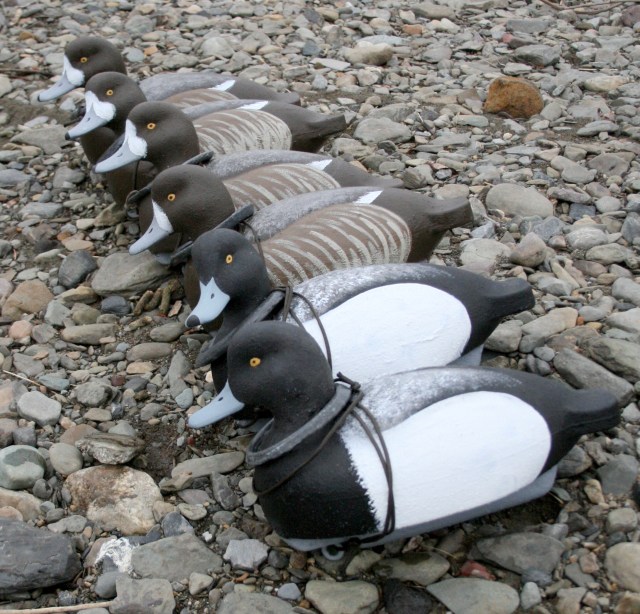
Gallery – Sea Trials
Assuming you have “dotted” the eyes and other little details, a night by the stove cures the paint enough for a photo shoot on the Hoosick River.


I hope this proves helpful – and that you enjoy many seasons of gunning over your freshly painted Broadbill stool.
![]()
