
Here is a step-by-step of how I went about making a pair of oversize puddler drakes – a Black Duck and a Mallard – for saltwater. I used a coat of marine epoxy and sawdust to protect the insulation board foam. It is similar to Restle Coating; I have not yet tried burlapping.

Here are the finished birds. They have a nice tough skin – that takes paint very well, with no sealing or priming – but only time will tell how they hold up under gunning use. If you try this approach, please let me know how you make out.

1. I enlarged my pattern on a copier to 140 percent – the body is 9″ wide X 18″ long.

2. Carve head as usual – see Head Carving Tutorial.

3. This Black Duck is bill up.

4. Seal with varnish (or epoxy).

5. This Drinker will become a Mallard

6. Stack 1/4″ AC plywood and hot glue to saw out multiple bottom boards.

7. Bandsaw is best.

8. Measure bottom boards…

9. and set table saw a little wider than maximum width. Rip the foam on the table saw.

10. To save foam, stack only the lengths you need.

11. Leave a little foam either side of bottom board.

12. Mark witness lines on layers.

13. Drive brass escutcheon pins through bottom boards.

14. I use marine epoxy for all layers.

15. I use toothpicks to keep layers from sliding during clamping.

16. Clamp with a board on top.

17. When fully cured, lay out plan view – and then profile.

18. Saw slot for tail insert first, then rest of profile.

19. Toothpicks can be carved off without dulling blades.

20. Lay out center line and neck, et cetera.

21. Tail inserts are from a heavy plastic that stays flexible even when cold.

22. Sand inserts so epoxy will stick.

23. Carve out neck base to seat head.

24. It’s always good to put a little turn in every head.

25. Round edges of bottom board.

26. Screw hardwood clamp to bottom for holding in vise.

27. Most of the carving is done with a serrated bread knife.

28. A medium rasp helps, especially though the glue lines.

29. Rough carving is done.

30. Lay out wing pockets, primaries, et cetera.

31. Remove the cleat and sand bottom and edges.

32. Screw head from below with SS screw eye and plenty of epoxy.

33. Coat entire bird with a sealer coat of epoxy – cure near stove if needed.

34. I thicken marine epoxy with colloidal silica then sprinkle fine sawdust on the wet epoxy.

35. Sawdust cures hard and rough and requires no sanding, sealing or priming.

36. I use flat latex house paint.

37. Have I mentioned how much I love painting Black Duck faces???

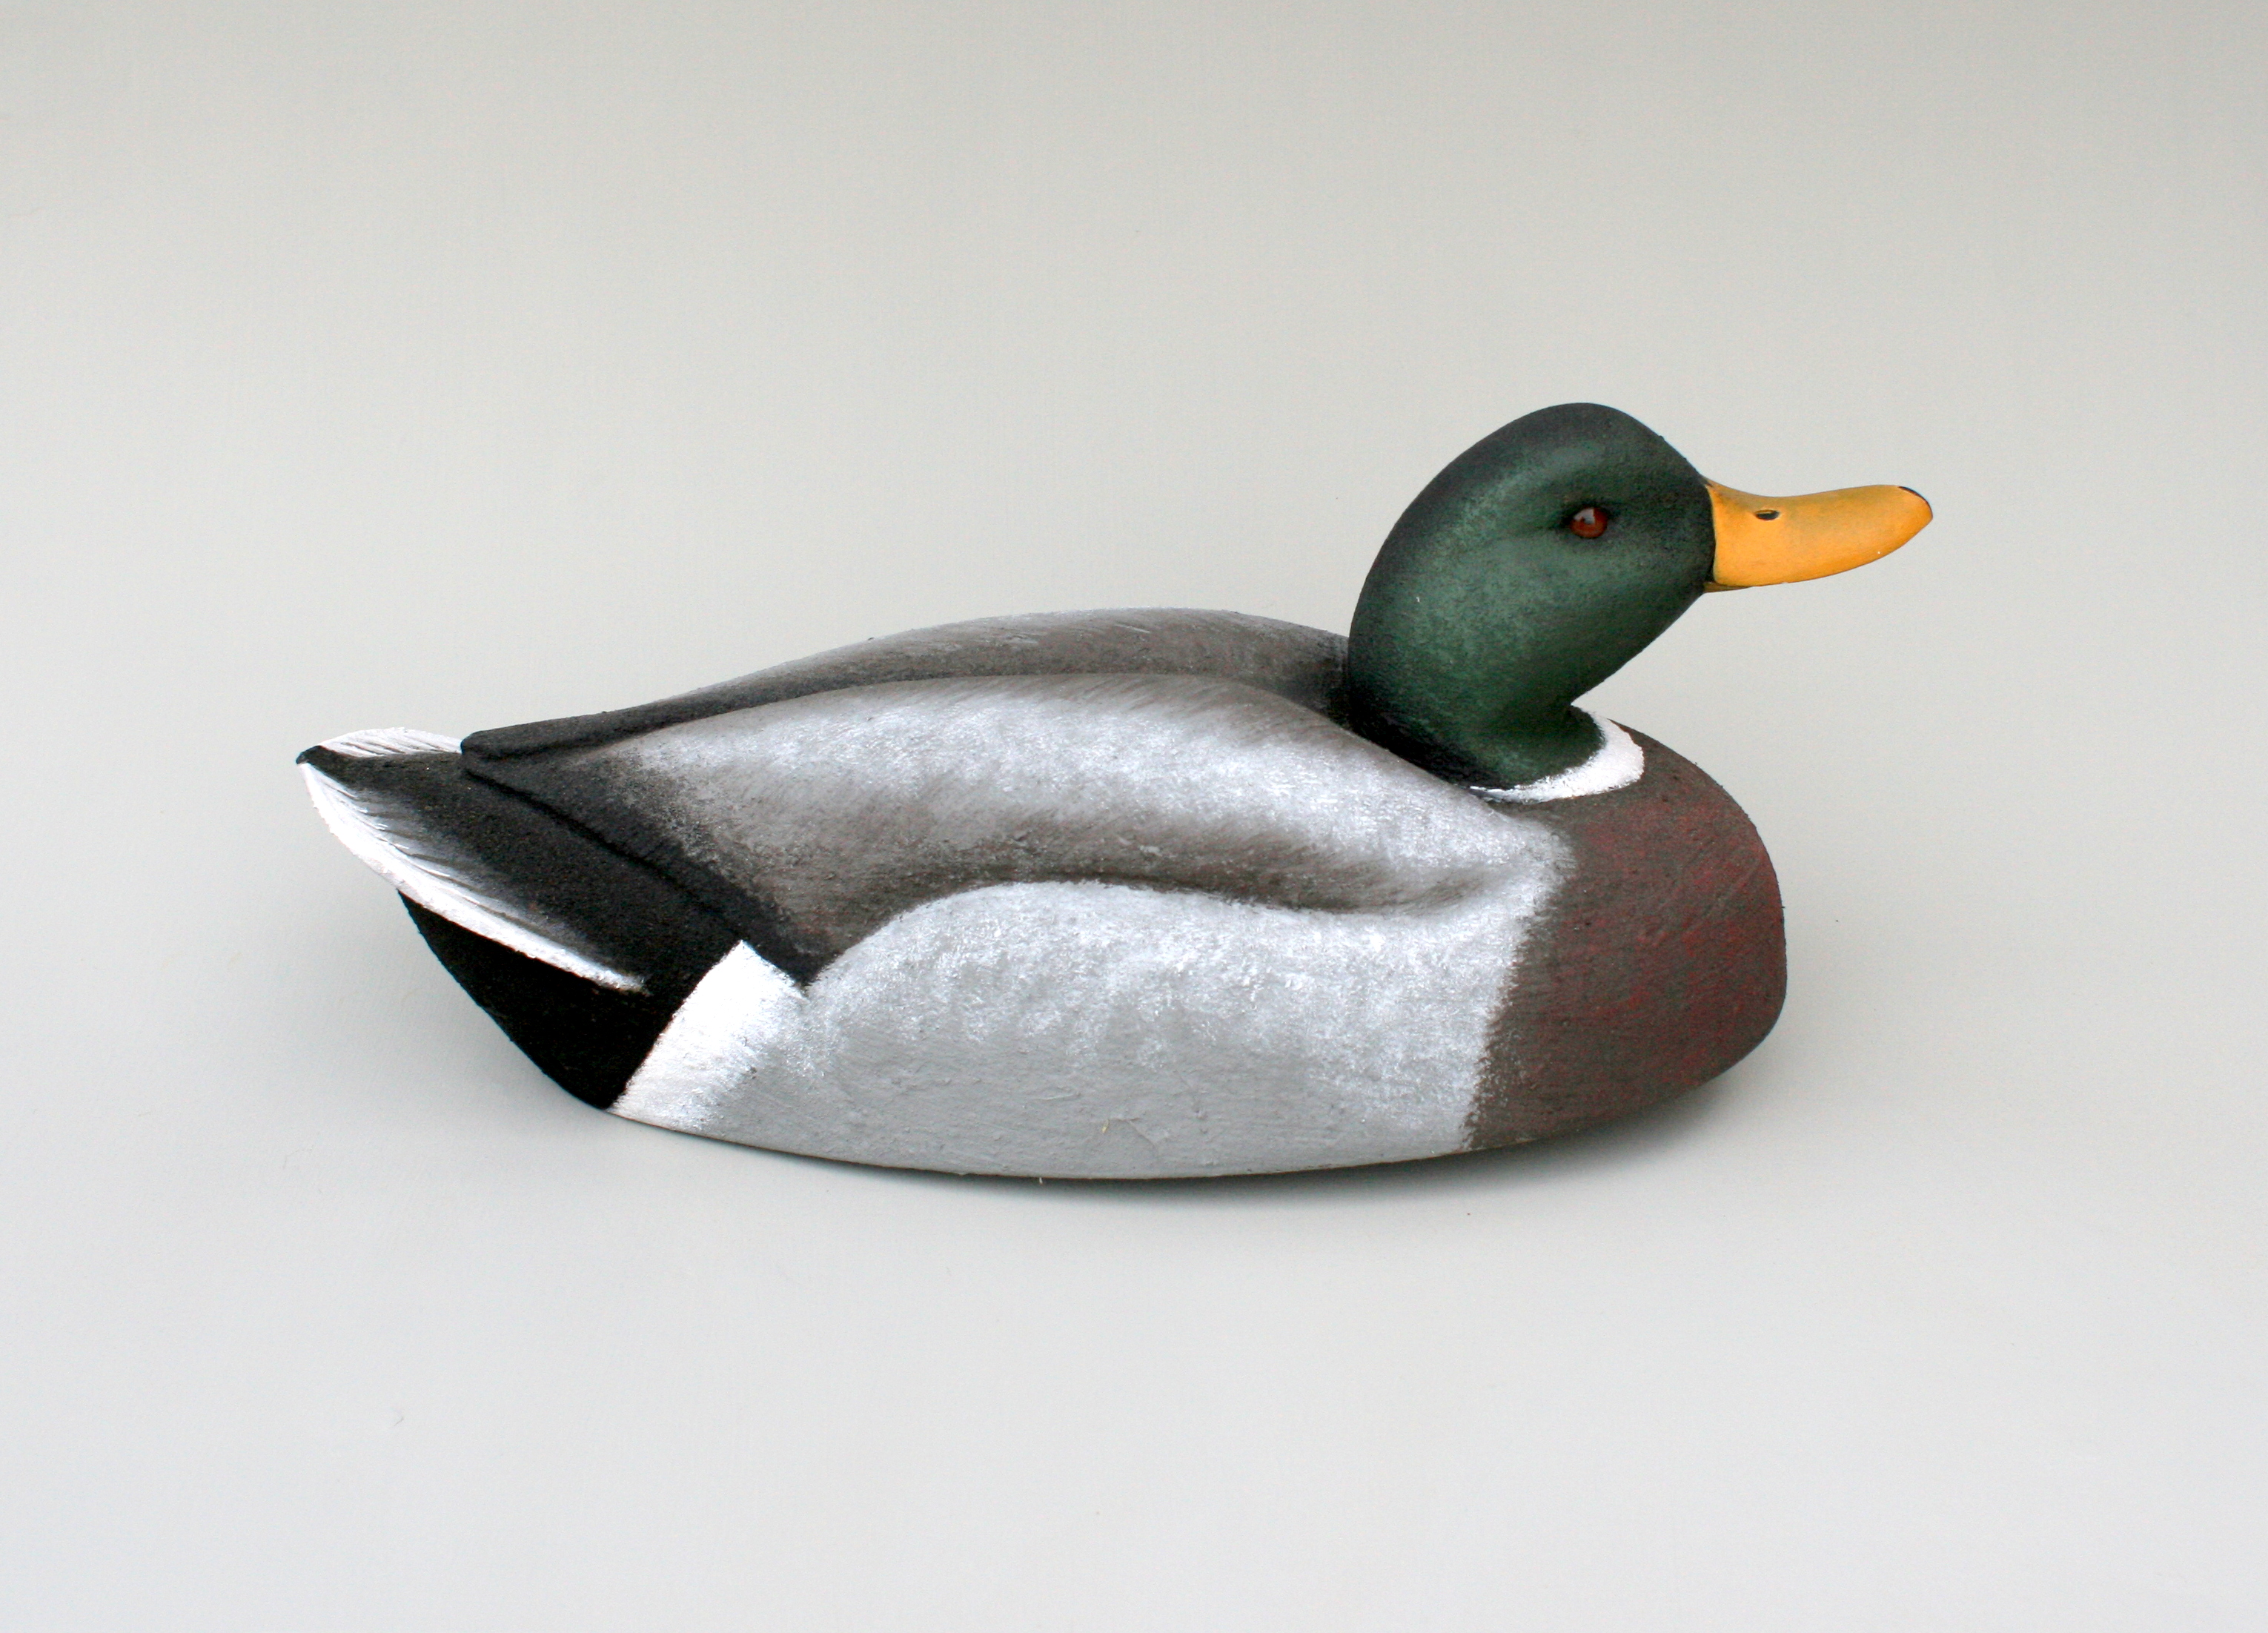
38. Here’s the Drinker in full paint.
Burlap and tile mastic probably gives a more durable skin – but it will add perhaps a pound to a decoy of the size.
![]()

Steve, your work is excellent and truly inspiring! One question – which epoxy do you use to skin over foam decoys? (I have some old, beloved Restle decoys that desperately need repair). The original low-viscosity epoxy from West (105) has been augmented with new higher-viscosity systems.
I’ve been using Bondo and Rocker panel spray, which works, but is very messy and expensive.
Thank you!
Dave Jaffin