
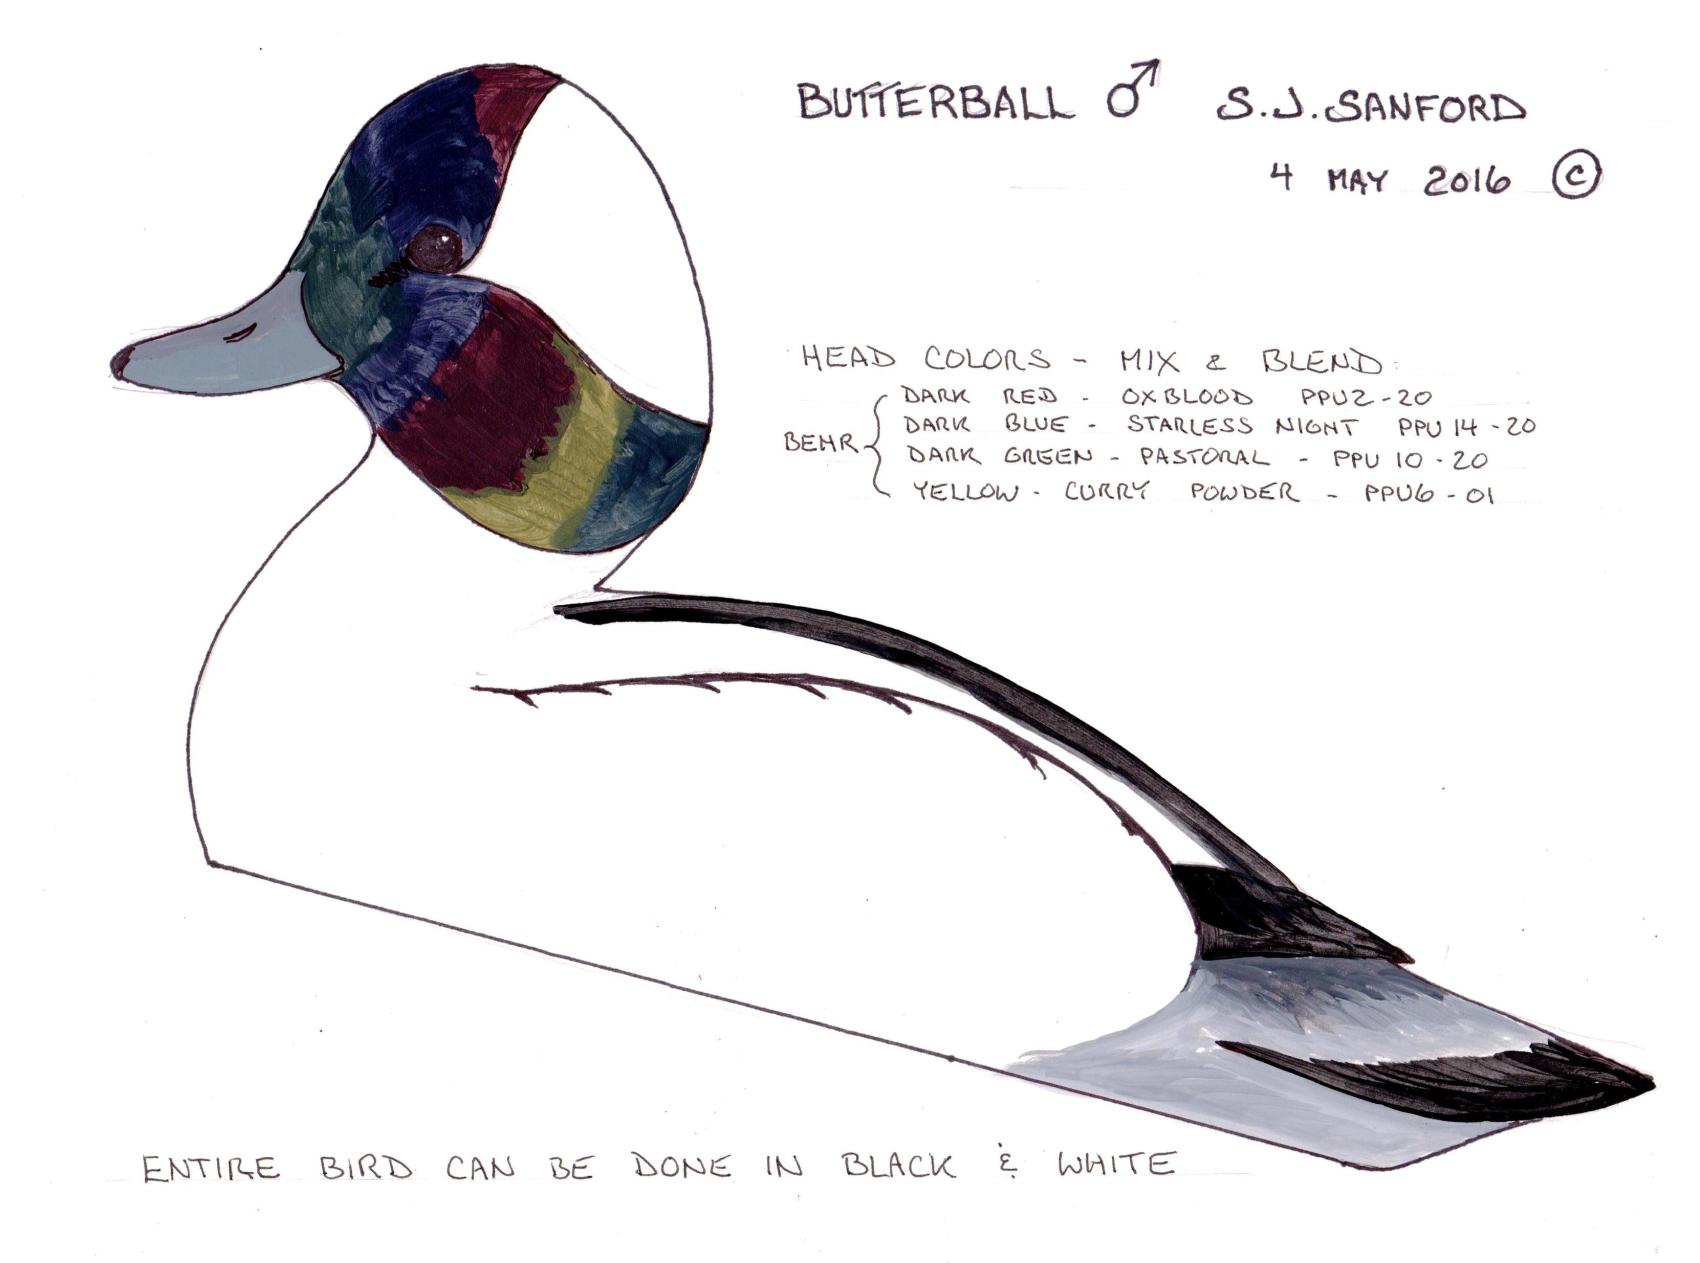
A Butterball painting tutorial

The Bufflehead – what I learned as Butterball on Great South Bay – is a beautiful bird. I have carved several “mantel piece” drakes over the years – but I believe this is the first pair of gunners I have ever painted.
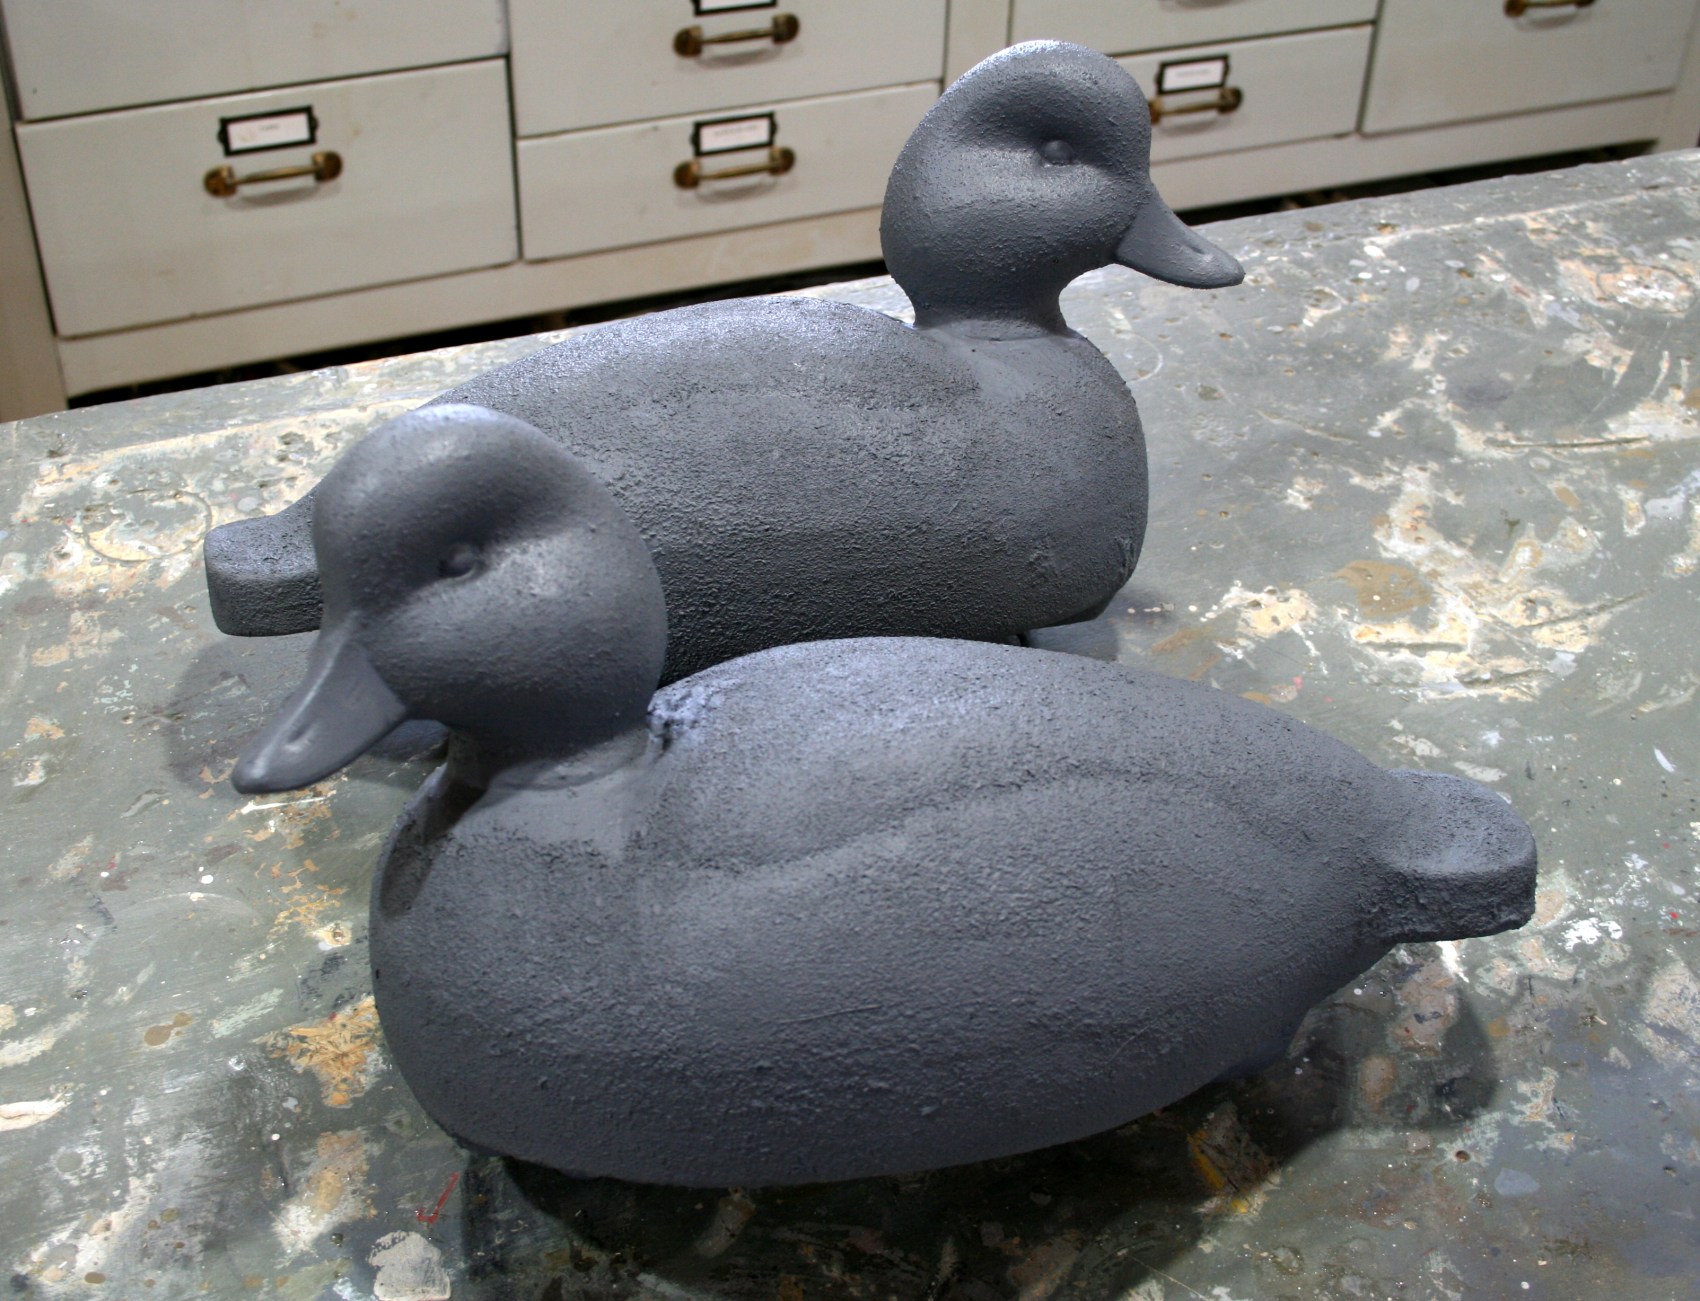
The “blanks” are Homer Goldeneyes – for which I carved the original head. After I mailed a finished Goldeneye Drake (Whistlers on Great South Bay) out to Ohio, I remarked to Tony Homer that the decoy would probably make a nice “giant” Bufflehead. He quickly mailed back a photo of one already dressed in Butterball plumage. What follows is my interpretation.
The Drakes
For a gunning decoy, one needs only Black and White for the Drake – but one can always get fancy if one so desires. Similarly, the Hen needs just a bit of Brown mixed in with the Black and White paints to suggest her somber dress.
I started with a pair coated with my usual epoxy + sawdust – for the tougher skin and the shine-killing rough surface – and then primed with a Grey oil primer.
The topcoats are acrylic latex – aka house paint. As usual, I buy the Behr sample jars from Home Depot in a flat finish.
I used a half-inch “flat” bristle brush for most of this paint job. If I were painting a whole rig, I would use larger (1-inch or even 1.5-inch) chip brushes for the larger areas, like the breast and sides.
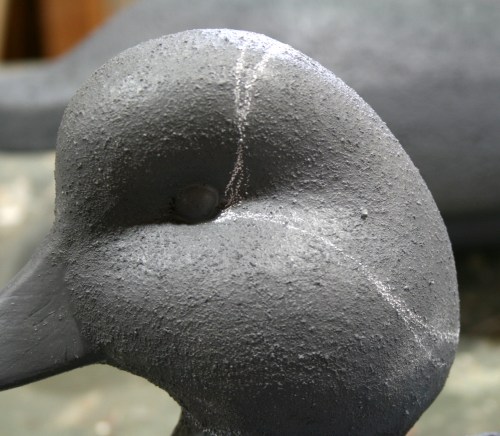
I begin by marking out the major areas of color on the head and back with white chalk.

The Black areas get paint first.
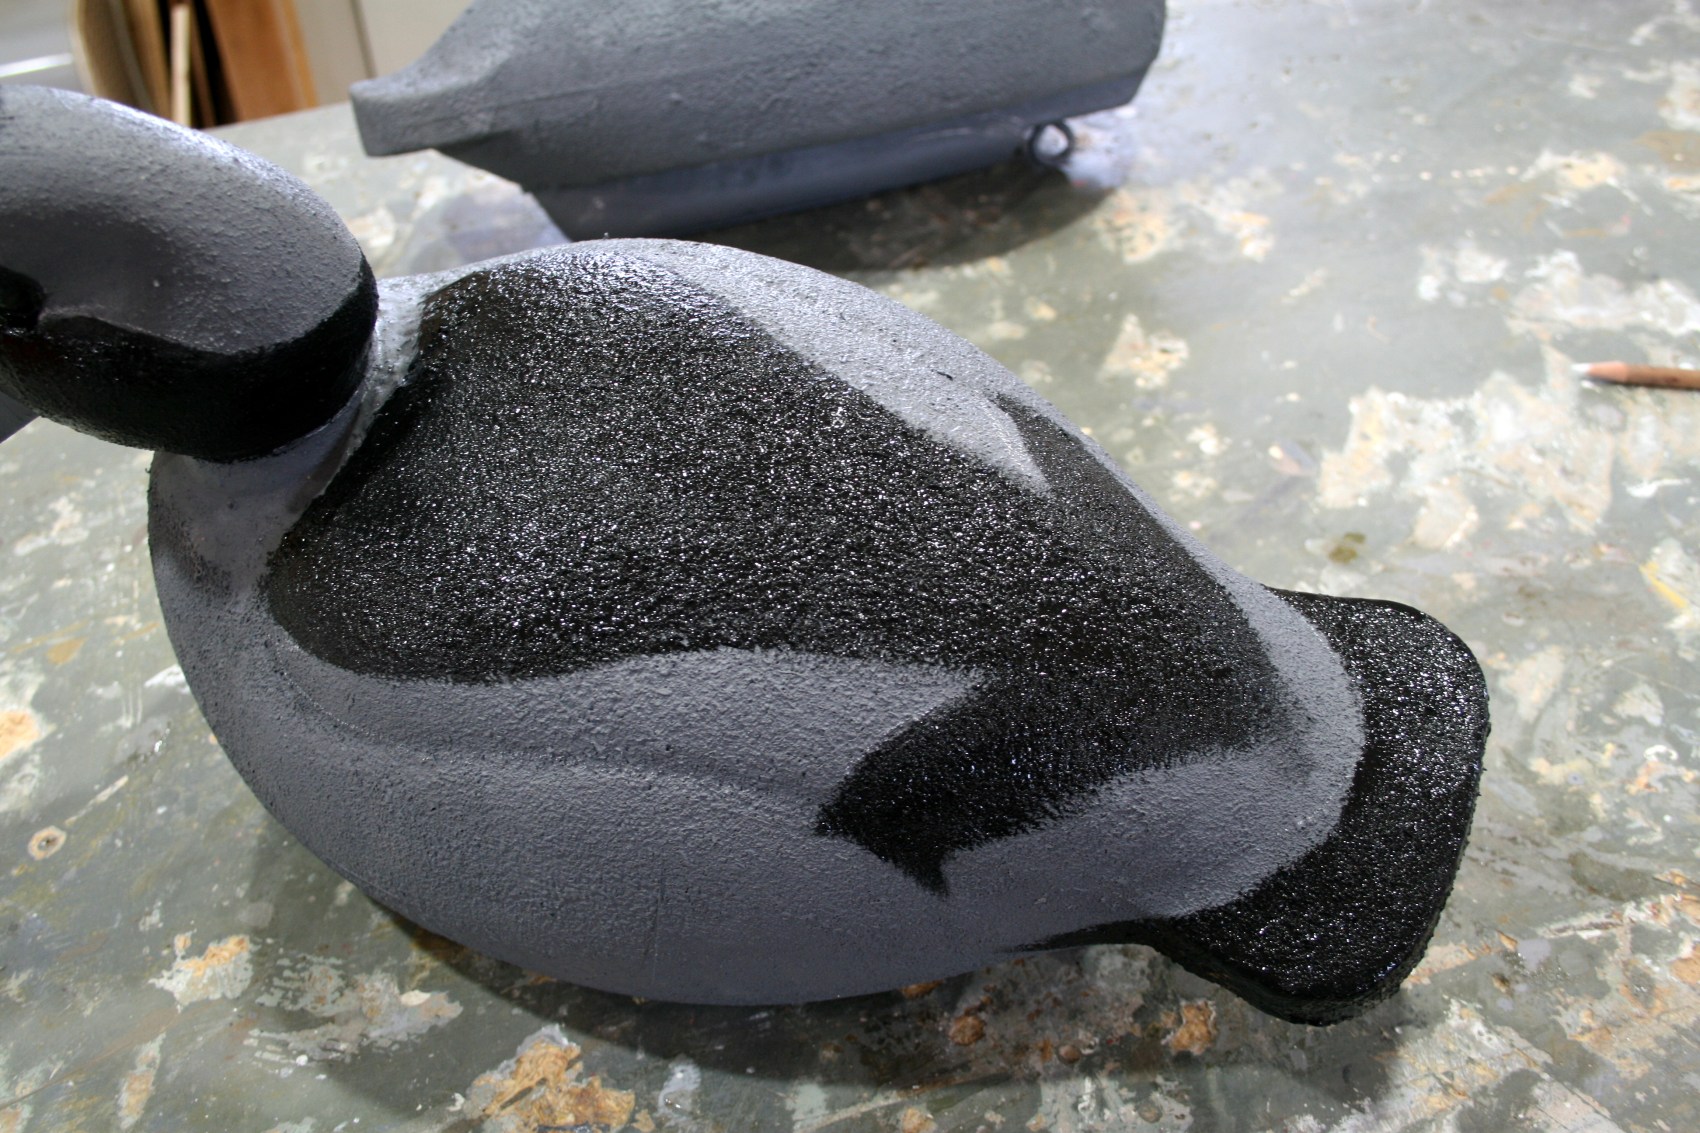
To look right, the rump should be blended, shading from darker up on the back to very pale just before the tail feathers. I work with both colors wet and work them back and forth about midway.

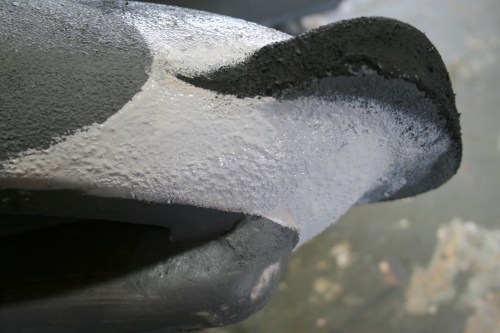
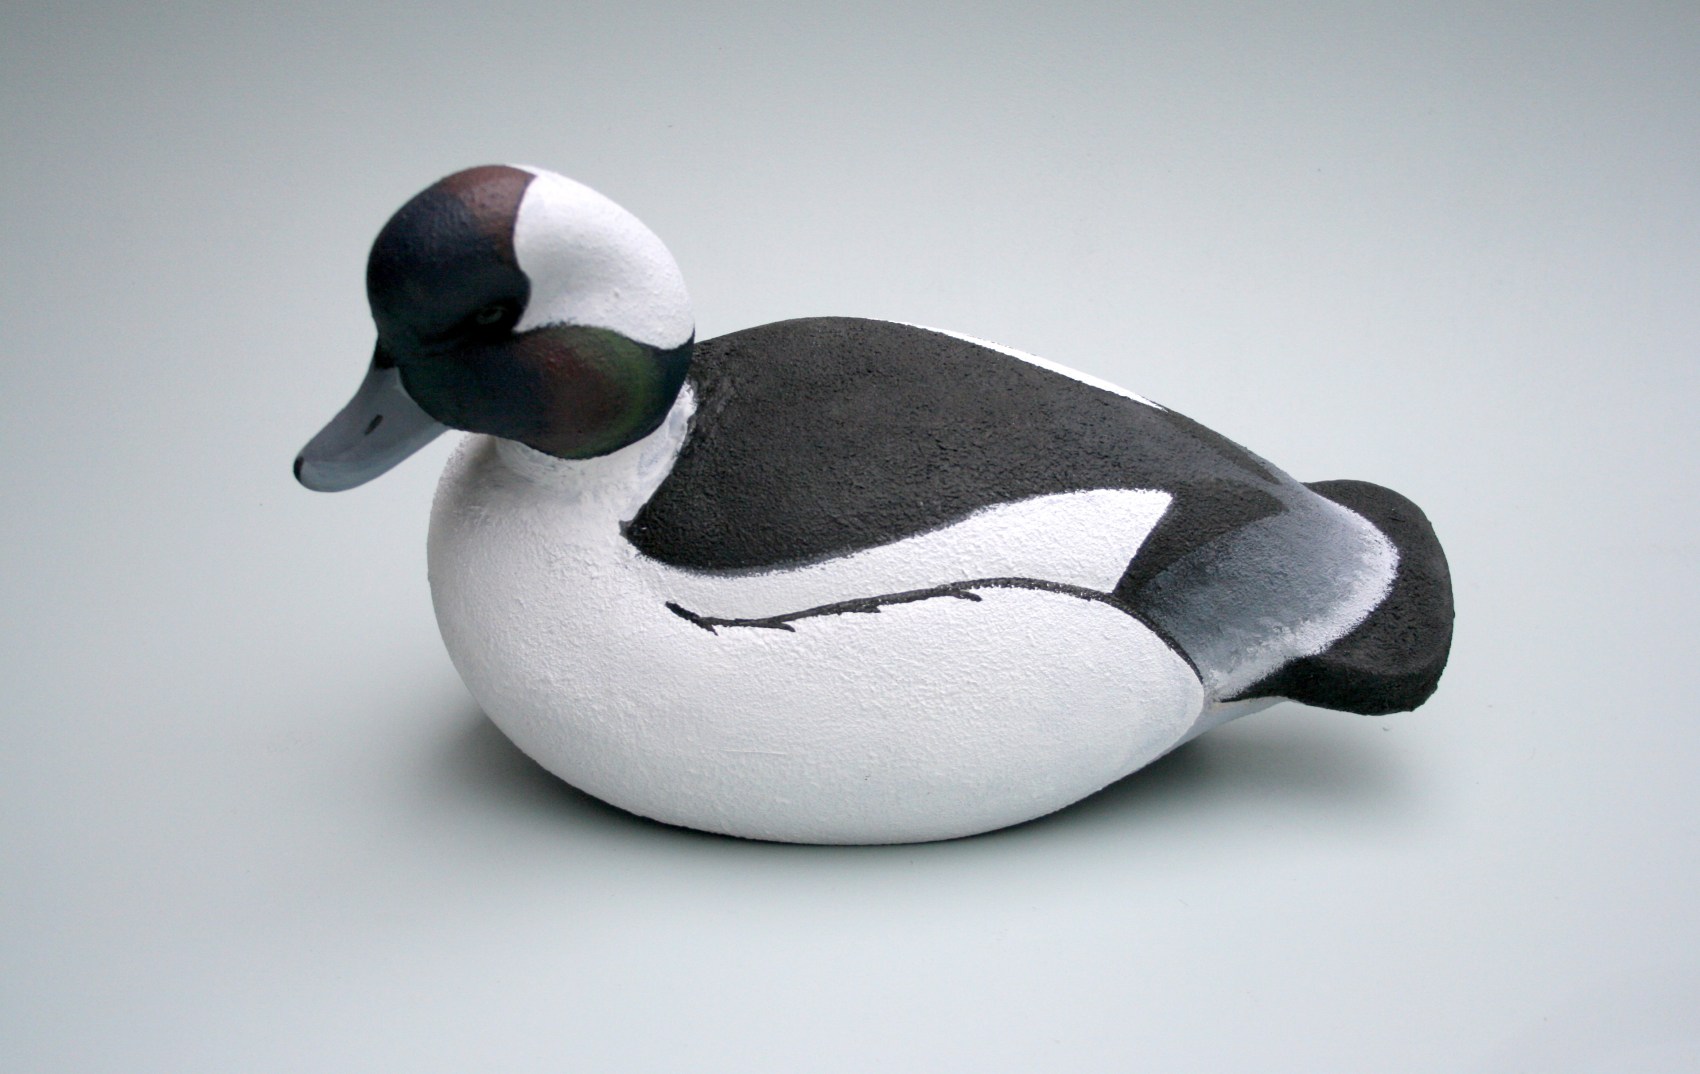
I first painted the bill the same pale blue-grey that I use on Broadbill (and Wigeon and Pintail and Redhead and Ringneck) but later covered it with a medium Grey mixed in a dixie cup from a bit of Black and a bit of White. The thing to remember is that mixing Black and White without any other pigments gives a cool Grey – which is appropriate for this species.
Slide Show 1 – Painting the Drake
-

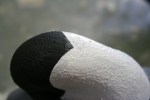
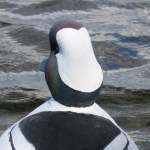
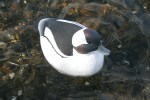
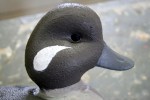
- 2 – The White head patch can be just a splotch on the back of the head – but I like some style.
-
- 3 – Here is the top.
-

- 4 – The bottom.
-

- 5 – If the head is high, separate the head from the back with a band of White.
-

- 6 – On the folded wings the White covers the Coverts and Secondaries (aka speculum).
-

- 7 – Pure White on the breast and sides. Use a bigger brush here.
-

- 8 – The upper edges of the upper row of side feathers are Black.
-

- 9 – Making the primaries (wingtips) Black helps them stand out from the blended lower back.
-
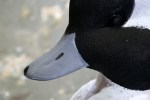
- 10 – Black nail and nostrils on a Grey bill.
I added the actual colors on the head even though solid Black is sufficient. I just mixed some colors I had on hand for other species. Once the bands of color are in place, I soften the edges by stippling with the ends of the bristles. When the eyes are painted – not glass – I often paint a White dot on the eye at about 1:00 o’clock to suggest a glint. However, I was working with some varnish on another project so coated the entire eye with it. It gives a more realistic effect – and much less work than installing eyes.

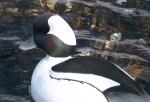
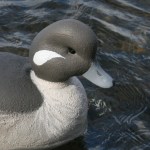
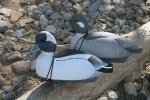
The completed Drake.

The Hens

The 3 warm Greys – Behr’s Intellectual, Elephant Skin and Graceful Grey – are all handy to have in your decoy painting kit – because they can be used on lots of species.
As with the Drakes, use chalk to mark the 2 White patches – on the cheek and the speculum. Otherwise, you can use the molded-in contours to separate the back from the sides, et cetera.
Slide Show 2 – Painting the Hen
-
- 2 – Keep the cheek patches and speculums open for the White later on.
-

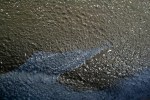
- 3 – The rump is blended as it was on the Drake.
-
- 4 – Drag the Intellectual into some Graceful Grey and try for a dark-to-light transition.
-

- 5 – The speculums are White – but not the wing coverts.
-
- 6 – The White cheek patches are largest on first-year drakes and smallest on first-year hens.
-

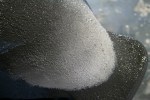
- 7 – Graceful Grey extends from the neck collar down onto the breast.
-
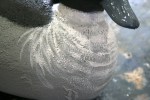
- 8 – I try to suggest the pattern of the feather edges.
-

- 9 – Finally, soften the flanks with some Intellectual.
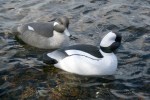
Here is the completed Hen.


And here is the completed pair – rolled a bit so you can see their backs.

And here are some more at work…


As always, I hope this information is helpful.
All the best,
SJS
![]()

Do you ever rest?
Sent from my iPhone
>
Steve, Nice Demo & finished Job on the buffelhead gunner. Should help a lot of people who lack the confidence in painting a decoy. I am using the same home depot Water based paints & some Traditions, or Golden also to get some finish colors.Cant take the Oder of oil based paints or thinners being on oxygen anymore.
From: Steven Jay Sanford To: duckguy723@yahoo.com Sent: Wednesday, May 11, 2016 8:55 AM Subject: [New post] Painting Bufflehead Gunners #yiv4948140608 a:hover {color:red;}#yiv4948140608 a {text-decoration:none;color:#0088cc;}#yiv4948140608 a.yiv4948140608primaryactionlink:link, #yiv4948140608 a.yiv4948140608primaryactionlink:visited {background-color:#2585B2;color:#fff;}#yiv4948140608 a.yiv4948140608primaryactionlink:hover, #yiv4948140608 a.yiv4948140608primaryactionlink:active {background-color:#11729E;color:#fff;}#yiv4948140608 WordPress.com | Steven Jay Sanford posted: “A Butterball painting tutorialThe Bufflehead – what I learned as Butterball on Great South Bay – is a beautiful bird. I have carved several “mantel piece” drakes over the years – but I believe this is the first pair of gunners I have ever painted” | |